 Blender Tutorials
Blender Tutorials
Blender Tutorials
Navigation: |
Building and texturing a Simple EvergreenThis Tutorial is meant as an introduction to some intermediate material and texture techniques in Blender (2.5 and up). You should already have some experience with modelling and applying materials in Blender. Table of Contents
To begin this tutorial open Blender, select ('b' key) and delete ('x' key) the default starting cube and go to the Front view in orthographic mode. Zoom in a bit until the lamp is near the top of the screen. 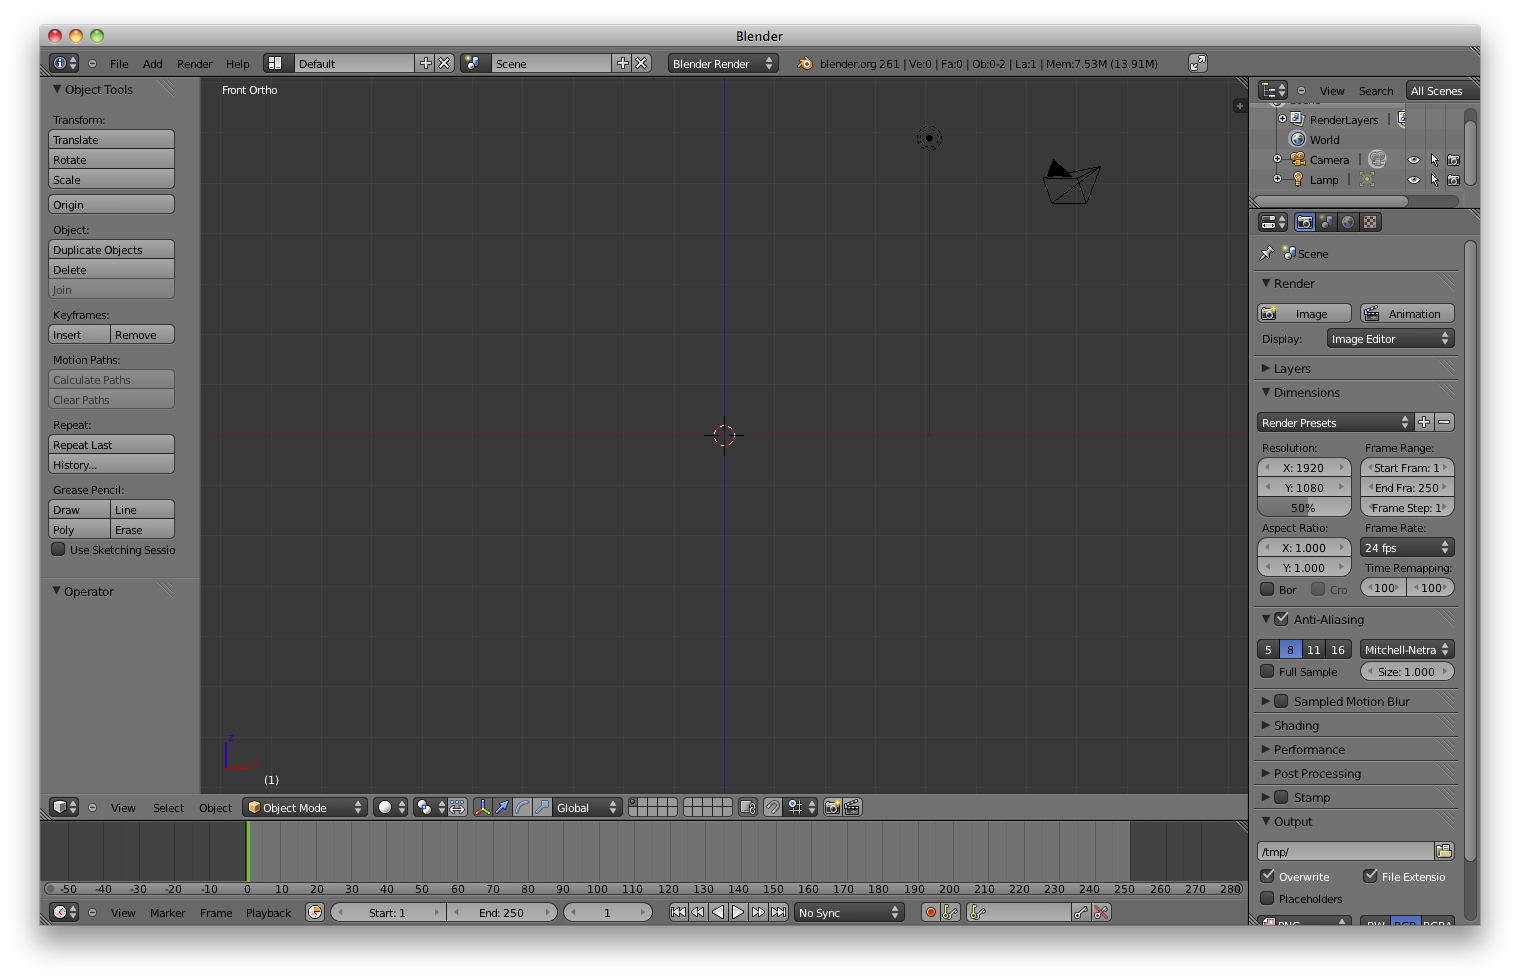
Building the TreeThe first step to building the tree will be to make a cylinder ('Shift+a' and select "Mesh->Cylinder"). 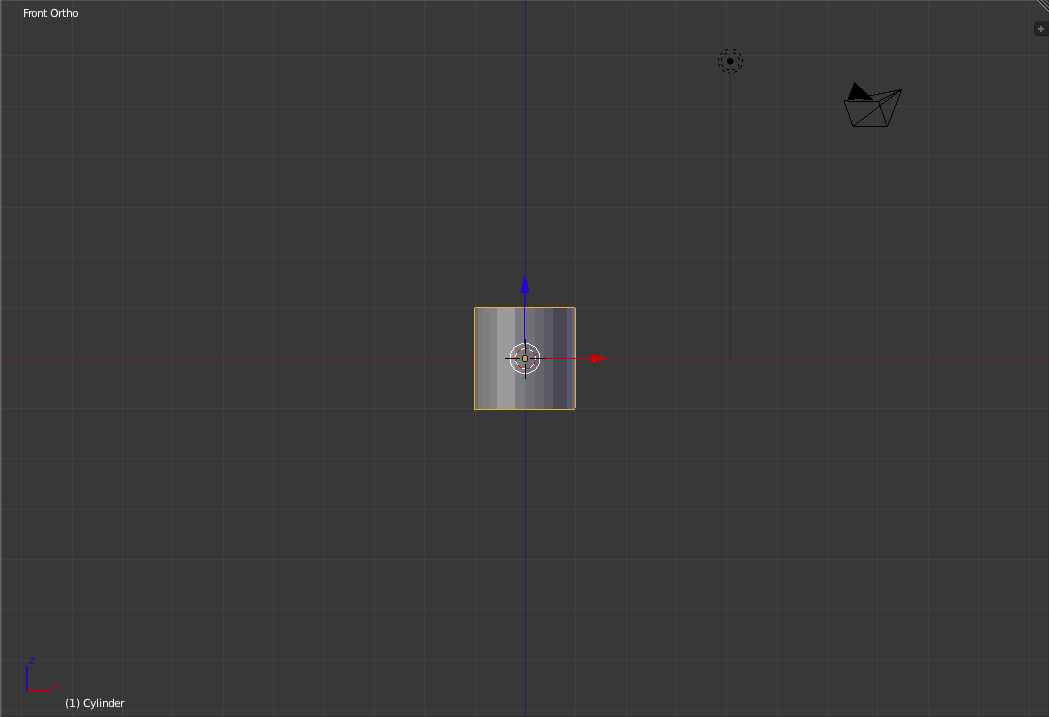
Now switch to "Wireframe Mode" ('z') and move ('g' and hold 'Ctrl' to snap) the cylinder down to the bottom of the screen. 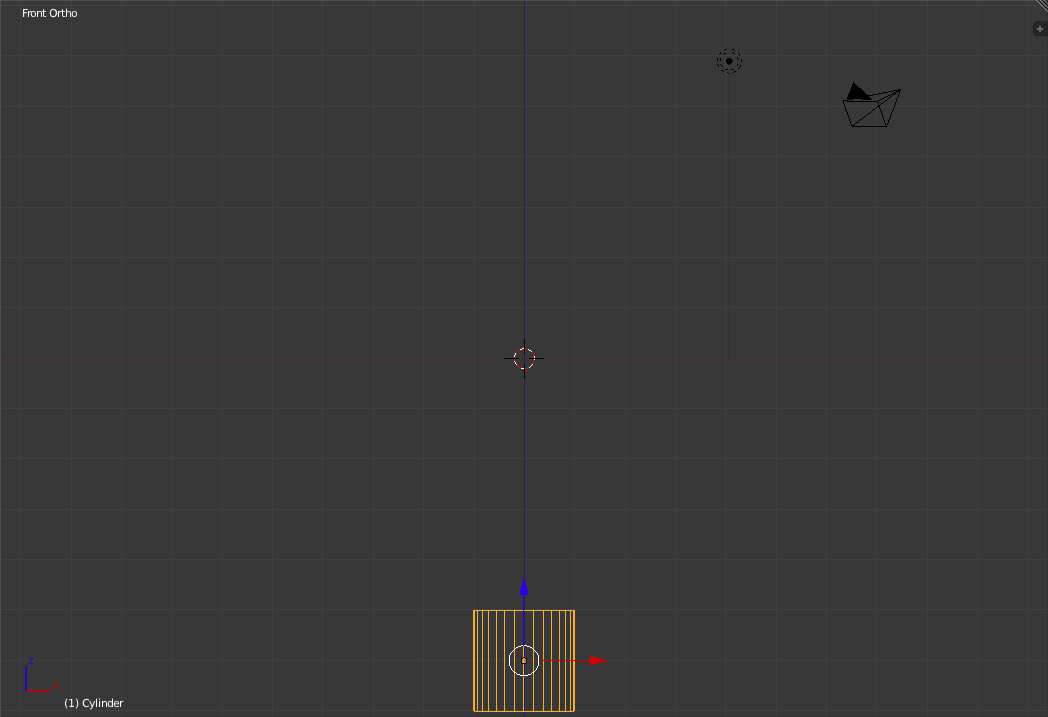
Go into "Edit Mode" ('Tab') and extrude ('e') the top surface of the cylinder to the top of the screen. 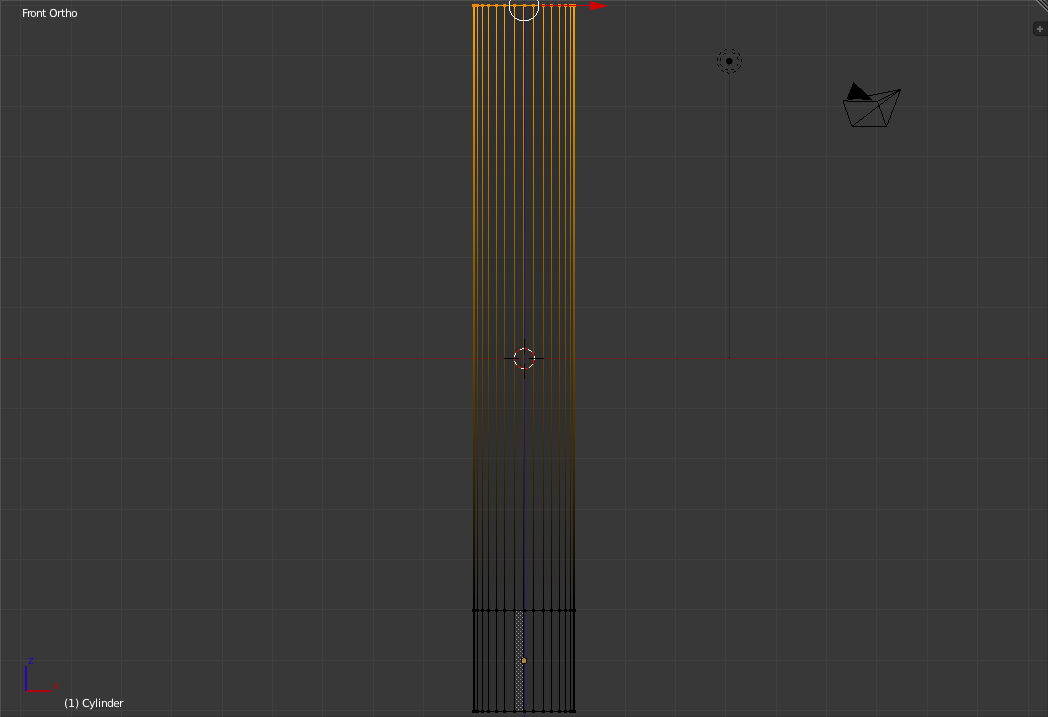
Now scale down the newly extruded verices ('s') until they are nearly a point. 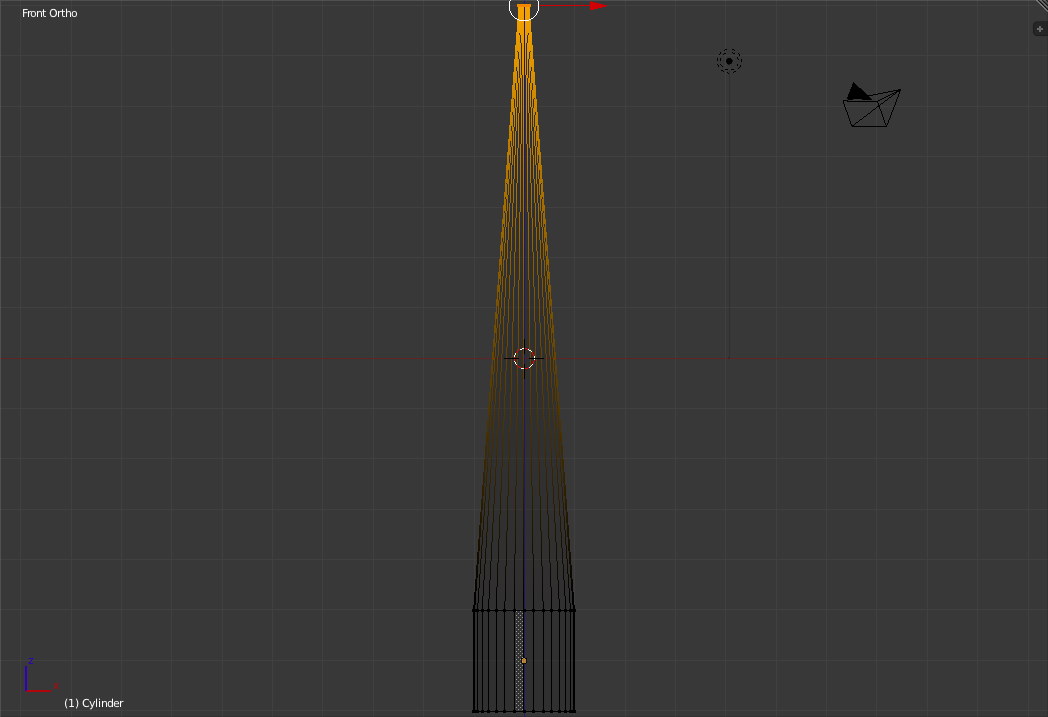
Now that we have finished building the trunk, exit "Edit Mode" ('Tab') and add a Cone ('Shift+a' and select "Mesh->Cone"). 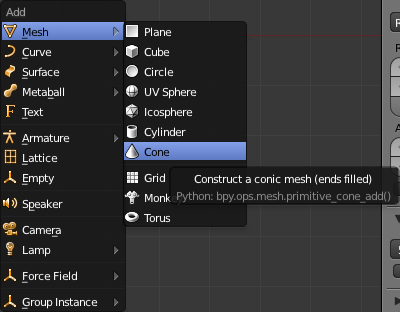
Move the cone to the bottom of the screen ('g' and hold 'Ctrl' to snap). 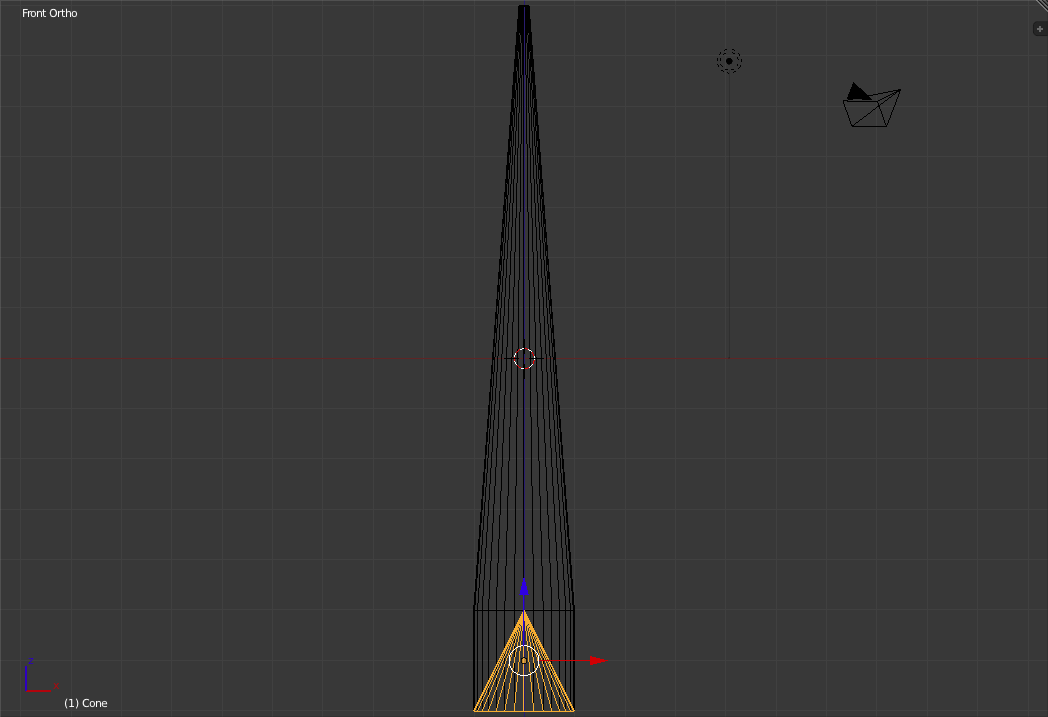
Enter "Edit Mode" ('Tab') and move the cone so that the bottom is flush with the point that the Trunk begins to narrow. 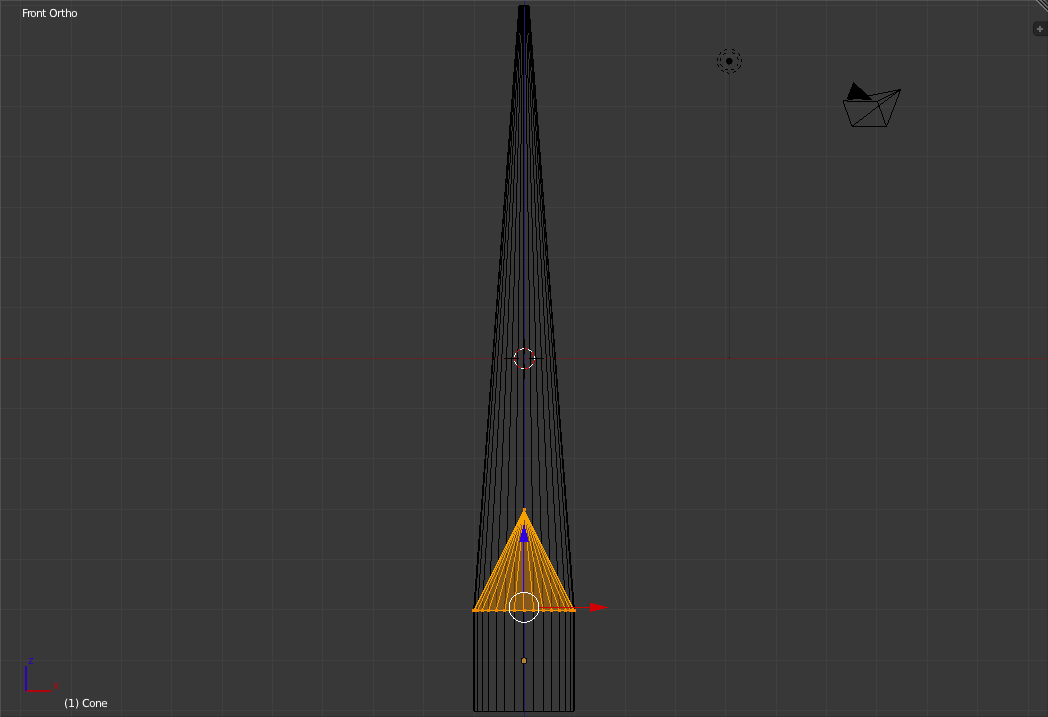
Now Select the bottom surface of the cone and scale it up ('s') so that it is about 3 times wider than the trunk at that point. 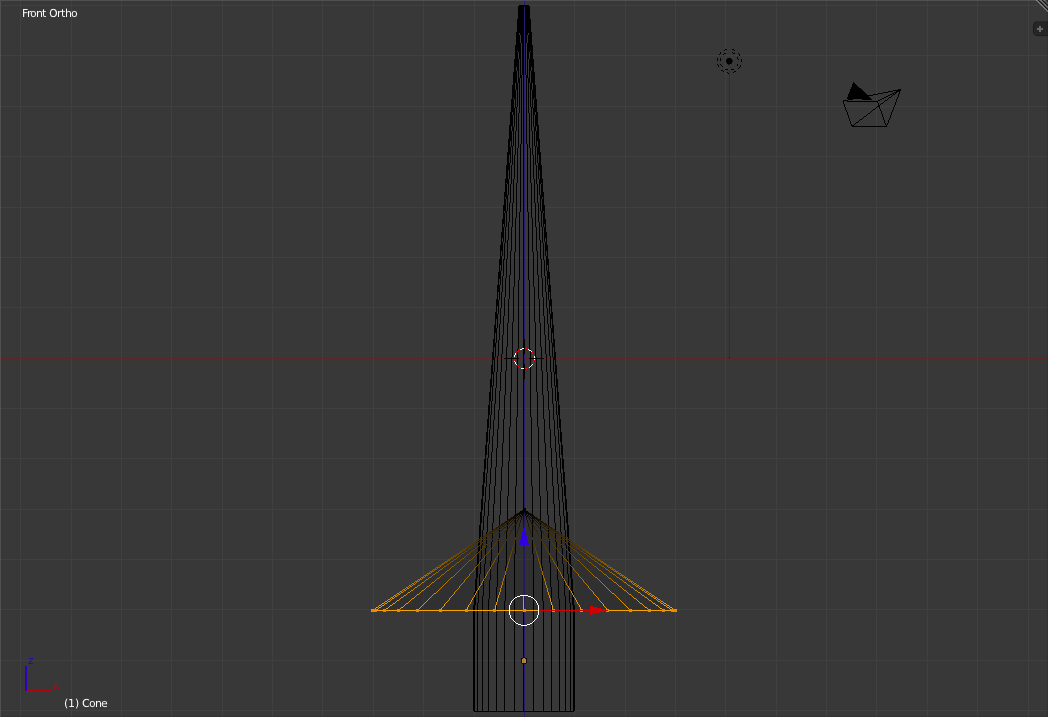
Select the entire Cone and duplicate it 'Shift+d' and move it one grid unit up ('g' and hold 'Ctrl' to snap). 
Press 's' followed by 'Shift+z' to scale the cone only on the x and y axes and scale it down one step ('Ctrl' to snap). 
Duplicate the new Cone and repeat the last two steps until the entire length of the trunk is covered with cones (For only the top cone, don't do the 'Shift+z' part. i.e. shrink it along all axes.) 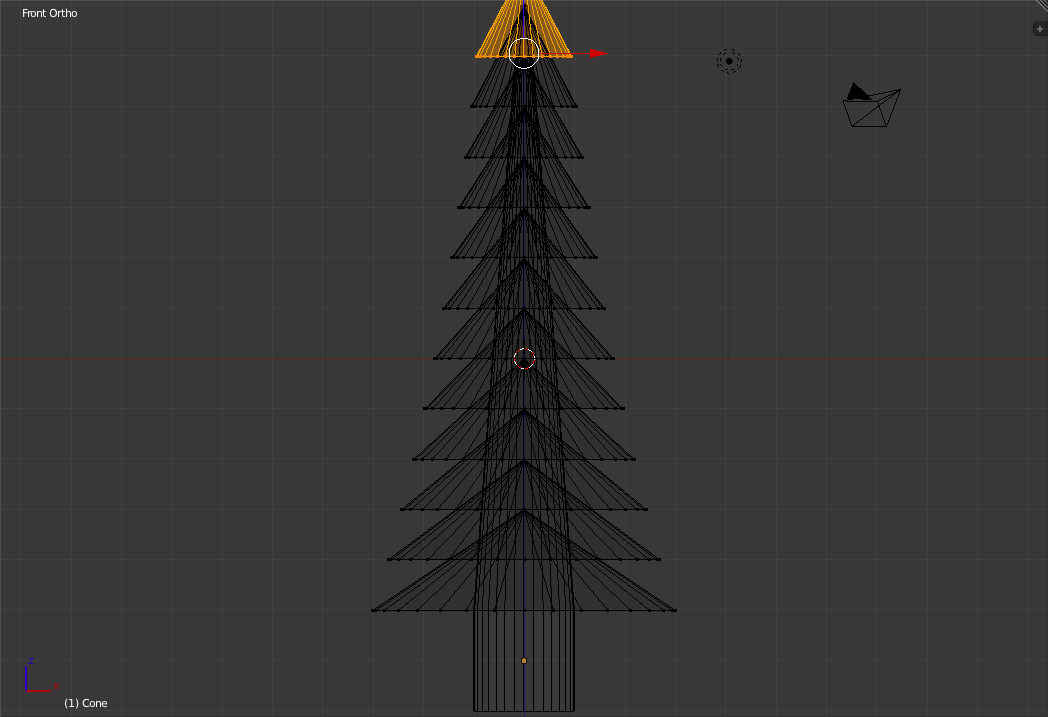
Exit "Edit Mode" ('Tab') and switch into "Shaded Mode" 'z'. 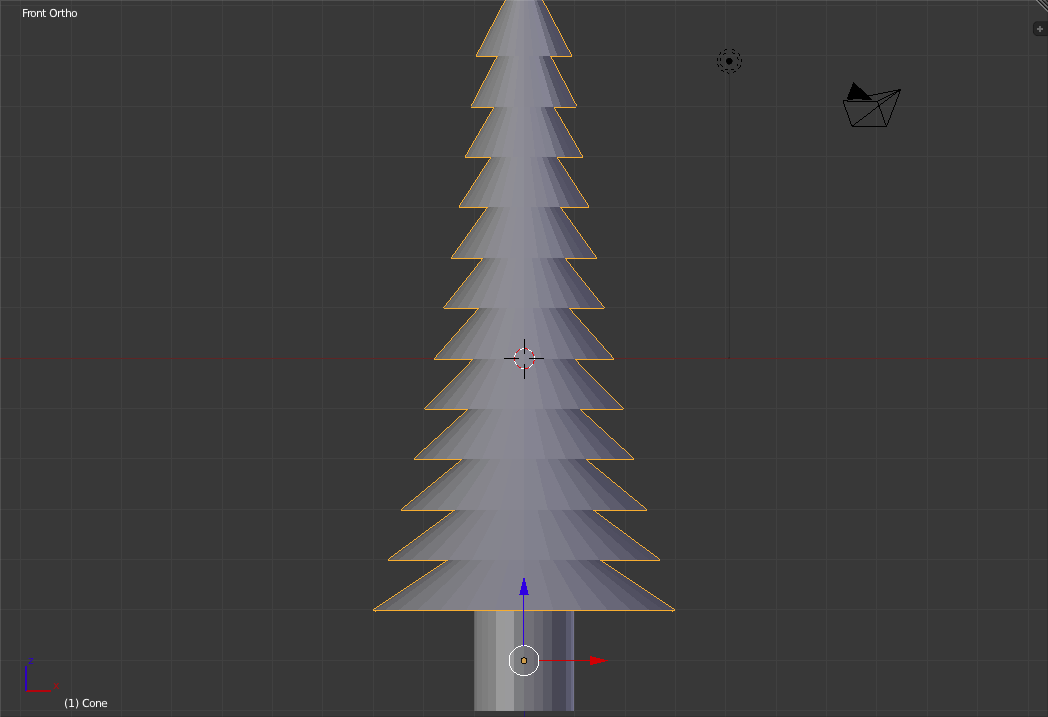
Adding a Texture to the Branches
Go to the "Materials Panel" ( 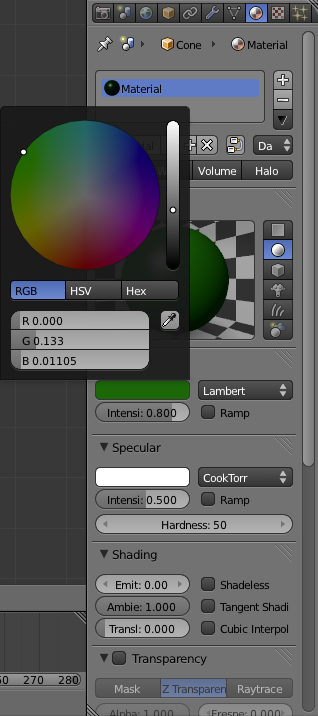
Go to the "Textures Panel" ( 
Change the Texture Type to "Image or Movie". 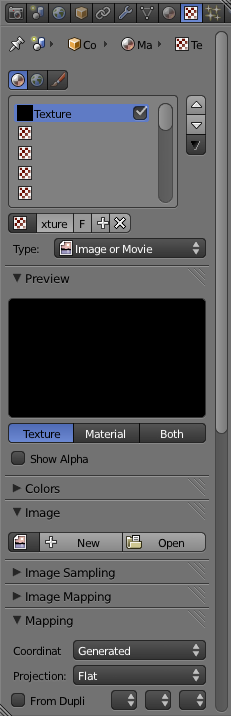
Download an evergreen needles texture (I used: http://www.filterforge.com/filters/7276.jpg from FilterForge). Now Open that Texture Using the "Open" Button in the "Textures Panel" "Image" Section. 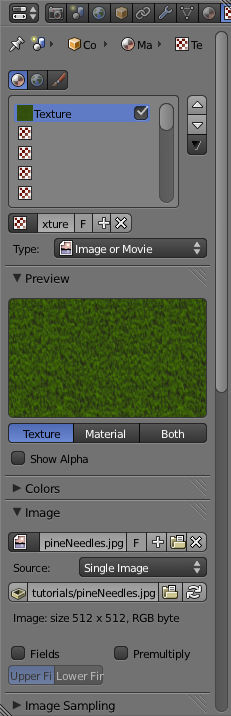
Scroll down (in the "Textures Panel") to the "Mapping" Section and change the Projection to Tube. You may also want to change the Preview type (In the "Preview" Section) to "Both". 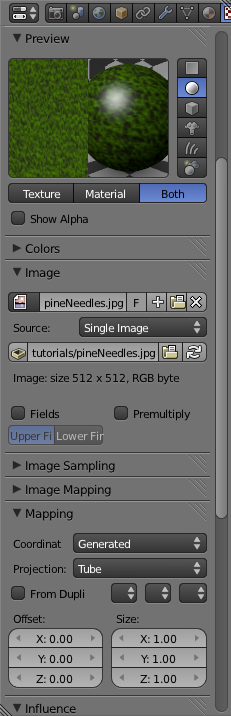
In the Left "Toolbar" press the "Smooth" Button in the "Shading" Section. 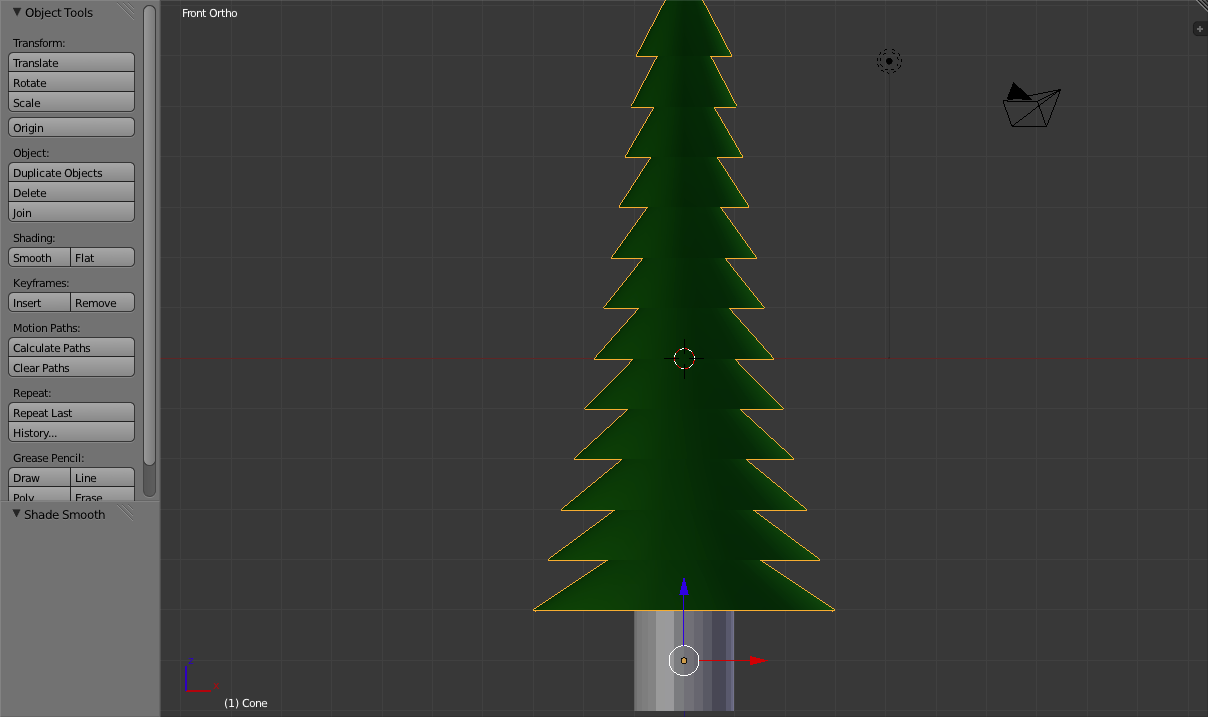
We will now move the Camera and Lamp for a slightly better angle on the Tree. Switch to the Top View ('Numpad-7') and select ('b') the lamp. 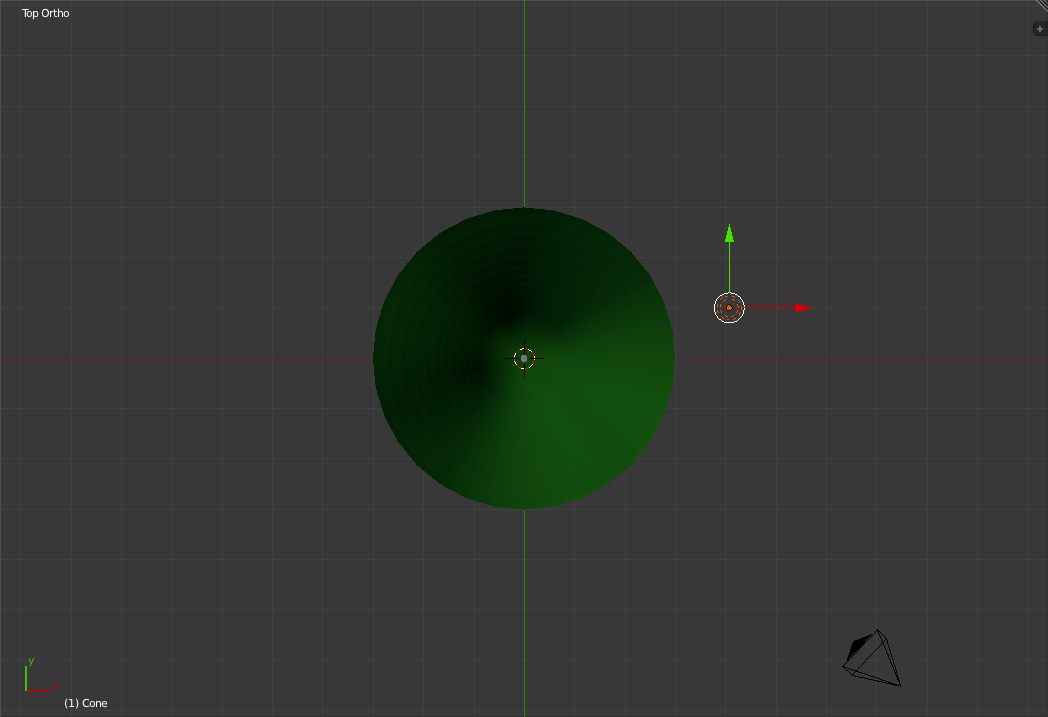
Move the lamp down to be between the camera and the tree. 
Zoom out a bit and move the Camera back to a point 10 grid units below the x-axis and 10 grid units to the right of the y-axis. 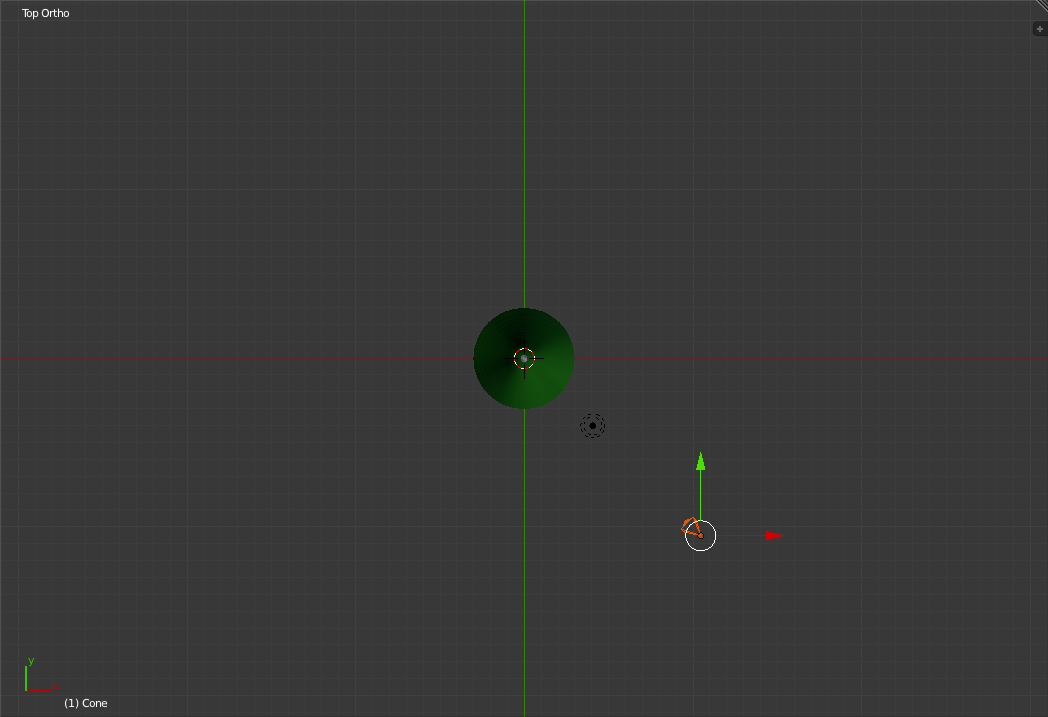
Now in the Front View ('Numpad-1') move the camera to a point 10 grid units above the x-axis. 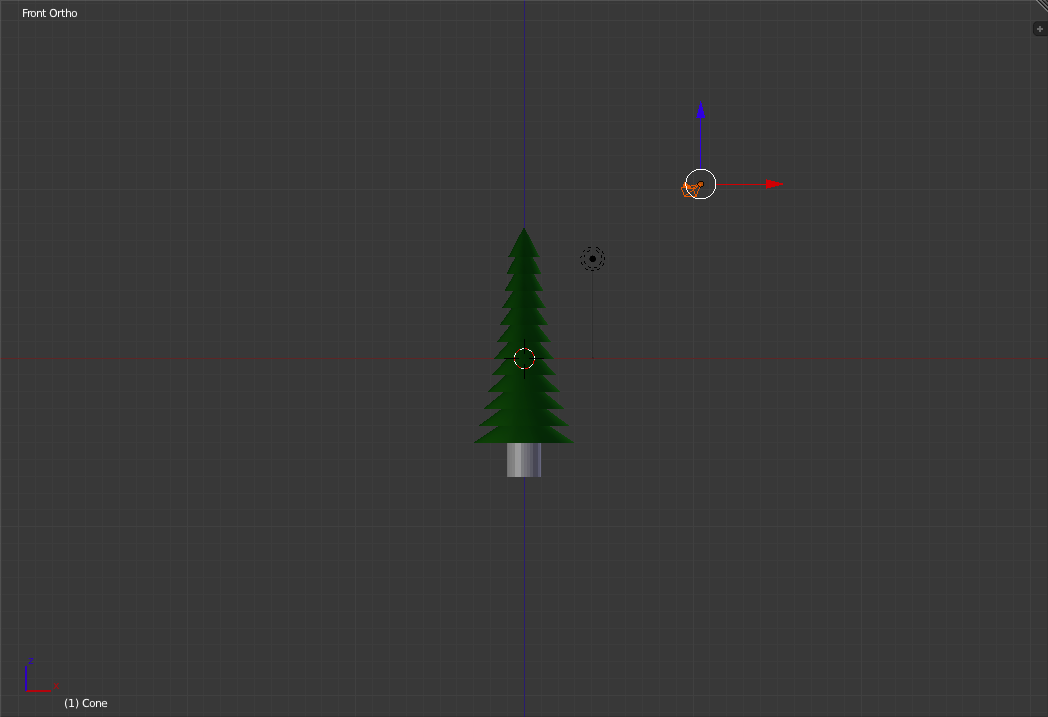
Now select ('b') the tree and move it up so that the base of the tree is just one gid unit below the x-axis. 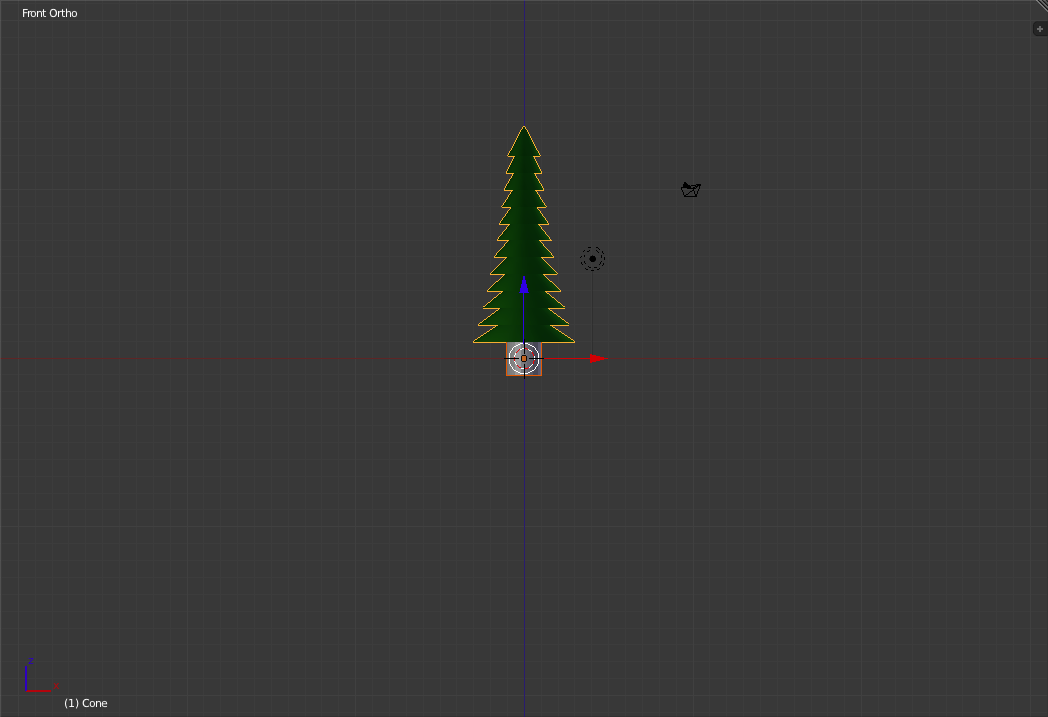
Back in the Top View ('Numpad-7'), move the lamp to be under the camera. 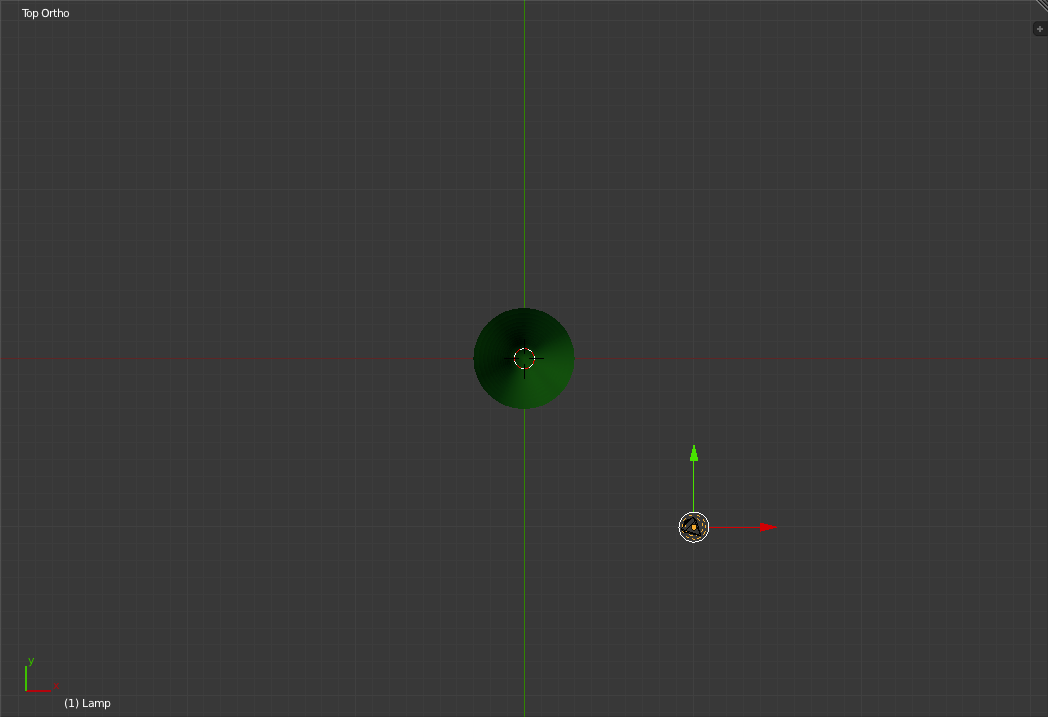
Now Render an Image. 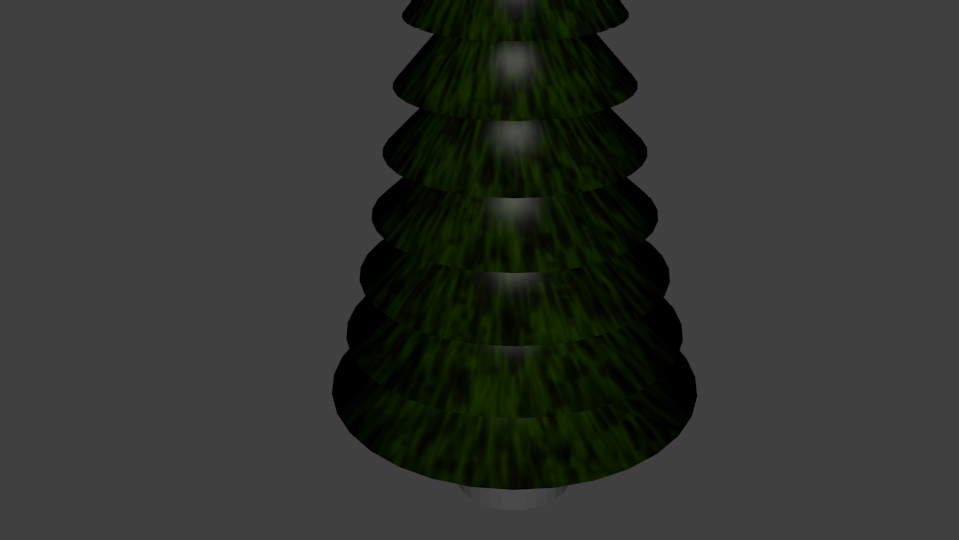
As you can see the Branches are starting to look better though in the next section we will be giving them a rougher texture. Roughening the Branches using Normals
In the "Textures Panel" ( 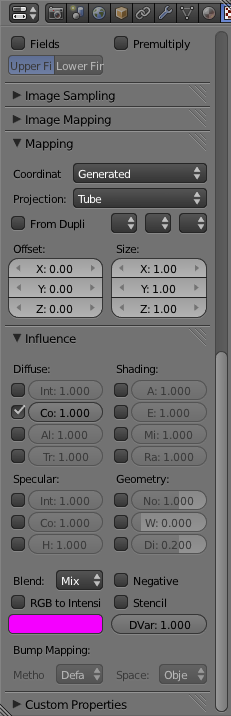
Now the first thing to to is to turn on the "Specular Intensity" and "Specular Colour" influence of the texture. This will change the shiny (Specular) points to be affected by the Texture's colouring and brightness. 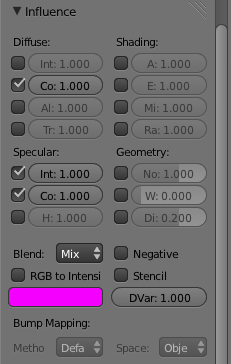
Now Render an image. As you can see the tree branches are starting to look nicer but are still very flat and smooth looking. 
Next step is to turn on the "Normal Geometry" Influence and changing its value to 5. This will give the surface of the branches a rougher appearance. 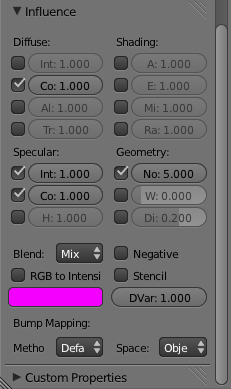
Now Render an image. As you can see this time, the branches seem to be rougher and almost look like their surface is made out of needles. 
Texturing the TrunkNow switch to Camera View ('Numpad-0') and select the trunk by Right-Clicking on it. 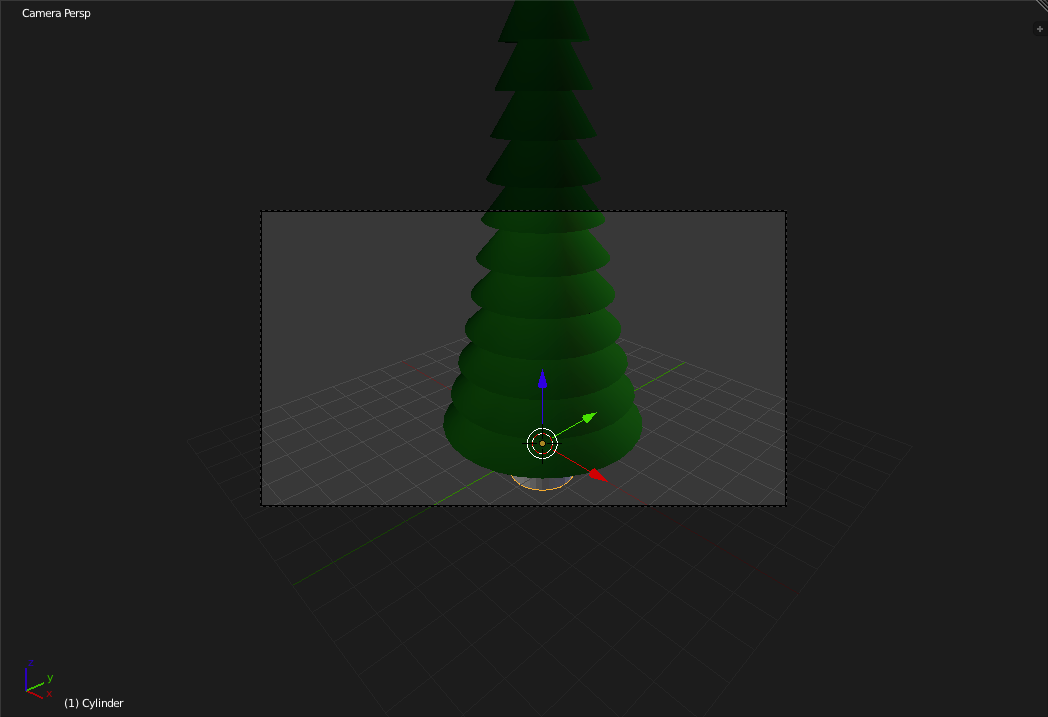
In the "Materials Panel" ( 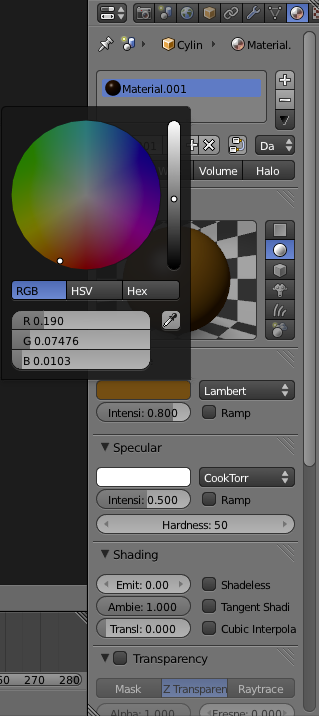
In the "Textures Panel" ( 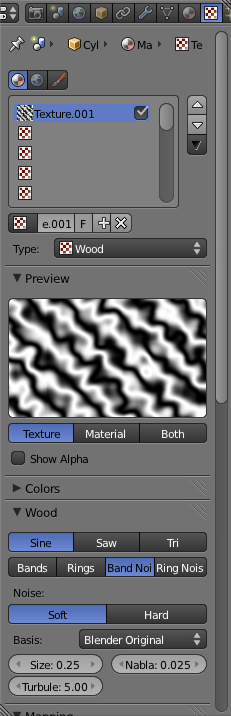
Scroll down to the "Mapping" Section of the "Textures Panel" and change the Projection to "Tube". 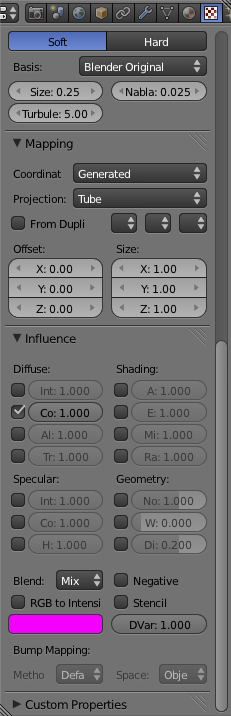
Scroll down to the "Influence" Section of the "Textures Panel" and click on the magenta rectangle. Change that colour to a very dark Brown. 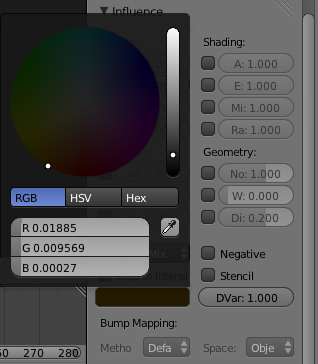
Now Enable the "Geometry Displacement" in the "Influence" Section of the "Textures Panel". "Geometry Displacement is another way for a texture to give a rougher and bumpier appearance to an object. 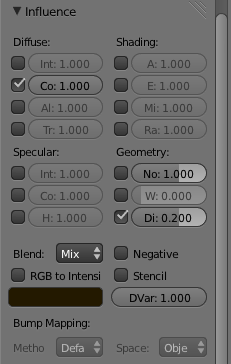
Scroll up so you can see both the "Preview" Section and the "Mapping Section" of the "Textures Panel". Switch the Preview Mode to "Both". 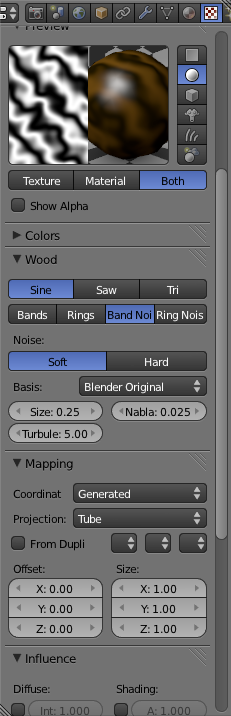
Now change the x, y and z size (In the "Mapping" Section) to 5. Which should have as an effect the shrinking of the black stipes on the Material portion of the preview. 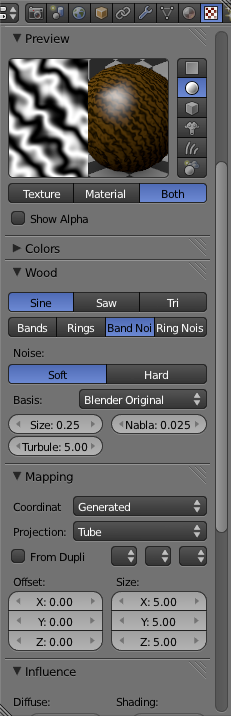
Render an image. As you can see, the Trunk now has a rougher surface, though not as fine a roughness as the branches do. 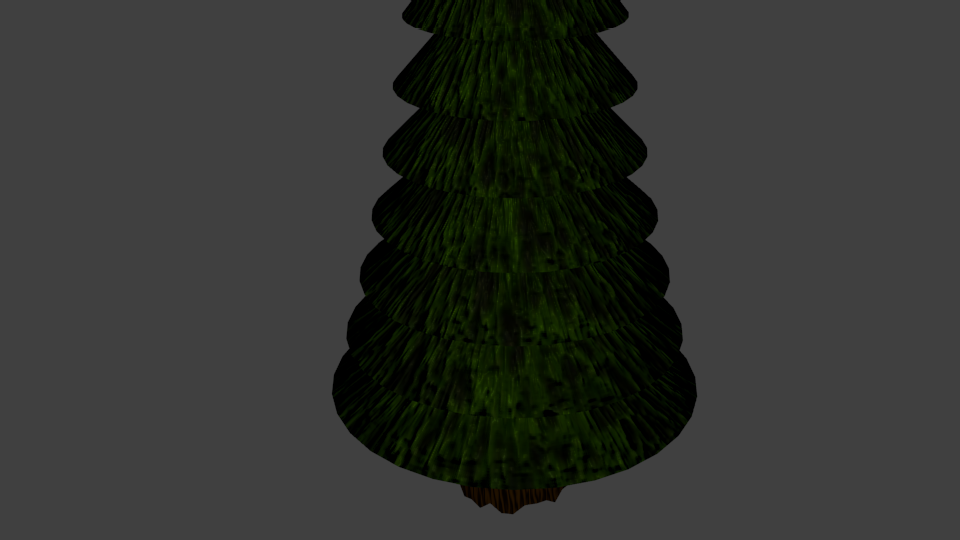
Changing the LightingSince the current scene is a bit dark we will now adjust the lighting. In the Front View ('Numpad-1') select the Lamp by Right-clicking. 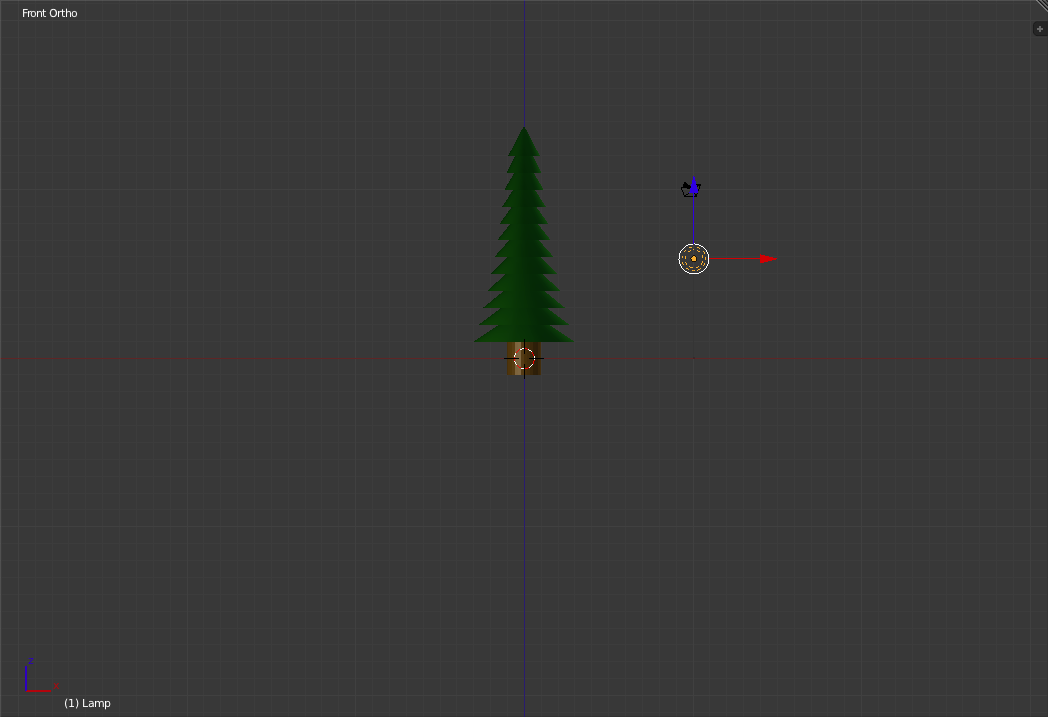
In the "Lighting Panel" ( 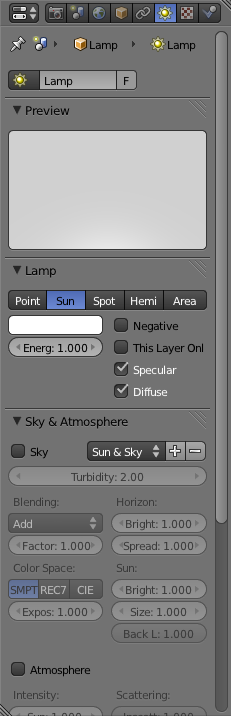
Render an image. As you can see, the lighting has changed dramatically. Now the branches of the tree are nicely lit from one side, really showing off their rough texture. 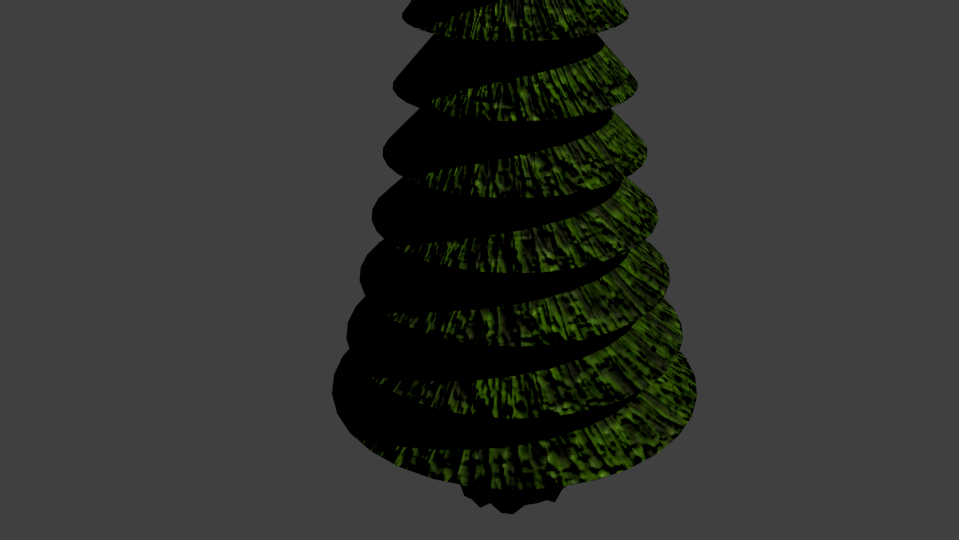
Switch to Top View ('Numpad-7') and press 'n'. By pressing 'n' a new panel will pop up. This panel lets you adjsut a number of settings for the currently selected object, the current scene, etc. 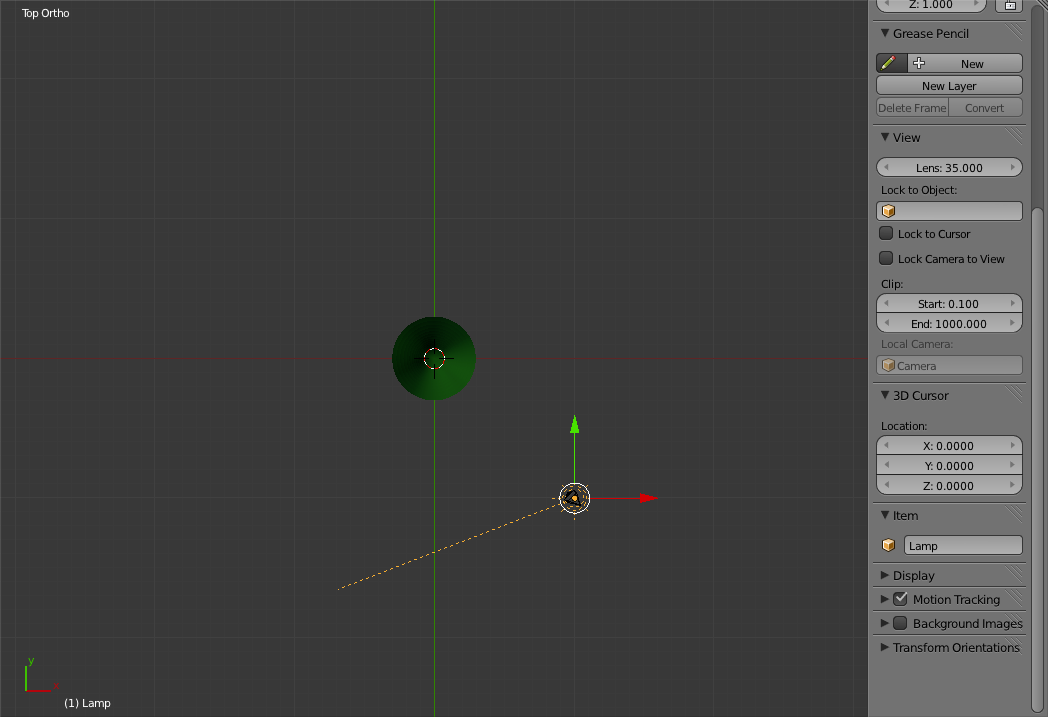
Scroll up in the new panel to the "Transform" Section and change the x, y and z Rotations to: X=60, Y=0 and Z=30. 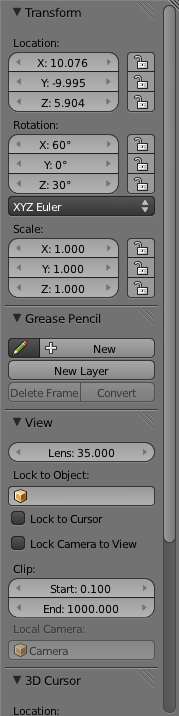
Render an image. Now you can see that the tree is much a bit better lit up. 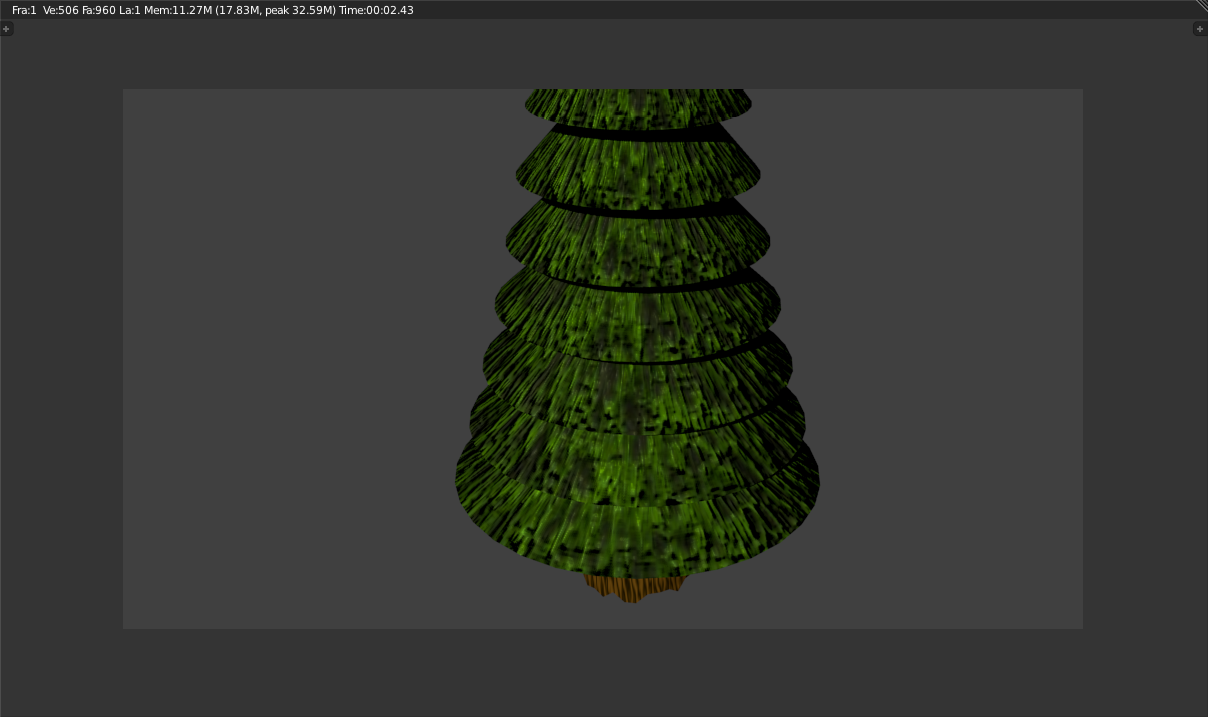
Now as you may already have noticed, the direction a "Sun" type lamp is facing is more important than its location. To further demonstrate this, in the Top View, move the lamp onto the y-axis. 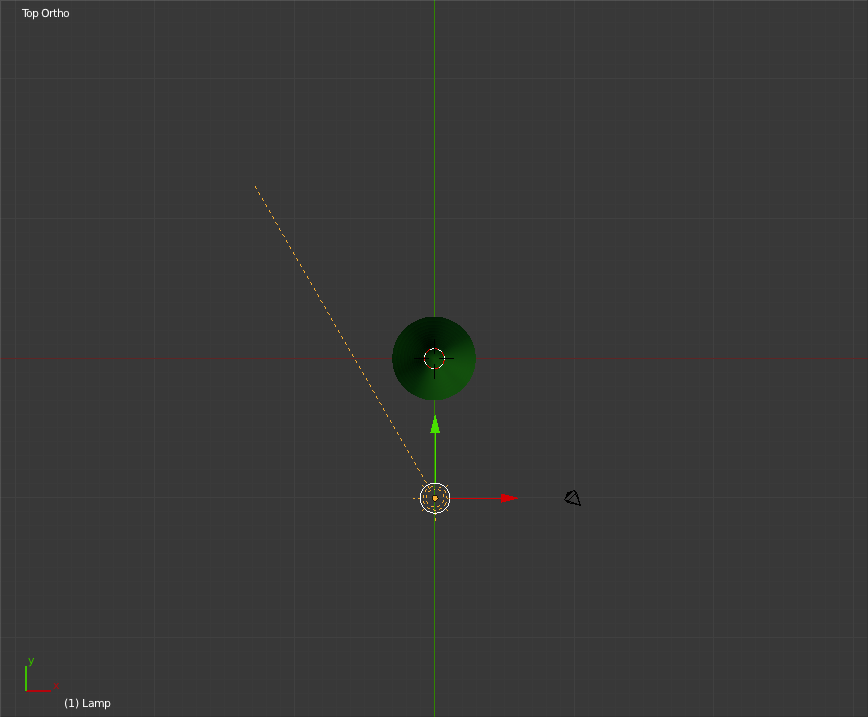
Now render an image again (You'll not that despite the change in location of the Sun, the tree is just as well lit up as it was before).
Continue Learning: |