 Blender Tutorials
Blender Tutorials
Blender Tutorials
Navigation: |
Making a Simple Forest Using Hair ParticlesThis Tutorial is meant as an introduction to using hair particle effects to make a forest in Blender (2.5 and up). You should already have completed the Building and texturing a Simple Evergreen. Table of Contents
To begin this tutorial open Blender and load the Simple Evergreen blender file from: Building a Simple Evergreen. 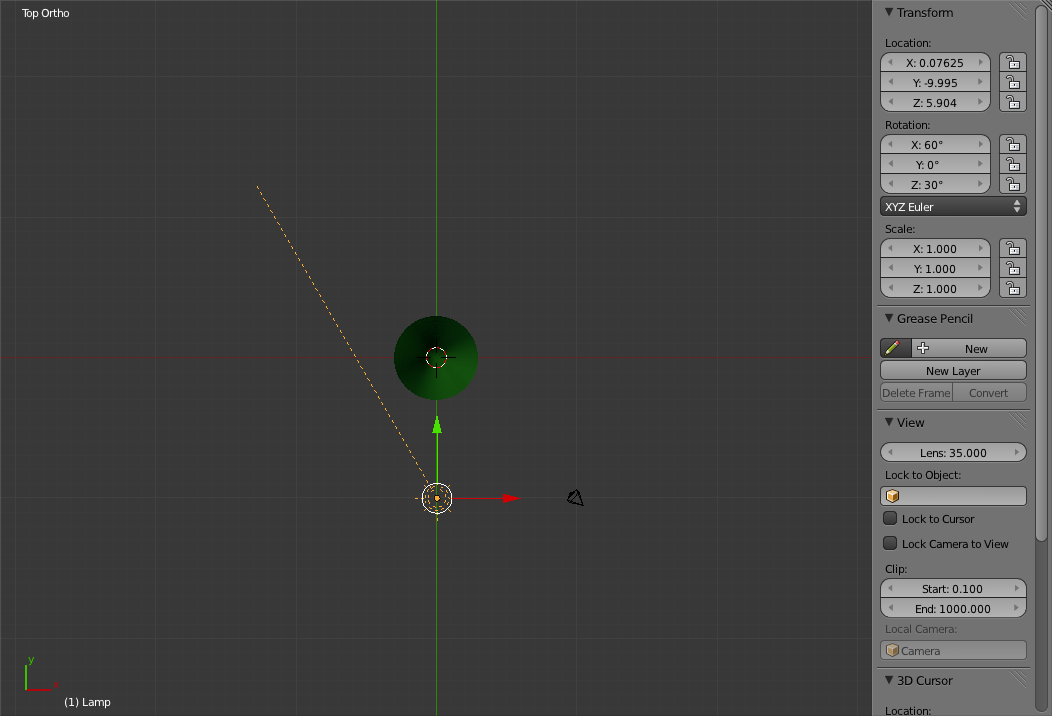
Building a Simple Second TreeBefore we make a forest we will first model a very simple deciduous tree to go with our evergreen. The first thing to do is to move the evergreen away from the origin so deselect the lamp ('a'), select the evergreen ('b') and move it ('g' with 'Ctrl' to snap) to the right about ten grid squares. 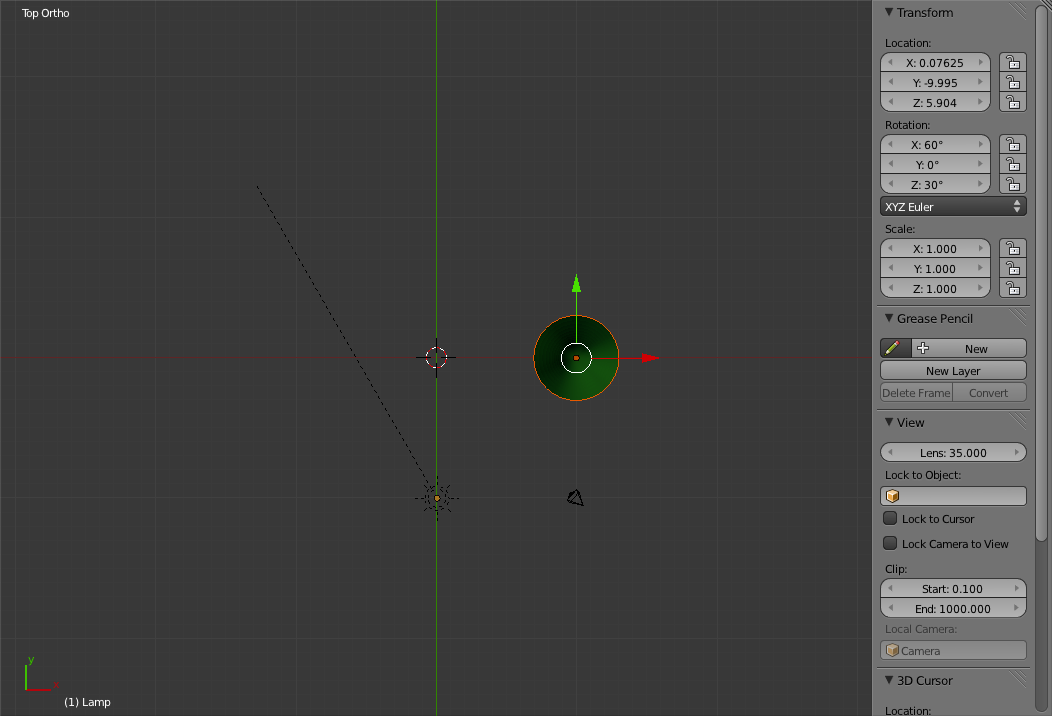
Now create a new Cylinder ('Shift+a' and select "Mesh->Cylinder"), change to Front View ('Numpad-1'), switch into "Edit mode" ('Tab') and "Wireframe Mode" ('z'). 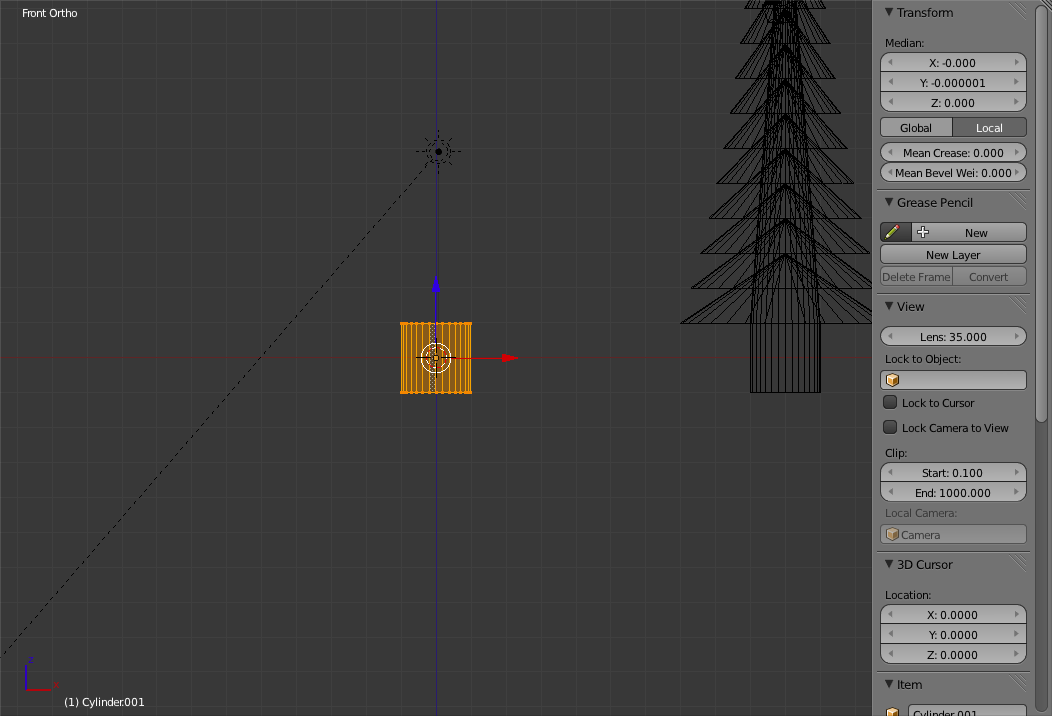
Now select only the top surface of vertices and move them up five grid units. 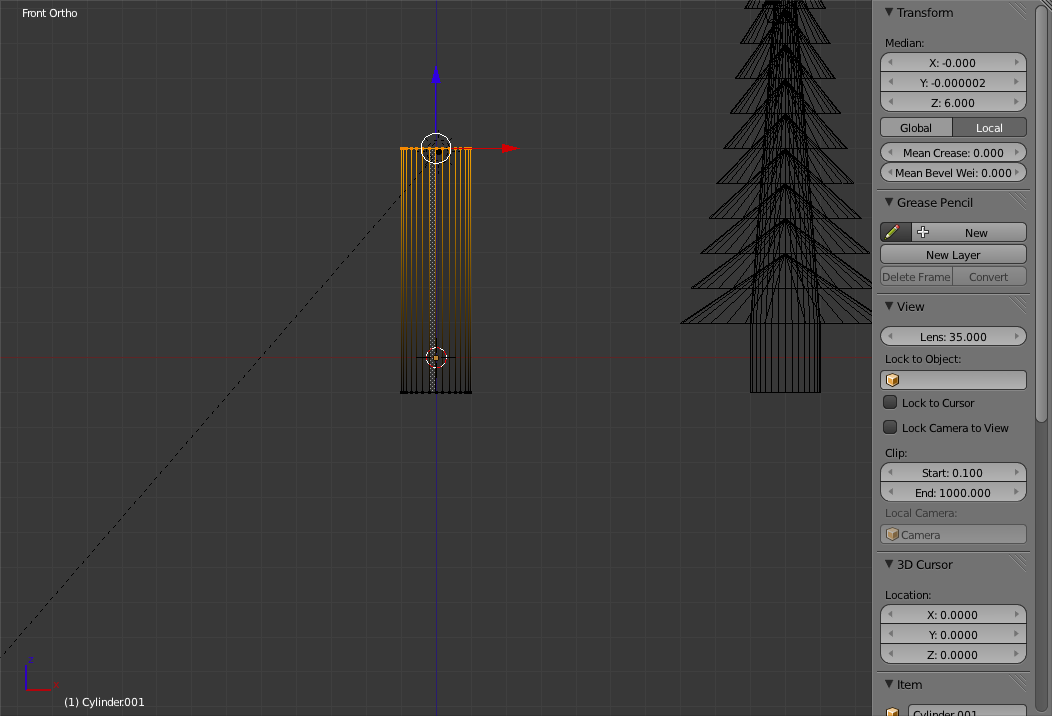
Exit "Edit Mode" and go to the "Materials Panel" ( 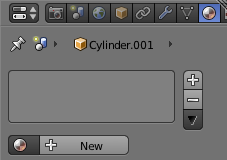
Click on the "Select a Material" ( 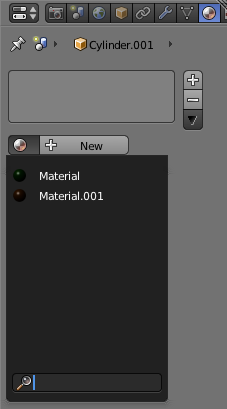
Choose Material.001 (the bark material). 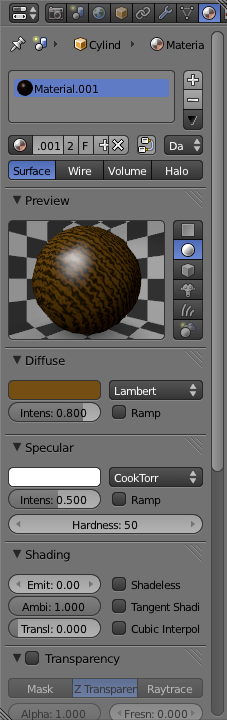
Create an Icosphere ('Shift+a' and "Mesh->Icosphere"), enter "Edit Mode" and move the sphere until its center is over the top of the cylinder. 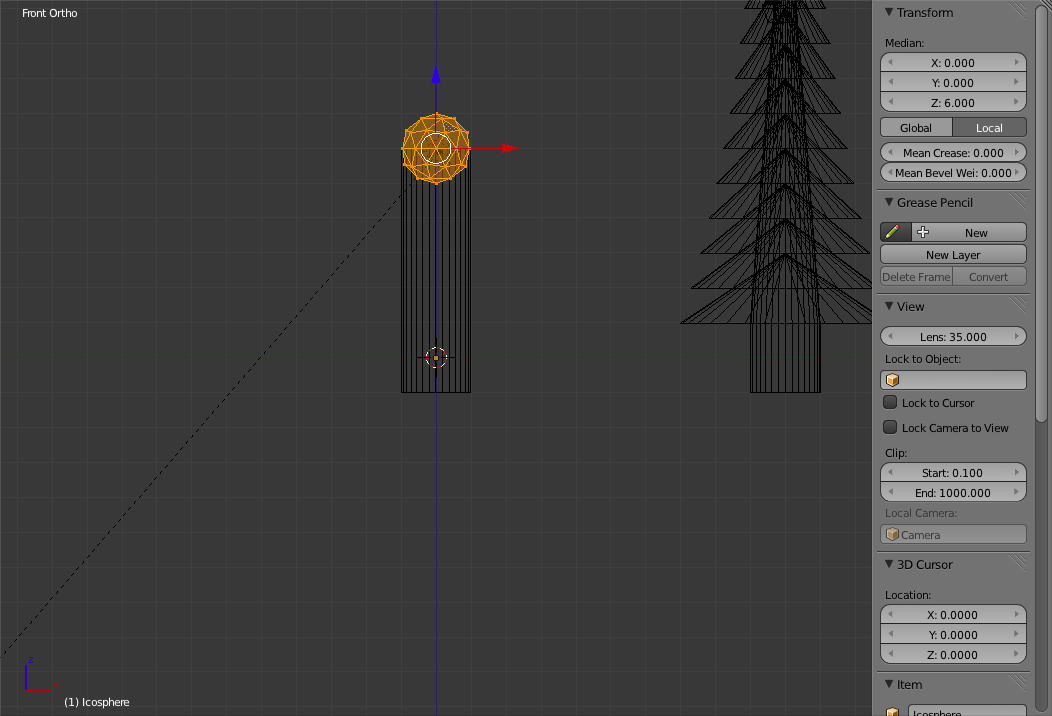
Scale up the sphere ('s'). 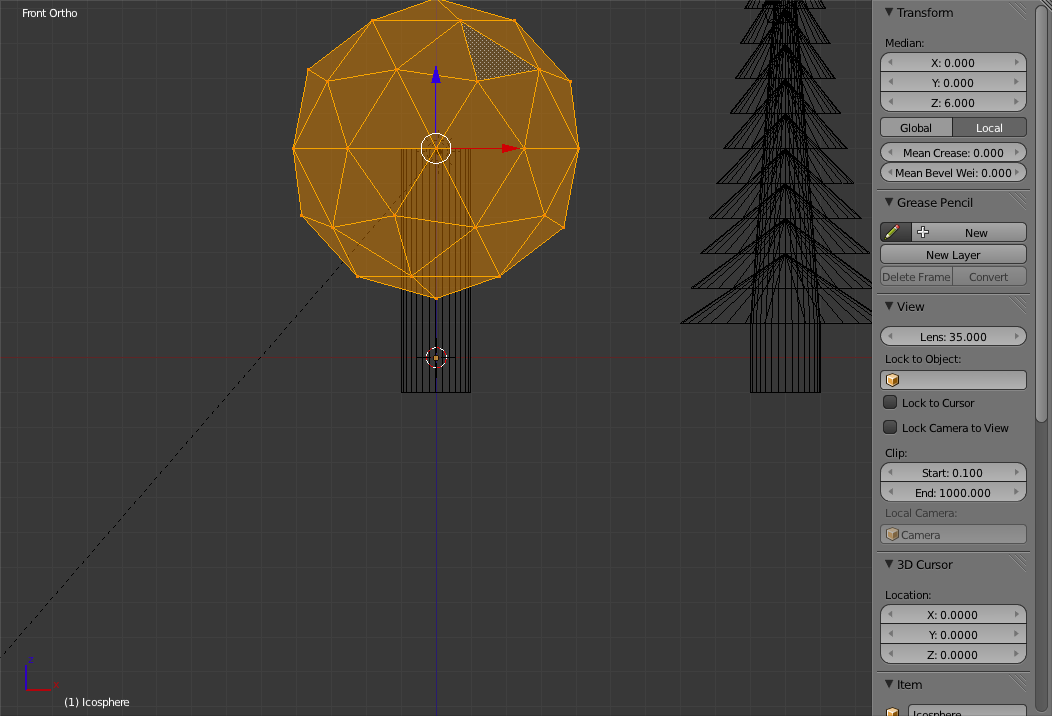
Add a new material and make it green. 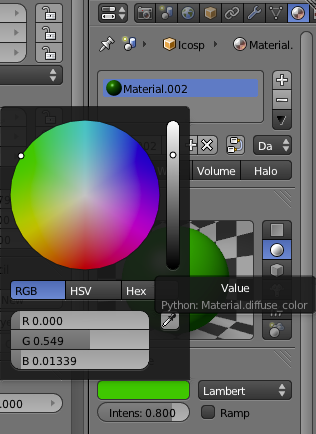
(If you like you can take some time to make the sphere's material nicer to better match the Evergreen tree's needles material quality.) Return to shaded mode. 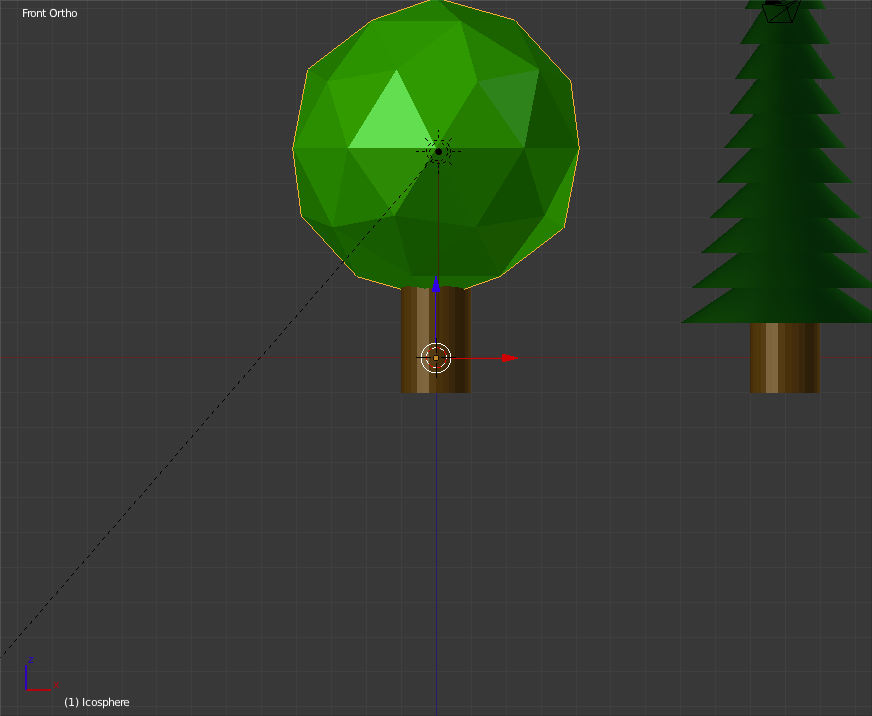
Grouping and Naming the TreesNow select ('b') the entire Deciduous tree (the Icosphere and the Cylinder below it). 
Click on the "Join" button in the "Object" Panel of the Left "Toolbar Panel". 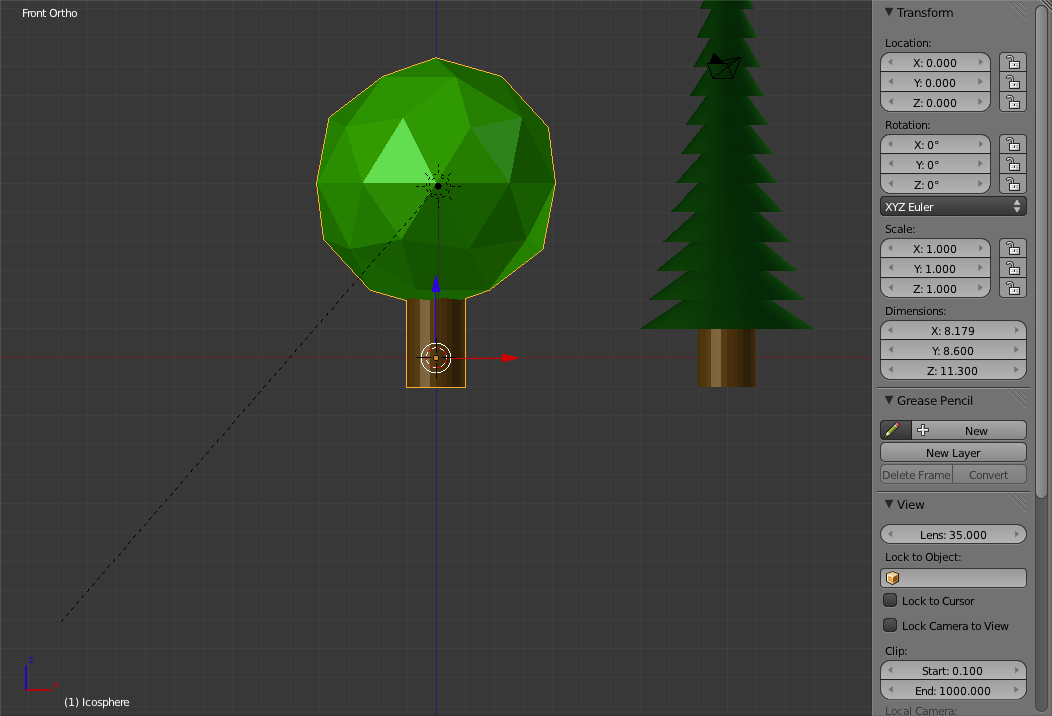
Deselect the Deciduous tree ('a') and right-click to select the branches part of the Evergreen and then select ('b') its trunk. 
Click on the "Join" button in the "Object" Panel of the Left "Toolbar Panel". 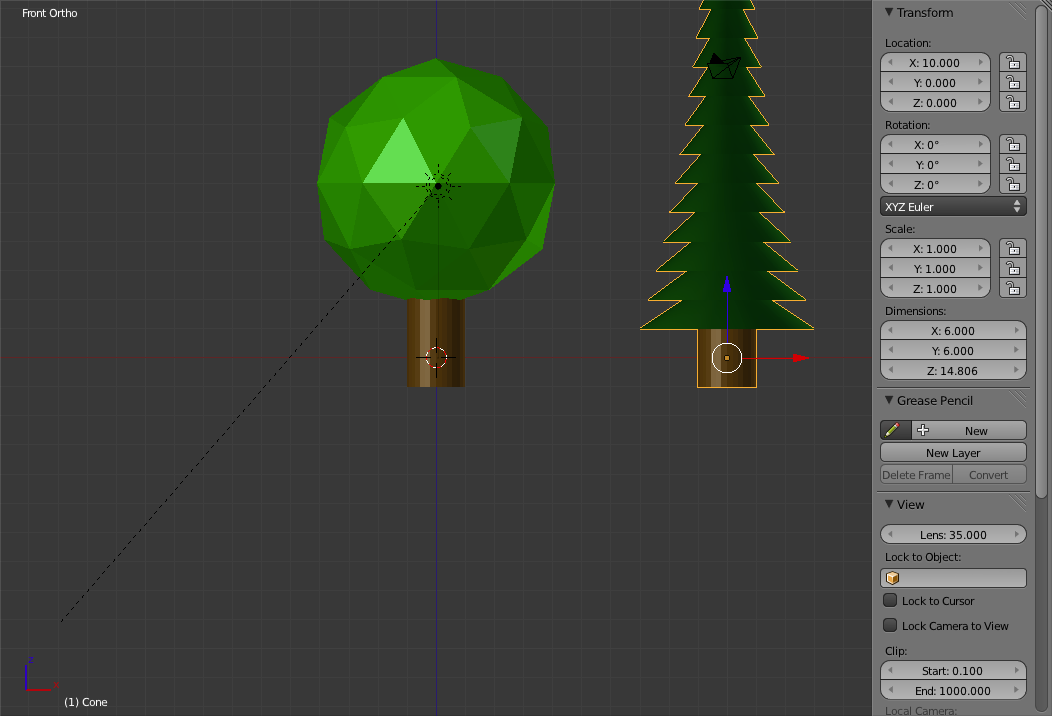
Now go to the "Object Panel" ( 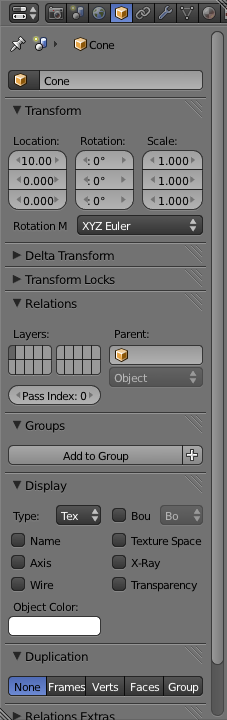
Change the name of the object from Cone to evergreen. 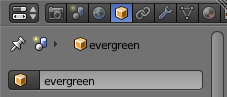
Select the Deciduous tree (right-click) and change its name to deciduous. 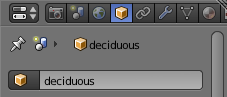
Select both trees ('b'). 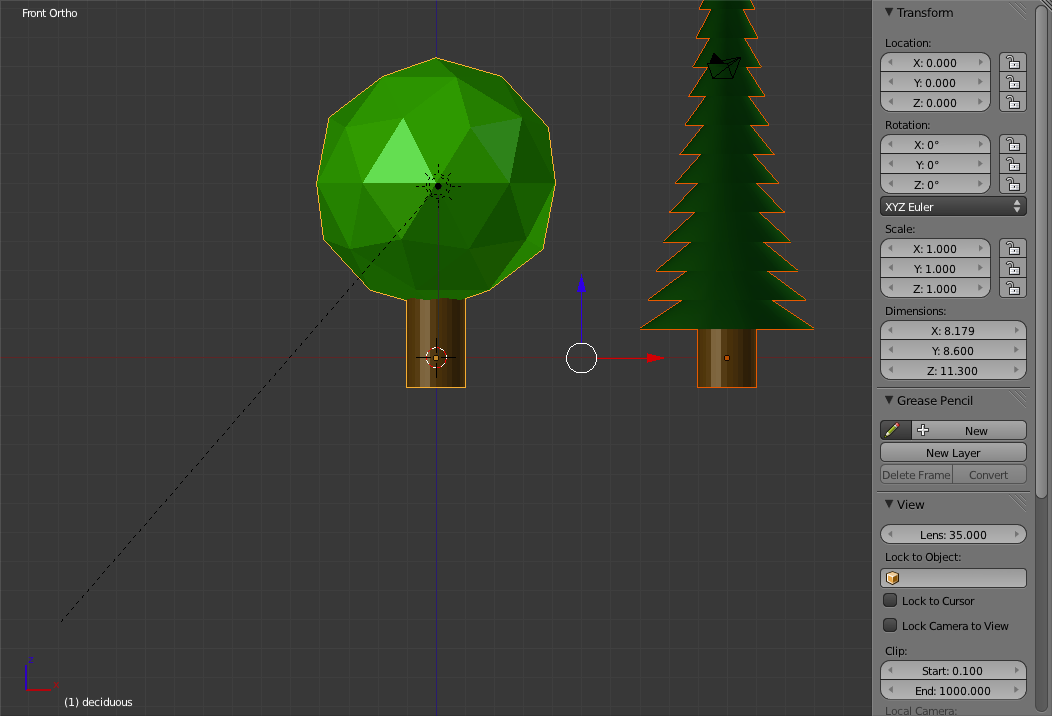
Press 'Ctrl+g' to create a new group out of the trees. (the border of the trees should now be green) 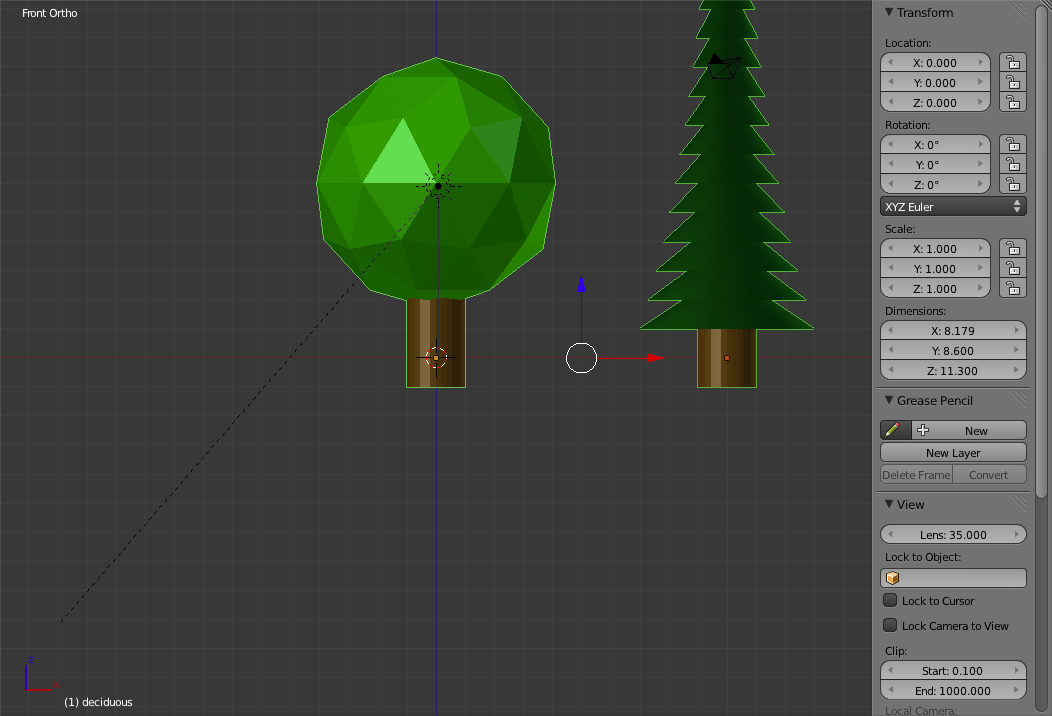
Give the group a new name by changing Group to trees in the "Name" field in the "Create New Group" Panel of the Left "Toolbar Panel". 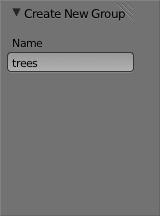
Moving the Trees to Another LayerNow we need to move the trees out of the way. To do so, press 'm' to bring up the "Move To Layer" Pop-up window. 
Press '2' to move the trees to the second layer. 
Press 'Enter' to confirm and close the pop-up window. 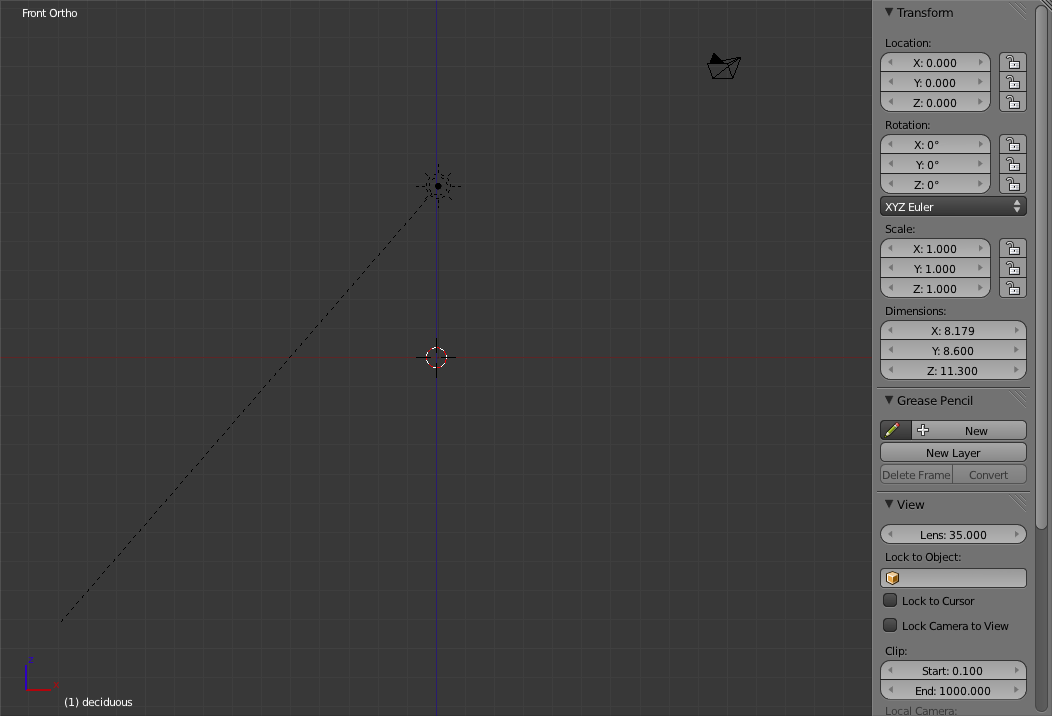
You should now see that the layers selection area in the base bar of the "3d View" shows that there are objects on the first two layers and that we are still viewing the first layer. 
Making the Forest FloorNow switch to Top view ('Numpad-7') and create a new plane ('Shift+a' and select "Mesh->Plane") and enter "Edit Mode" ('Tab'). 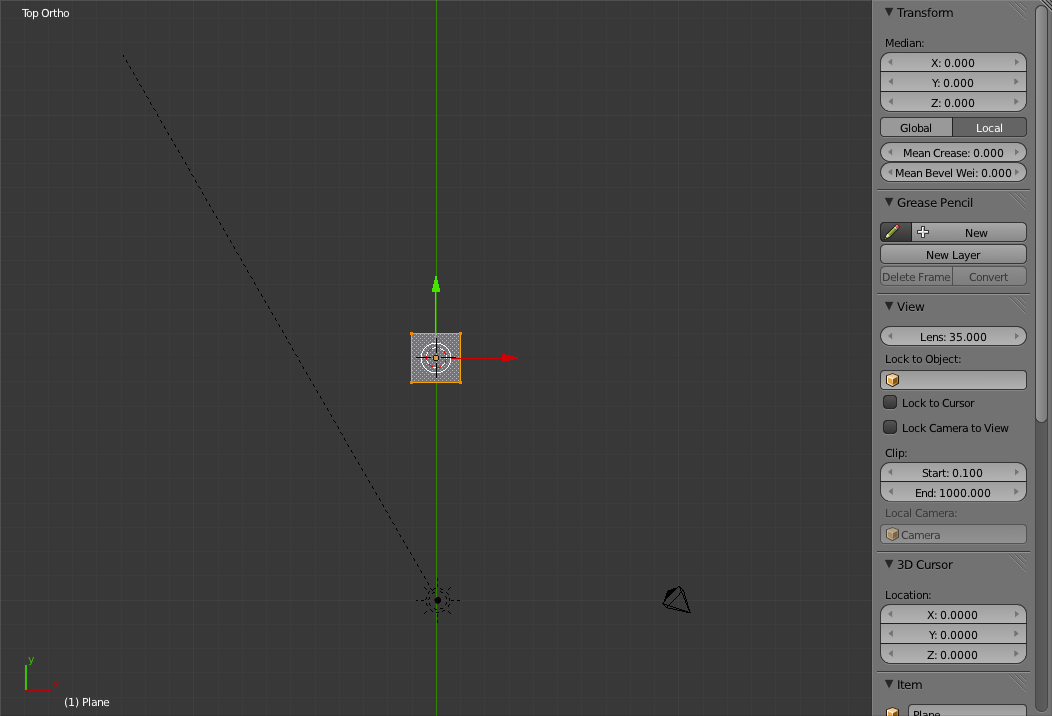
Select the top edge of the plane ('a' to deselect and 'b' to select) and move it up nine grid units ('g'). 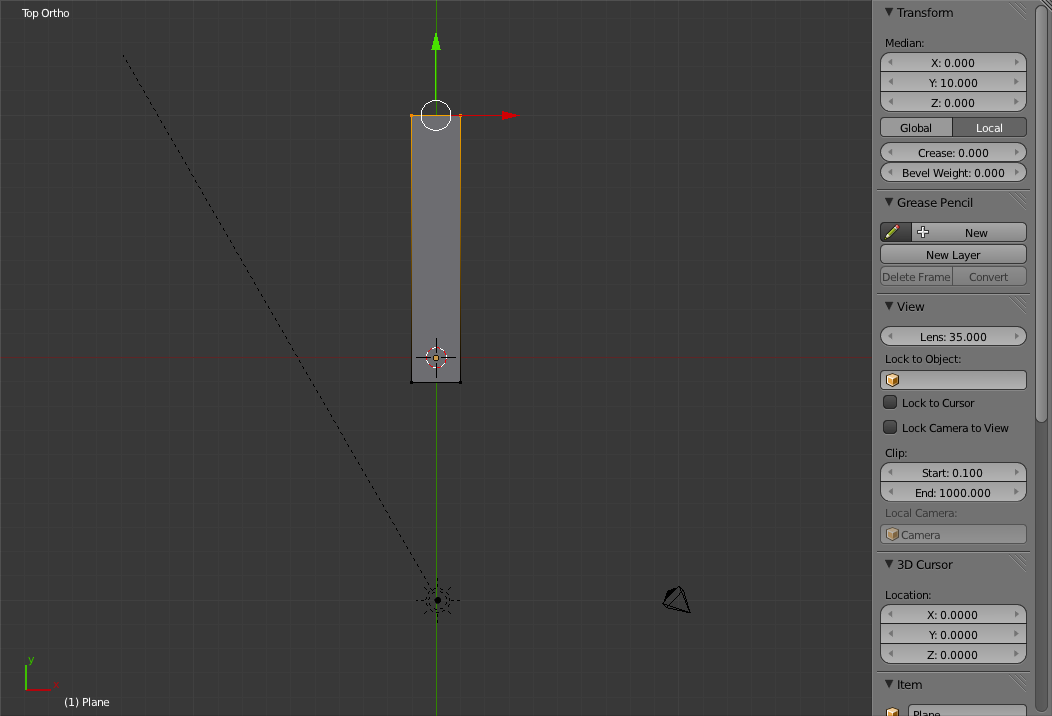
Select and move the bottom edge down nine grid units, the left edge left nine grid units and the right edge right nine grid units. Now select all of the plane. 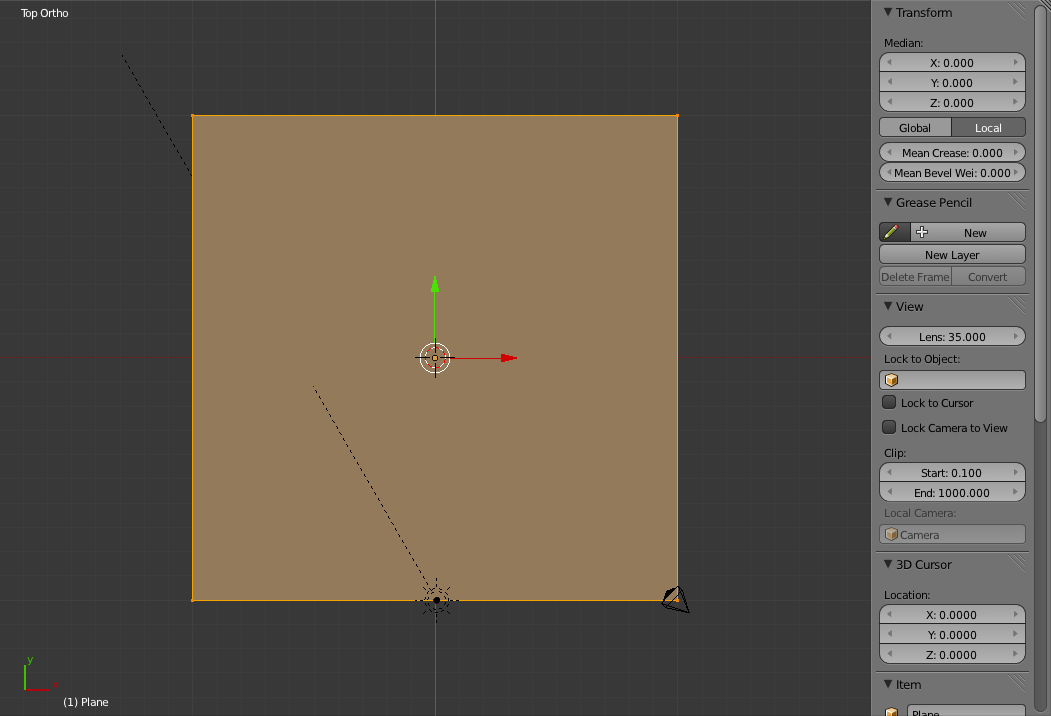
Click on the "Subdivide" button in the "Add" Panel of the Left "Toolbar Panel". 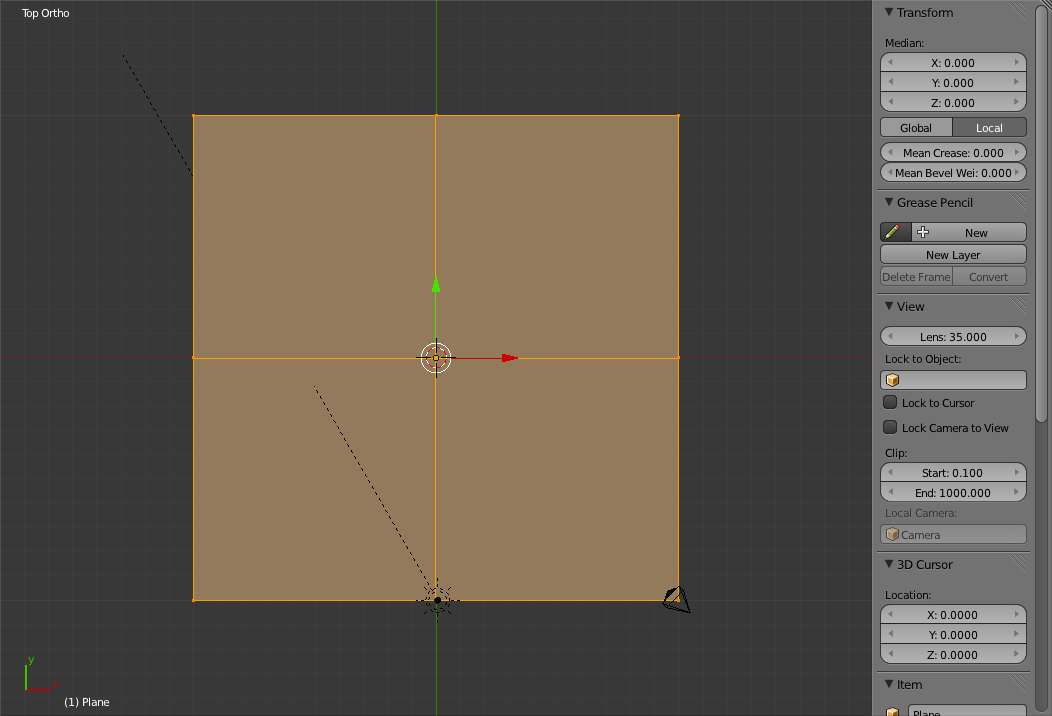
Chenge the "Number of Cuts" Field to 5 in the New "Subdivide" Panel of the Left "Toolbar Panel". 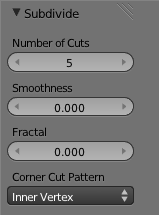
Deselect everything ('a') and switch to Camera view ('Numpad-0'). 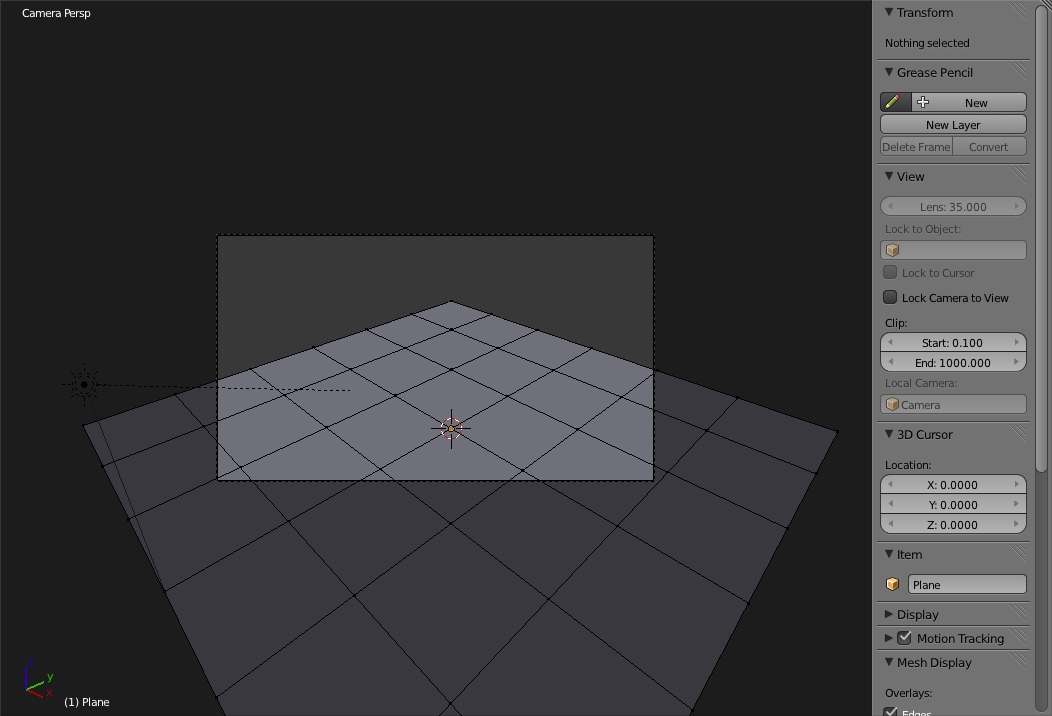
Select one of the inner vertices (Not one of the outer-edge ones) and move it up along the z-axis ('g+z'). 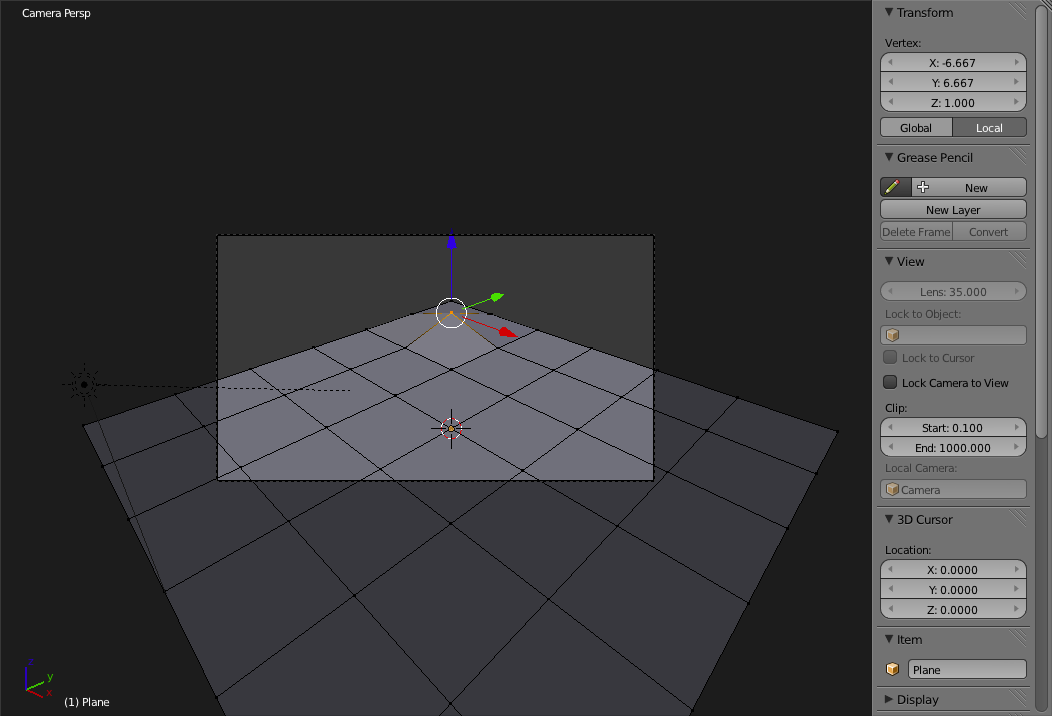
Move all the other up or down ('g+z') different amounts to create a hilly area. Do not move any of the outer-edge vertices. 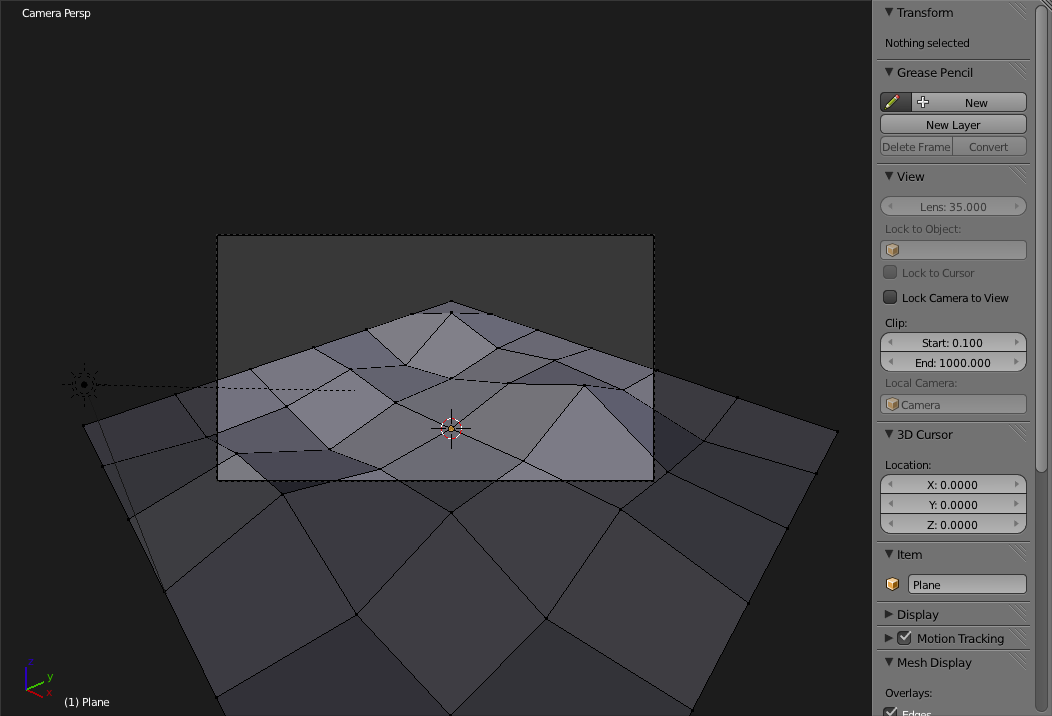
In the above step you should not have moved any of the vertices selected in the below image. 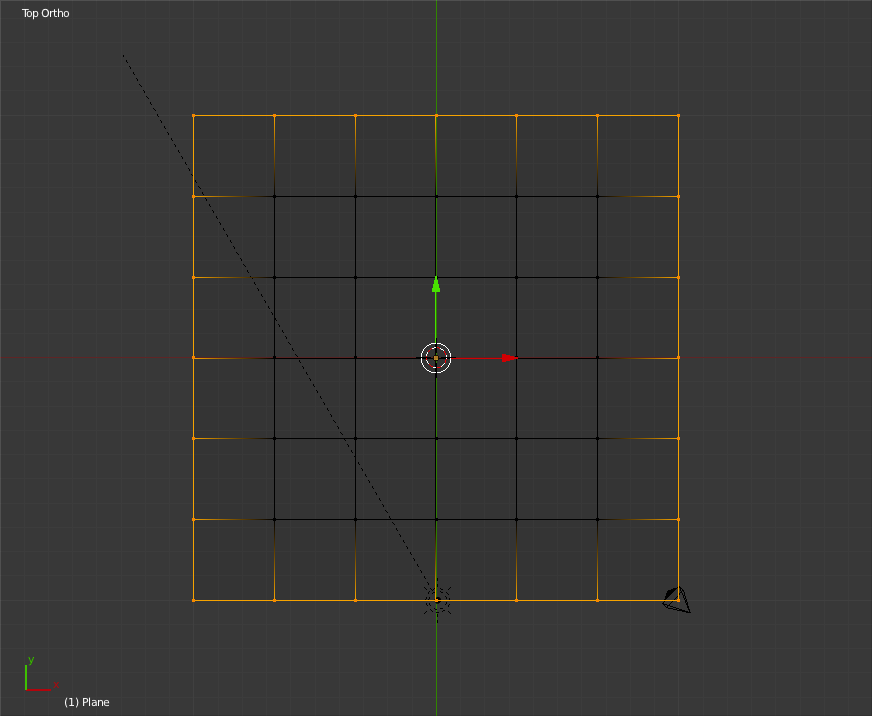
Now exit edit mode ('Tab'). 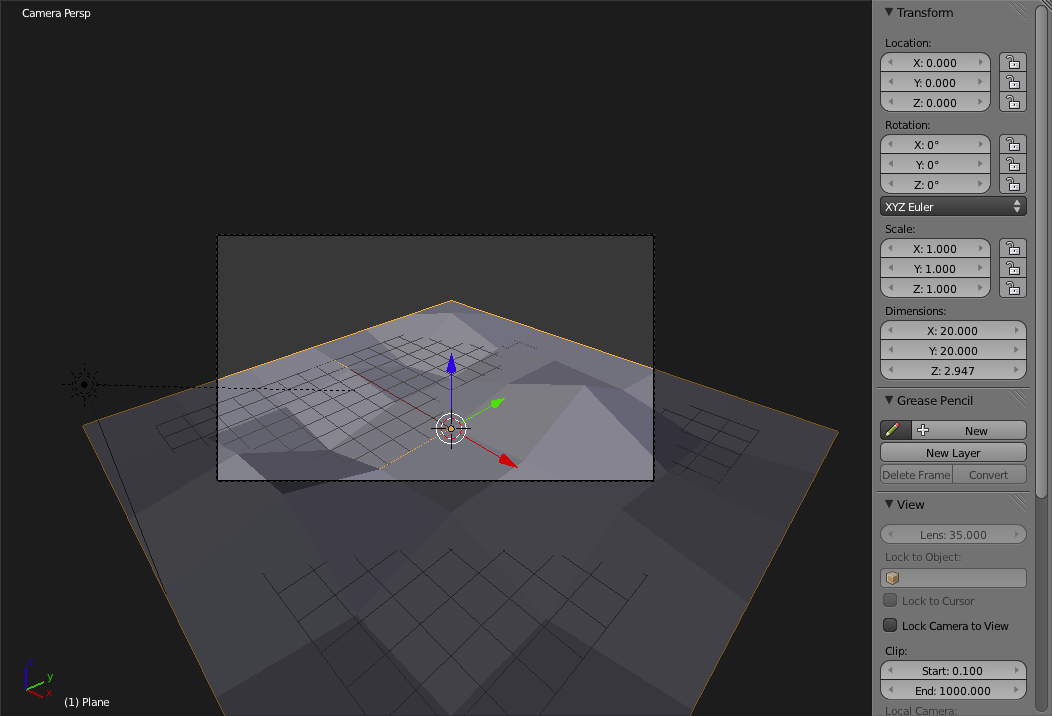
Making the Forest using Particles
Go to the "Particles Panel" ( 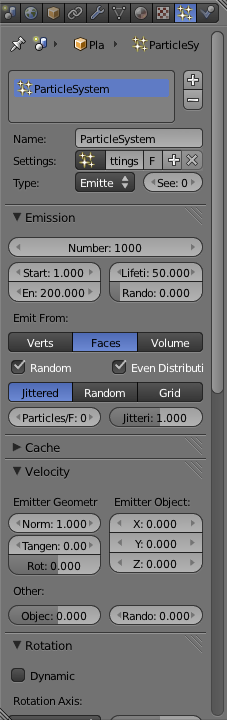
Change the particle system type from Emitter to Hair. 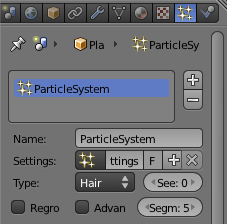
Now you can see the default hair particles coming out of our ground plane. To see what this looks like, render an image. 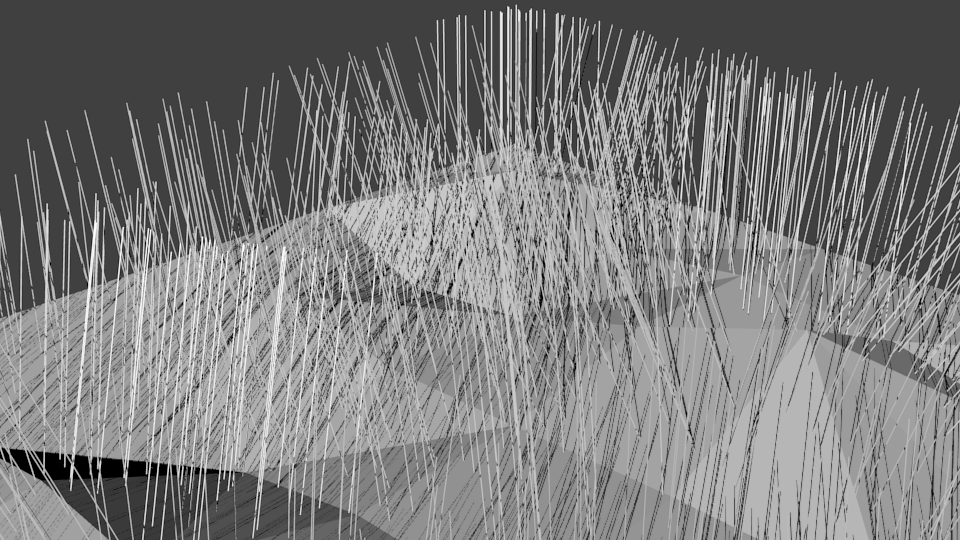
Now since we actually want to make a forest go to the "Render" Section and change the Particle type to "Group". 
Now change the "Dupli Group" field to be the trees group we made earlier. 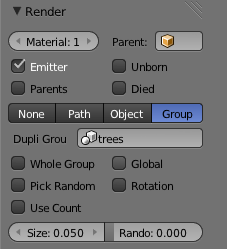
Now you should see something like this: 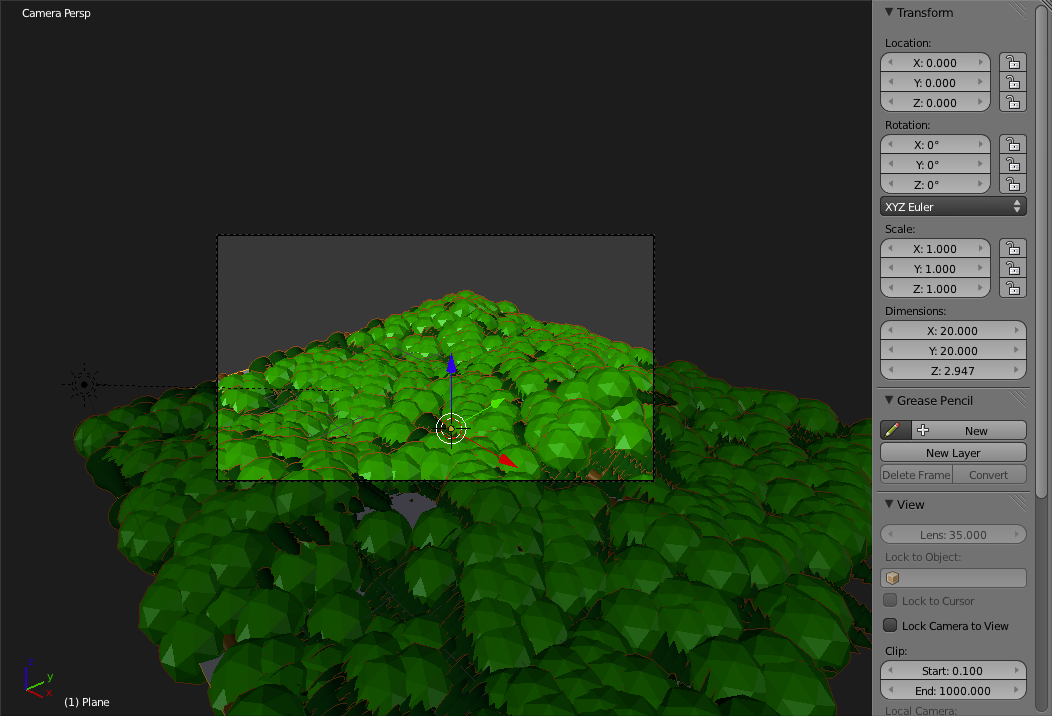
Since the trees are a bit big, change the size field to 0.020. 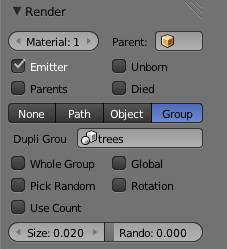
Now check the "Advanced" checkbox in the header section of the "Particles Panel" to turn on some advanced settings. 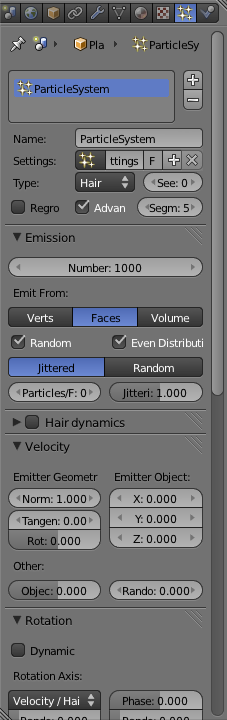
Uncheck "Even Distribution" checkbox and change from "Jittered" to "Random" in the "Emission" Panel. 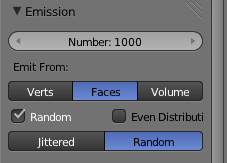
Scroll down to the "Render" Section and check the "Rotation" and "Use Count" checkboxes. After checking "Use Count" a new list box should appear. This box is used to set the order and frequencies for each of the group members. 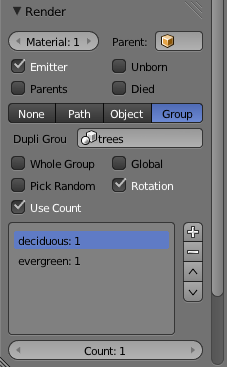
Change the order of the evergreen and deciduous objects by selecting evergreen and clicking the "^" button. 
Now change the count for Evergreen to 3 so that there are more evergreens than deciduous trees. 
You should now have something that looks similar to: 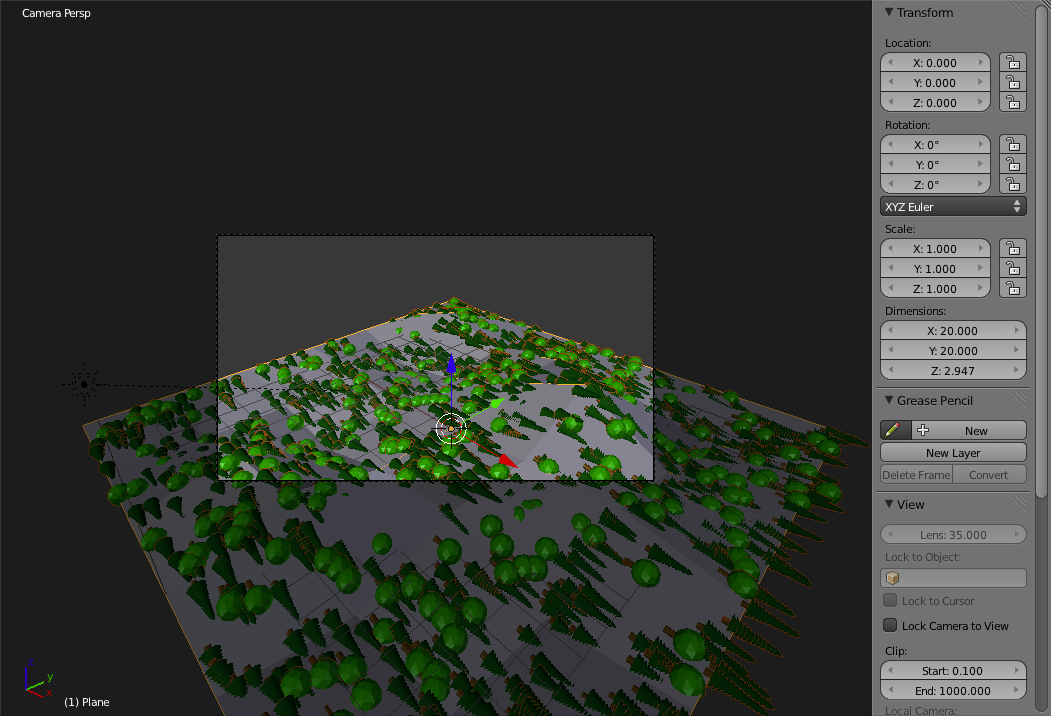
Now as you can see the trees appear to be laying on their sides. To fix this we only need to rotate the trees so that they stand upright. Go to the second layer by pressing '2'. You should now see the two trees we built earlier. 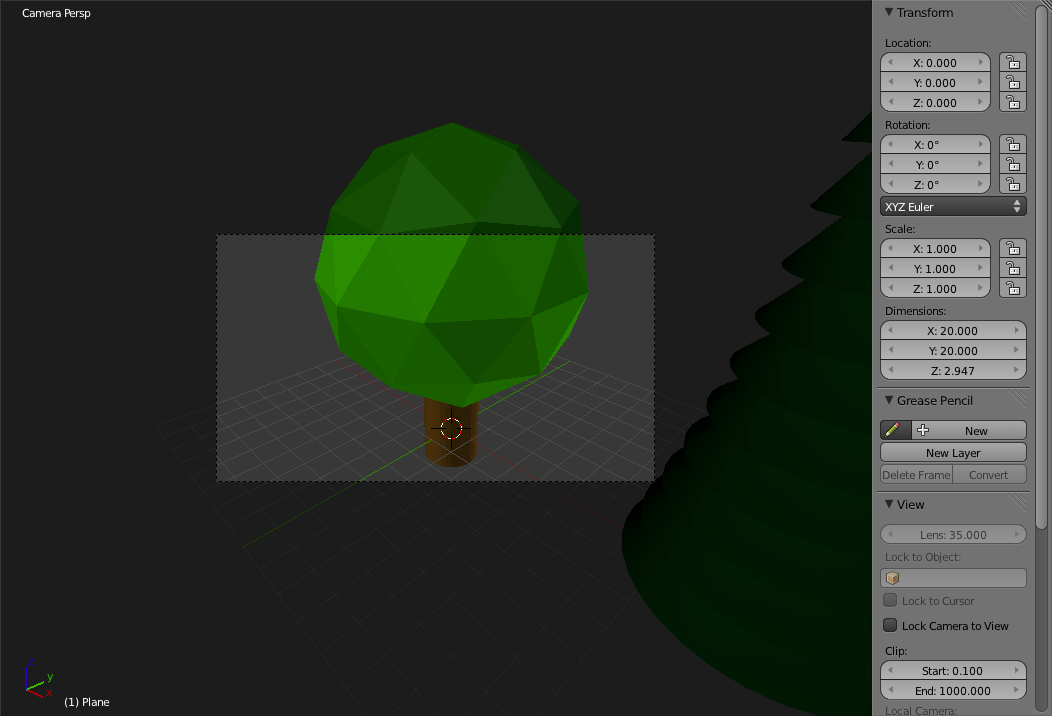
Switch to Front view ('Numpad-1'), select ('b') and rotate ('r', holding 'Ctrl' to snap) the deciduous tree 90 degrees in a clockwise direction. 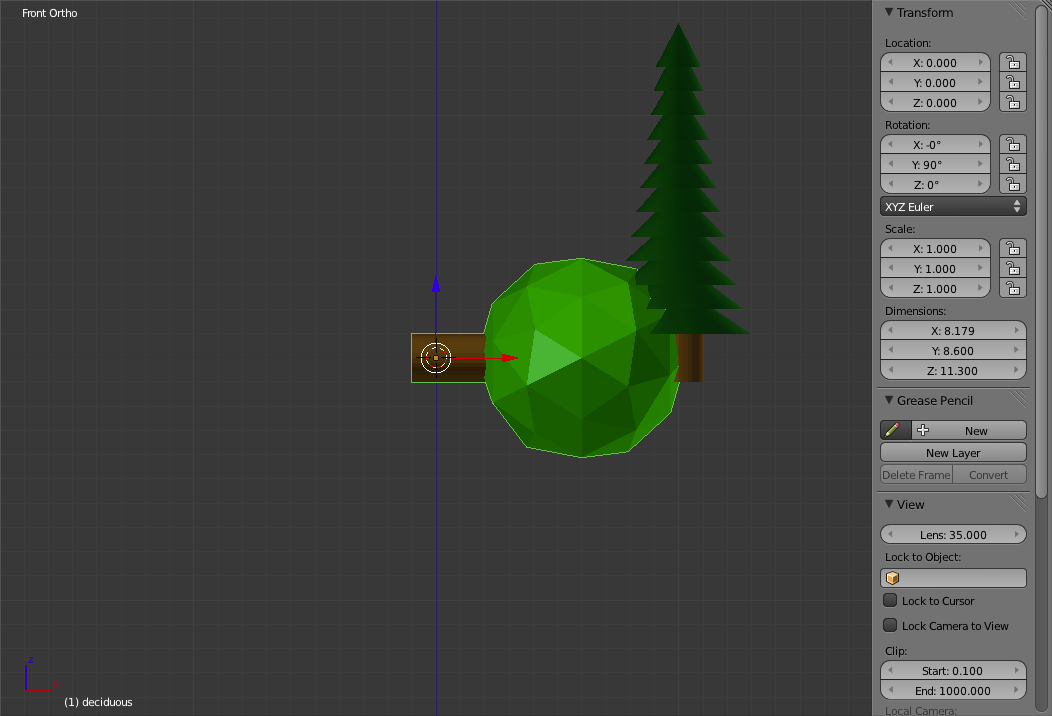
Select and Rotate the Evergreen the same amount. 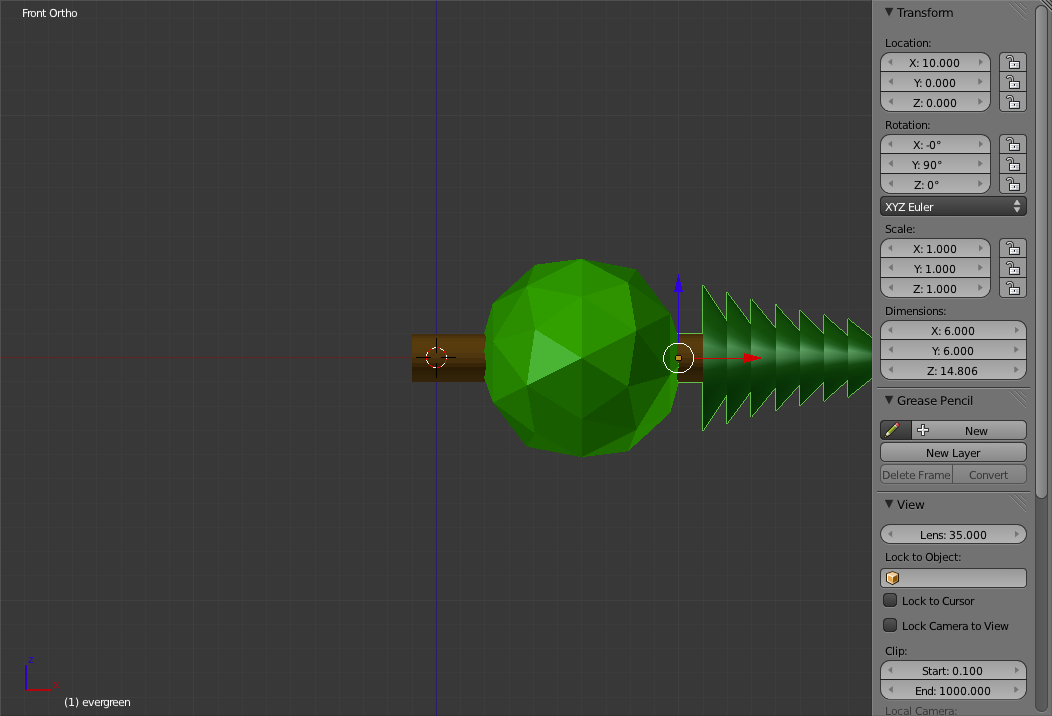
Return to the first layer. You should now see the trees standing up on the ground. Now they are not growing perfectly upright, in fact they are growing out along the Normal vectors (perpendicular to the face) for each of the face of the ground. 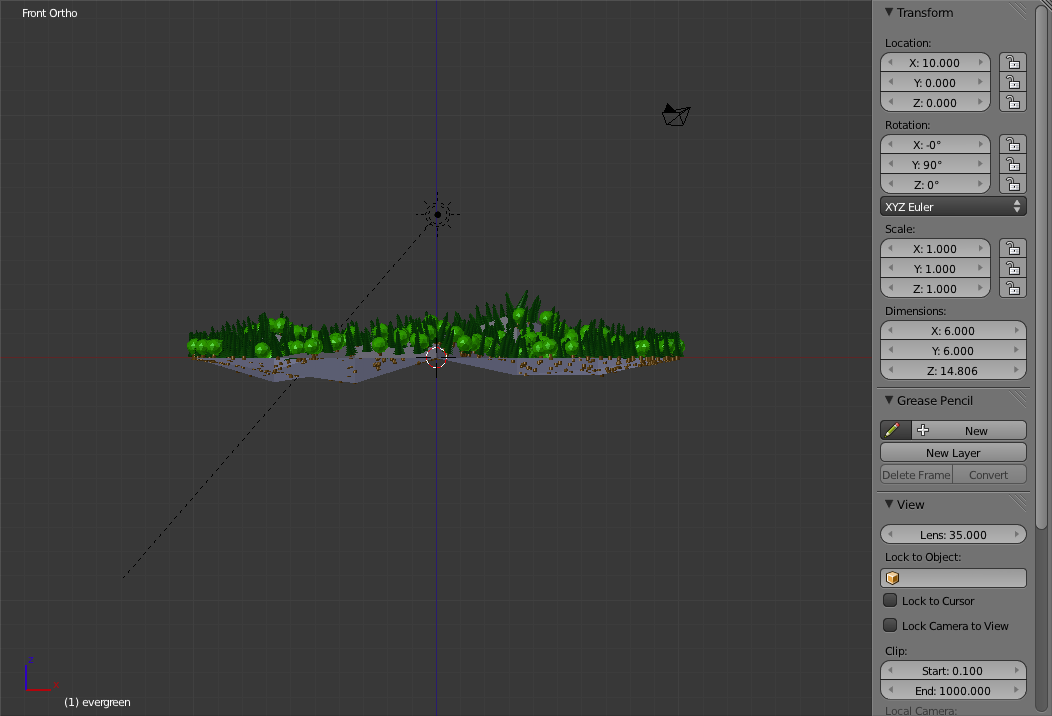
Select the Ground (Right-click) and under the "Physics" section of the "Particles Panel" change the "Rand" value below "Size" to 0.75 (this will have some variance in the size of each tree). 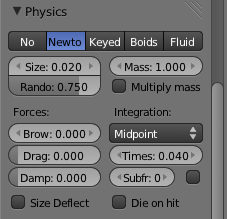
Now go to the "Materials Panel" ( 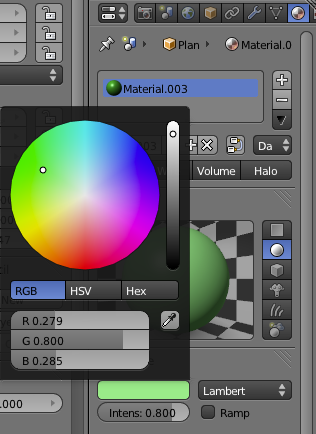
Now switch back to Camera view ('Numpad-0') and render an image. 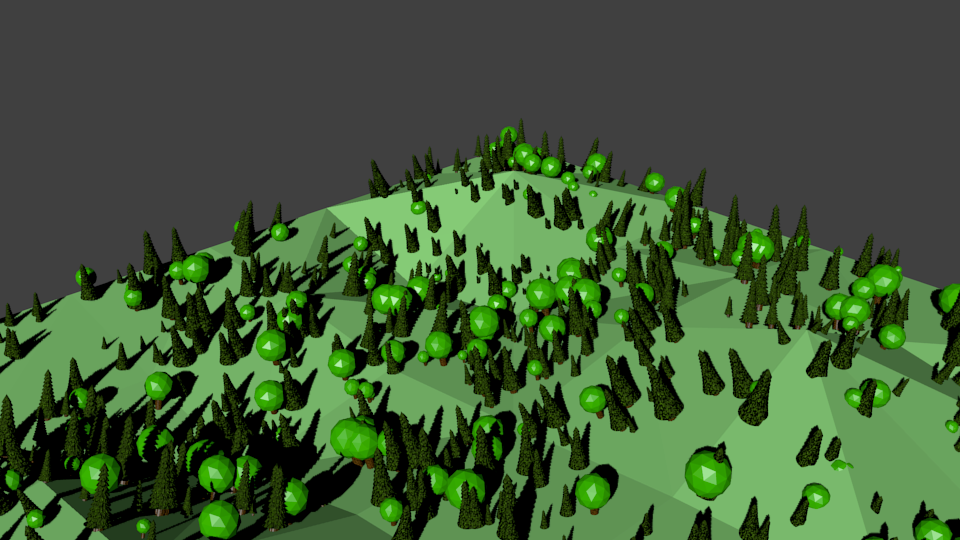
As you can see we have are pretty close to a simple looking forest. Adjusting the Settings
The first thing to do is to make the trees grow much more upright.
Go to the "Particles Panel" ( 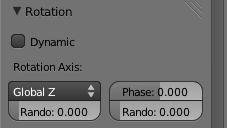
In the "Emission" Section change the "Number of Particles" Field to 1500 to make the forest denser. 
Now click the "Smooth" Button in the "Shading" Section of the Left "Toolbar Panel". 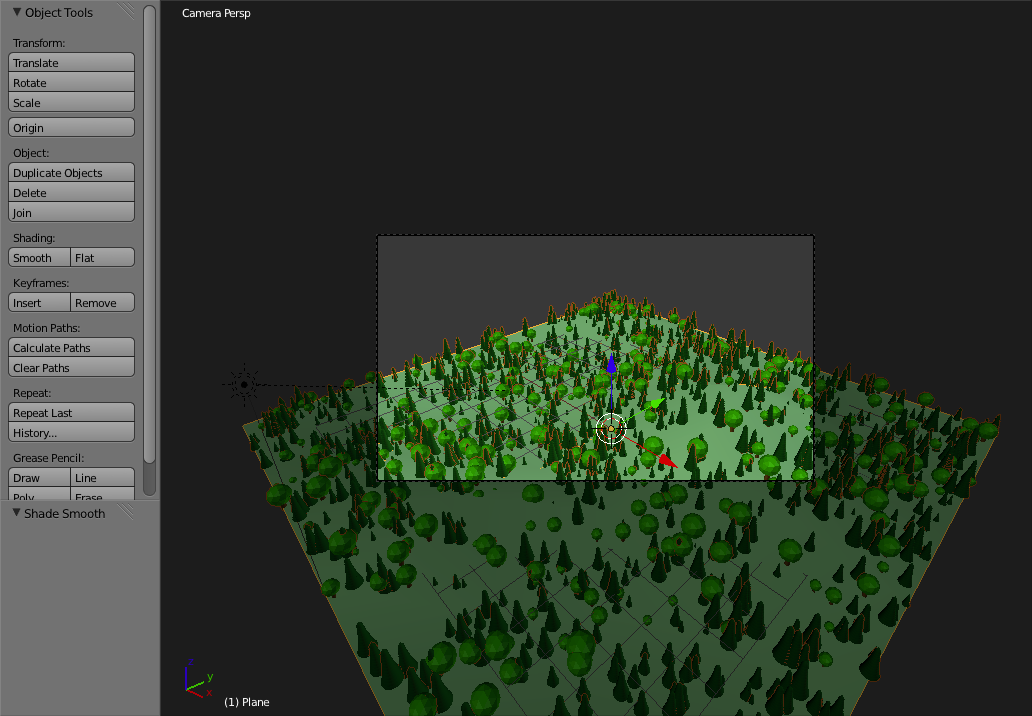
Render an image. 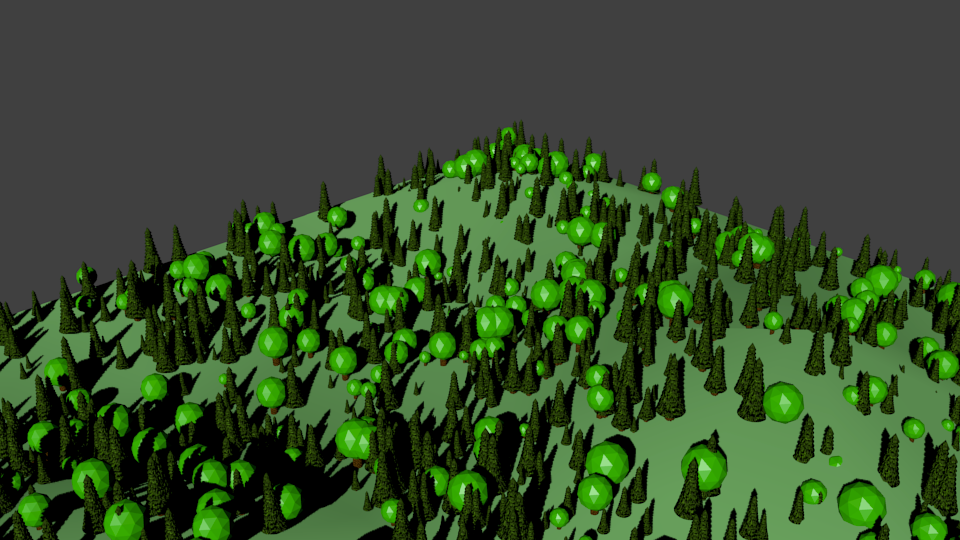
Tiling for a Larger SceneNow as you can see we are starting to have a pretty nice looking forest. The main problem is that beyond the edge of our ground surface the forest just ends. To deal with this issue we can just tile the ground plane (This is why it was important to not move the edge vertices when we were building the ground plane). Go to the Top View and zoom out. 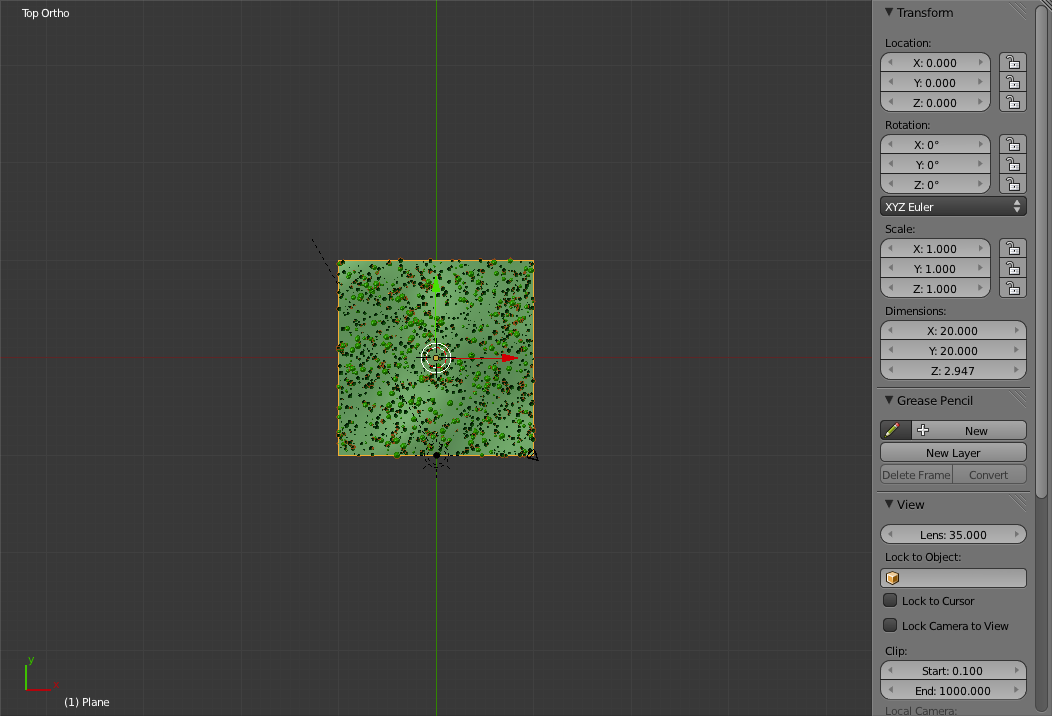
Now duplicate the ground object ('Shift+d') and move the new one to be above the old one (Hold 'Ctrl' to snap). 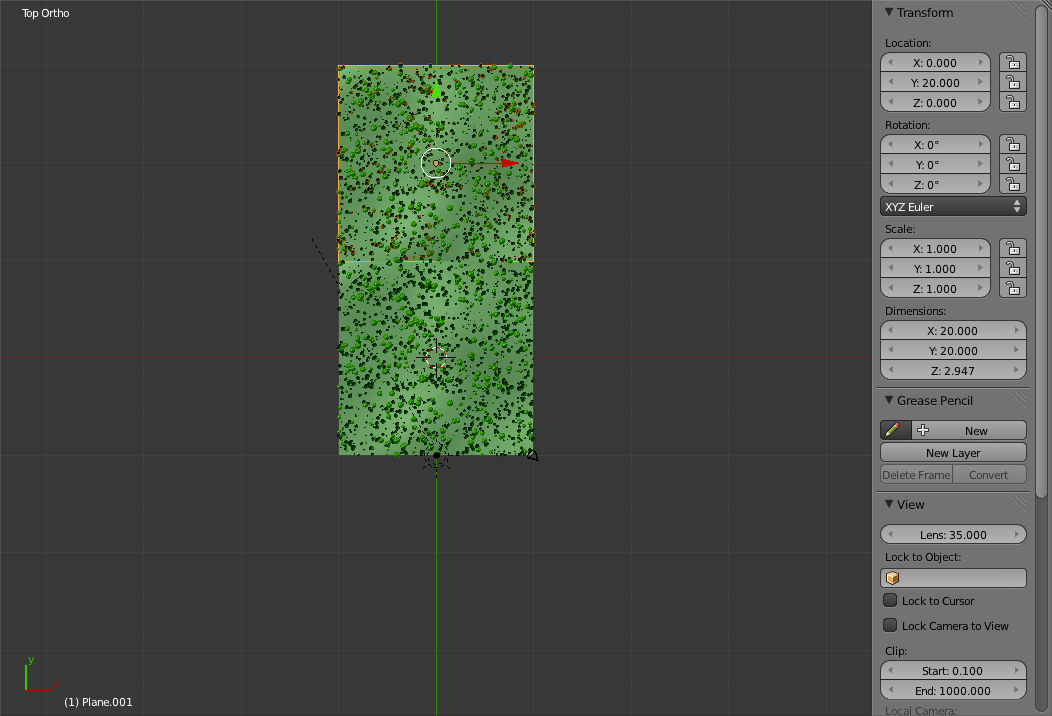
Now select both of the ground objects and move them to be just to the left of the original ones. 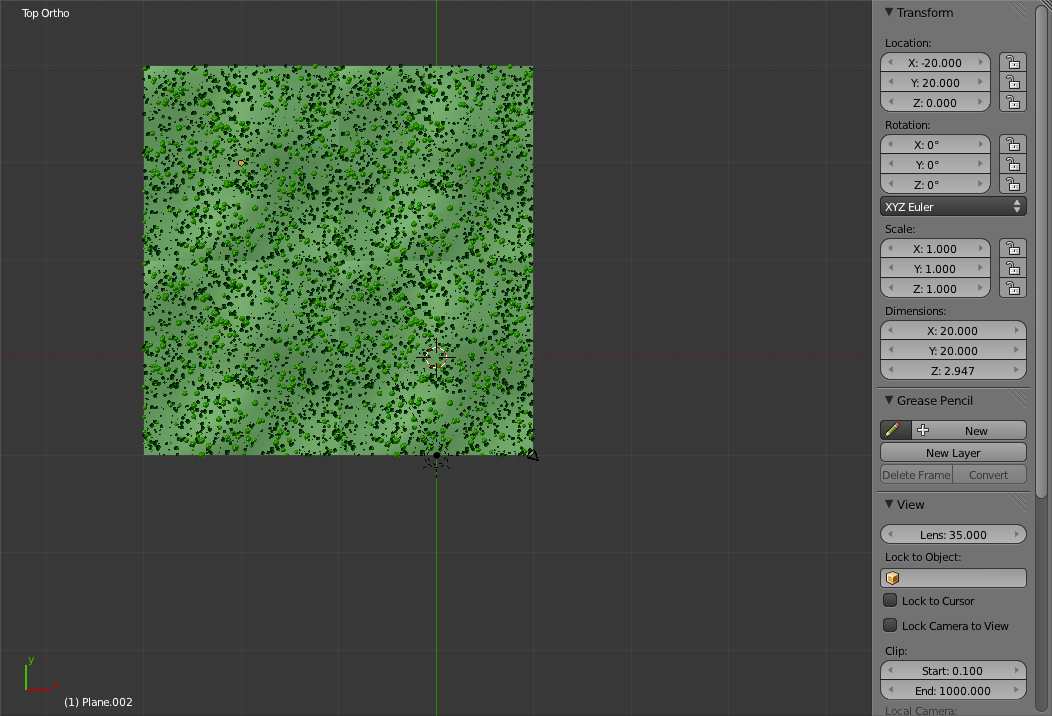
Now if you render an image it should seem like the forest extends for a lot farther than before. 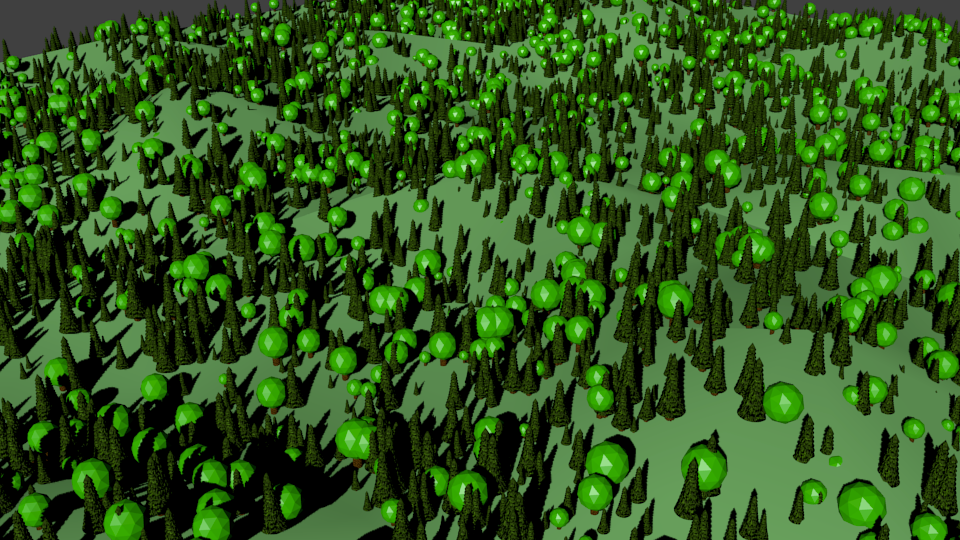
Don't forget to save. |