 Blender Tutorials
Blender Tutorials
Blender Tutorials
Navigation: |
Modelling a Simple Train EngineThis Tutorial is meant as an introduction to Blender (2.5 and up). It should be doable by anyone interested in learning how to use Blender. Some basic knwoledge of how to Navigate Blender's User interface is required. Table of ContentsTo begin this tutorial, open Blender. Setting UpTo set up for this tutorial, go into the Top View, in Orthographic View Mode ('Numpad-7' and 'Numpad-5' respectively). 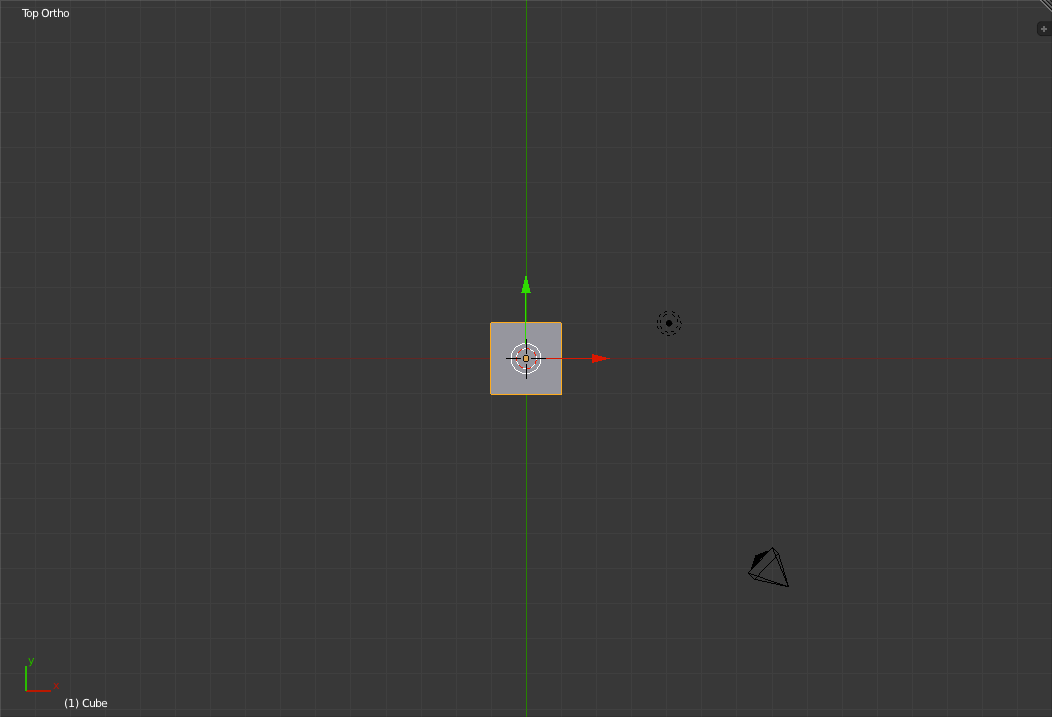
The default cube in the middle of the view starts out selected. You can tell this by the fact that it is highlighted in orange. Since it is selected we can delete it by pressing the 'x' key and confirming. 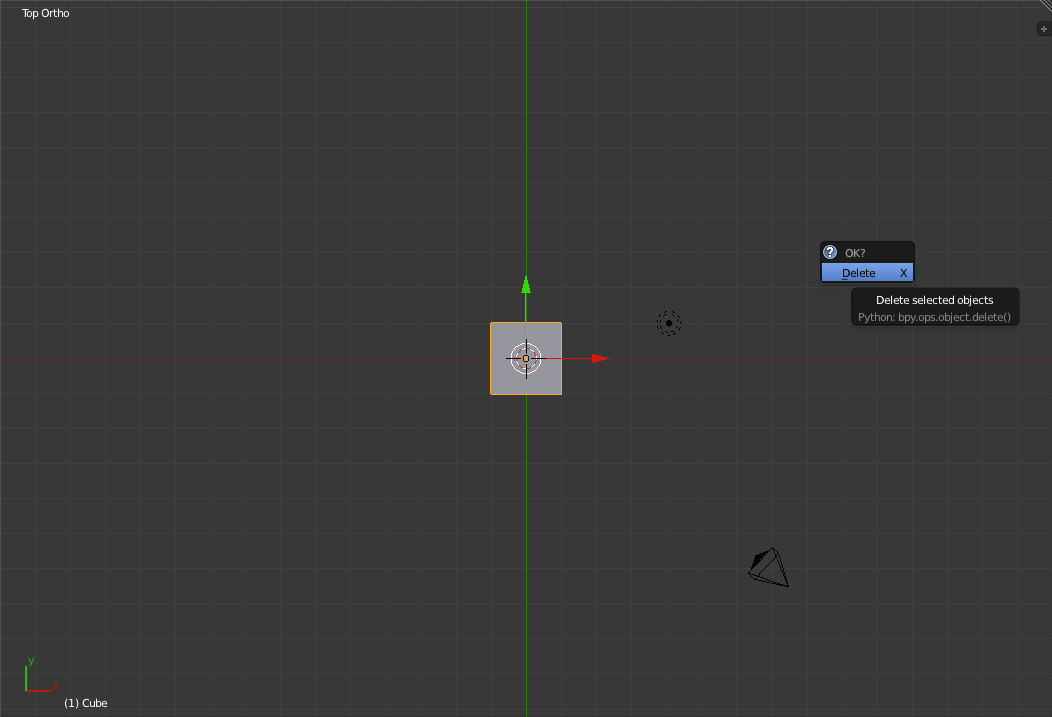
Now that you have cleared the Workspace, zoom in a bit (using the mouse scroll wheel) until the camera is near the bottom of the main 3d window. Starting to BuildTo Create the first object, hover the mouse over the main 3d window and press 'Shift+A'. This should bring up a little pop-up window titled: "Add". 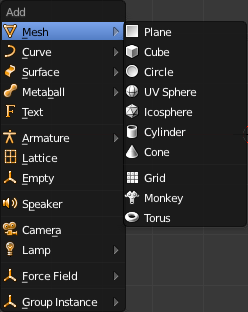
From the "Mesh" pop-up menu select Cylinder. This will create a Cylinder that is centered on the 3d cursor. 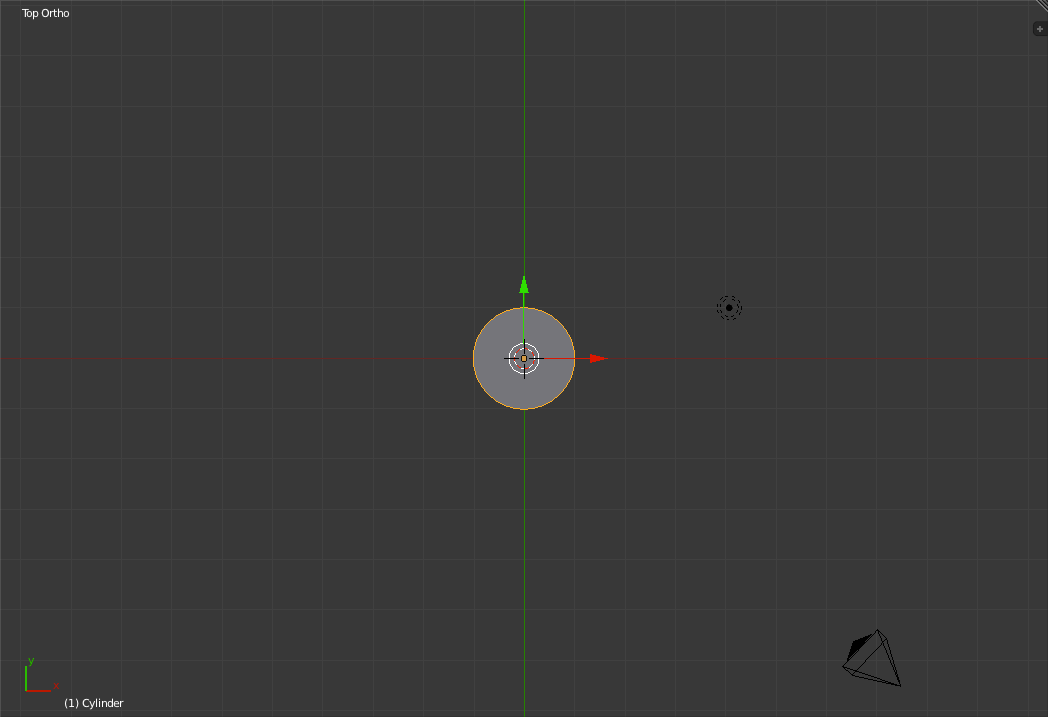
Now enter "Edit Mode" by pressing 'Tab'. The 'Tab' Key toggles between "Edit Mode" and "Object Mode". 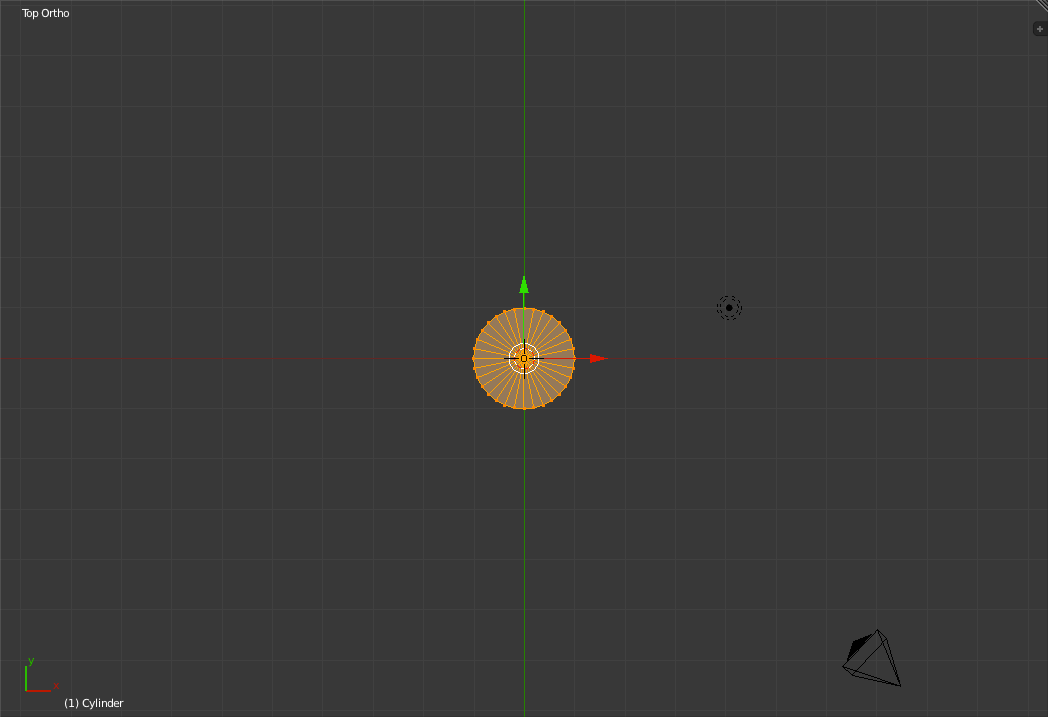
Now change Into the Front view by pressing the 'Numpad-1' key. It is in this view that we will be doing most of our editing. 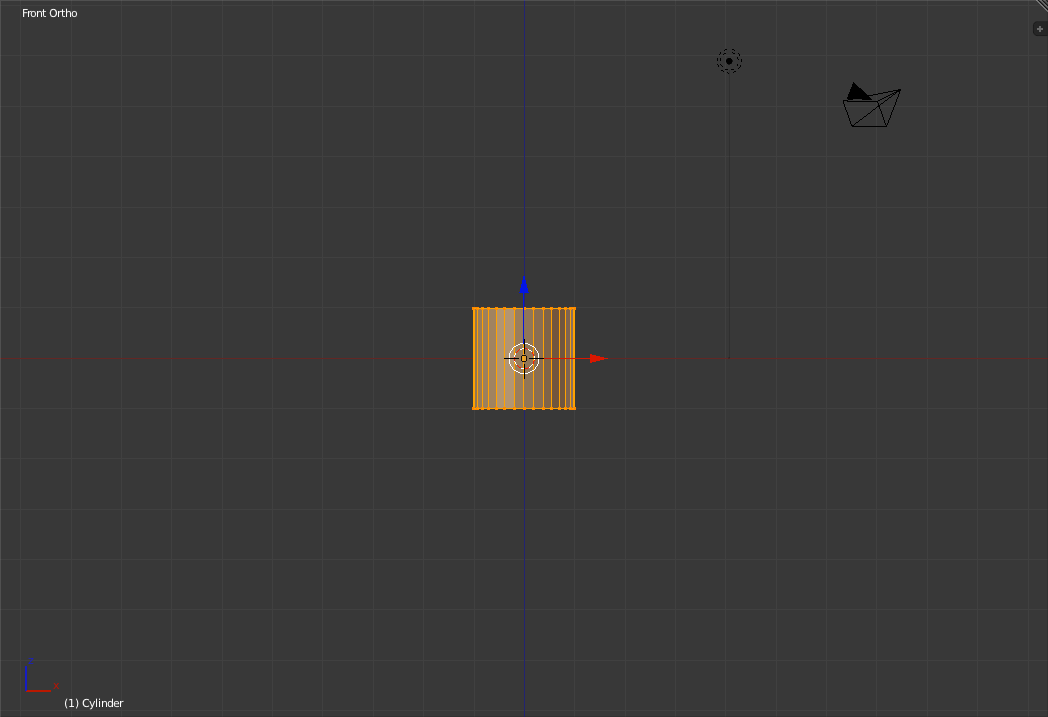
Now move the Cylinder to the right 1 grid unit so that the left edge of the cylinder is on the z-axis. To do this simply press the 'g' key to go into "Grab/Move" mode. Then, to turn on snapping, hold down the 'Ctrl' key. The 'Ctrl' key is used to enable snapping in most modes. Its effect, when moving objects, is to snap to the smallest grid units that are visible. 
Now press the 'r' key to go into 'Rotate Mode' and rotate the cylinder 90 degrees (Use 'Ctrl' to snap) so that what was the top is now along the z-axis. 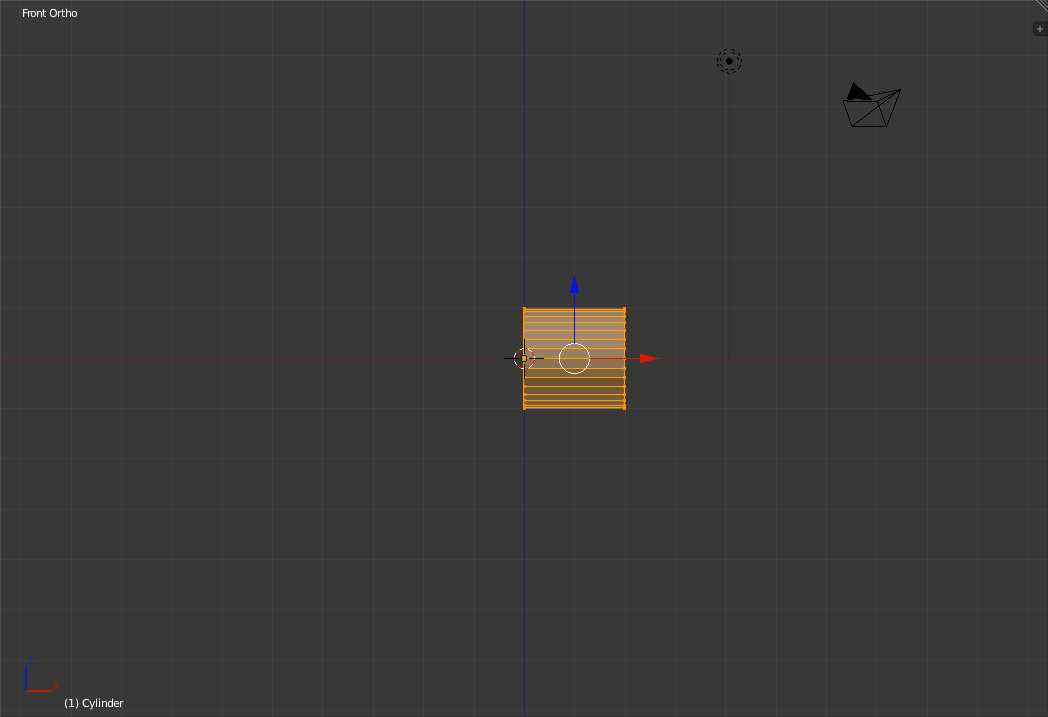
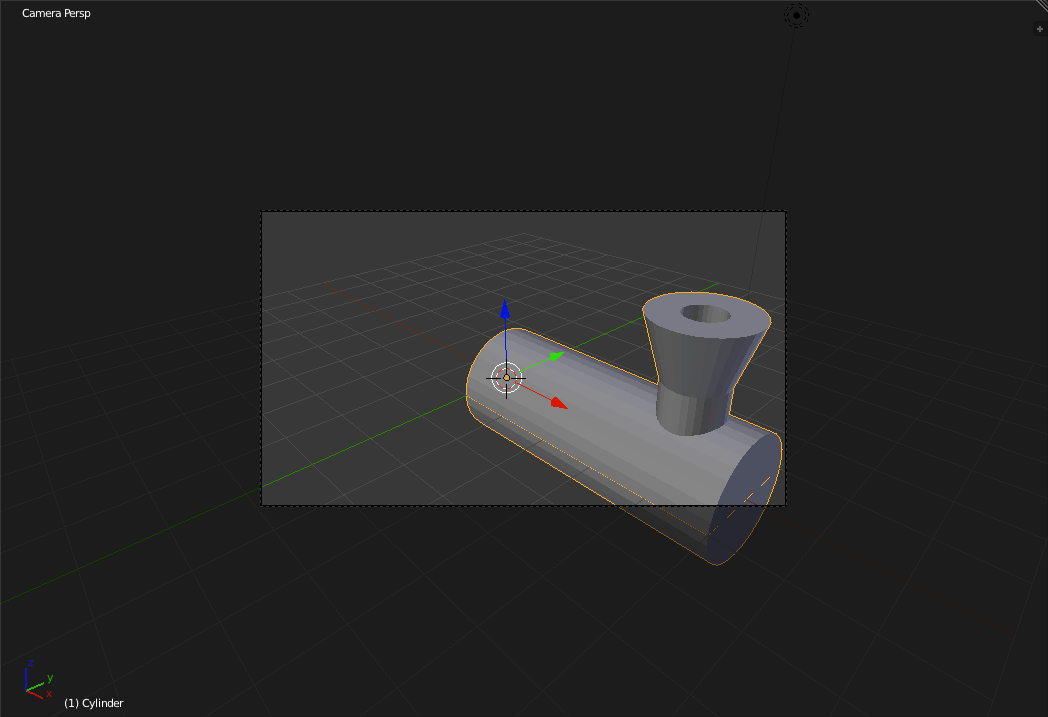
What we have built so far is the basic shape for the Steam Engine's Boiler. In the next Section we will Finish off the boiler and add in the smokestack. Completing the BoilerRight now we have a rather short boiler. The first step towards making it longer is to go into "Wireframe Mode". This is done by pressing the 'z' key which toggles between "Wireframe Mode" and "Shaded Mode". The reason why we need to switch into wireframe mode right now will be explained later. Also, to deselect all the parts of the boiler press 'a'. Now we need to select the vertices at the right hand edge of the boiler. To do this, switch into "Box Select Mode" by pressing the 'b' key. Now drag a box around the right hand edge of the boiler and let go. This will have selected all the points at that end of the cylinder. 
Now press 'g' to grab them and drag them to the right a few grid units (Using 'Ctrl' to snap). 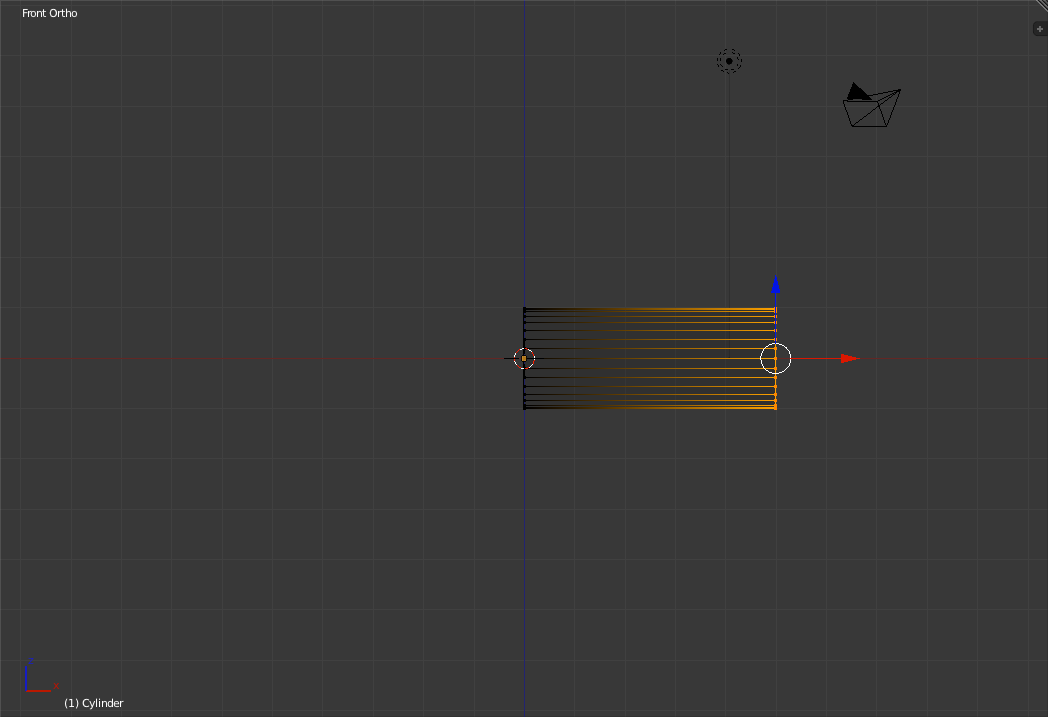
Now that we have a nicely sized boiler we can start working on the smokestack. To create a new cylinder for the smoke stack press 'Shift+A'. 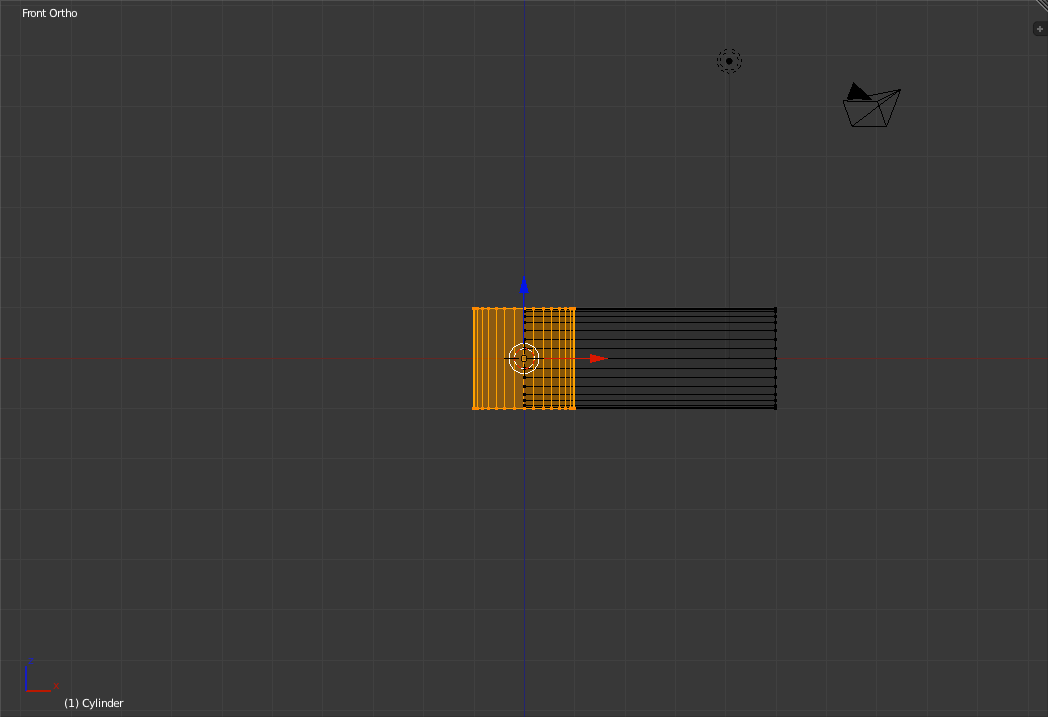
To shink the smokestack press the 's' key to enter "Scale Mode". Then move the mouse towards the center of the new cylinder to shrink it (Hold 'Ctrl' to snap) until it is about half the height of the boiler. 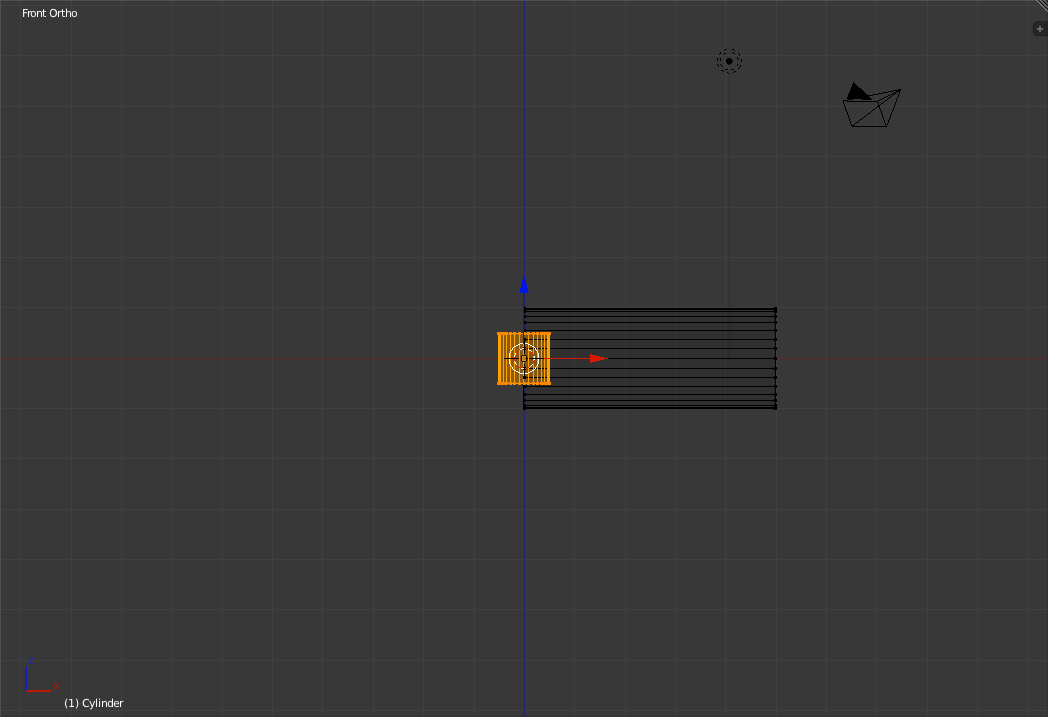
Press 'g' to grab and move the smokestack stub over to the top-front part of the boiler. Click to place it there. Press 'a' to deselect the smokestack stub and use 'b' to select only the vertices along the top edge of the smokestack. 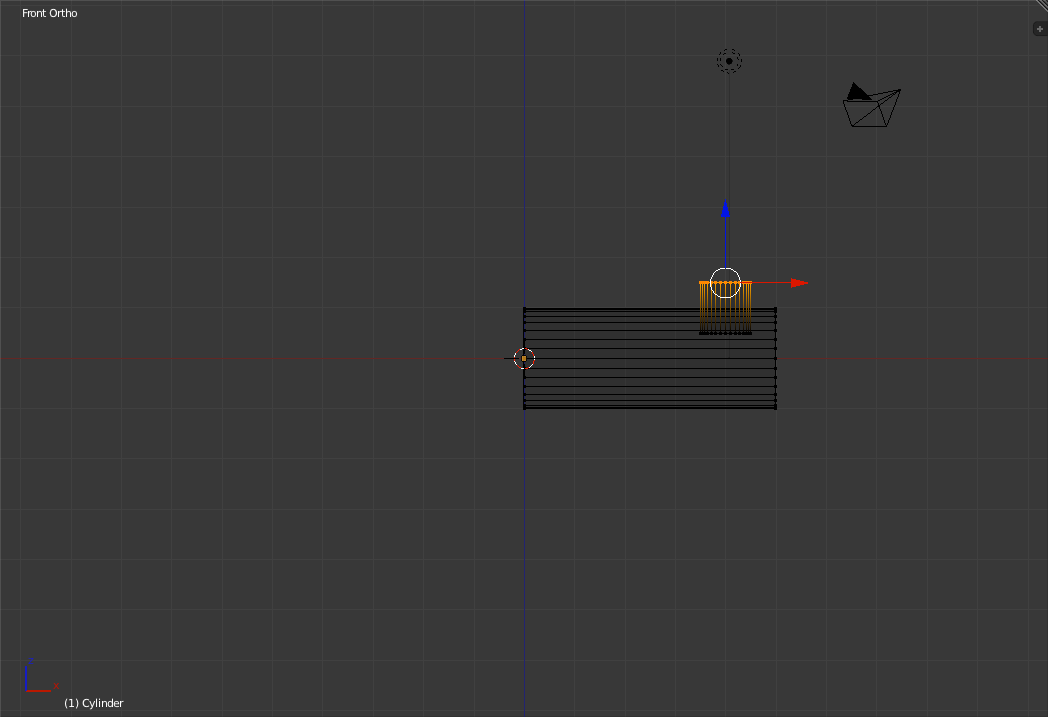
Press the 'e' key to enter into extrude mode. Extrude mode duplicates the verices and faces that are selected and lets you pull out a new section. Once in extrude mode you will only be able to move the extruded items along the highlighted line. Drag up about one grid unit (Holding 'Ctrl' to snap) and click to place the new vertices. 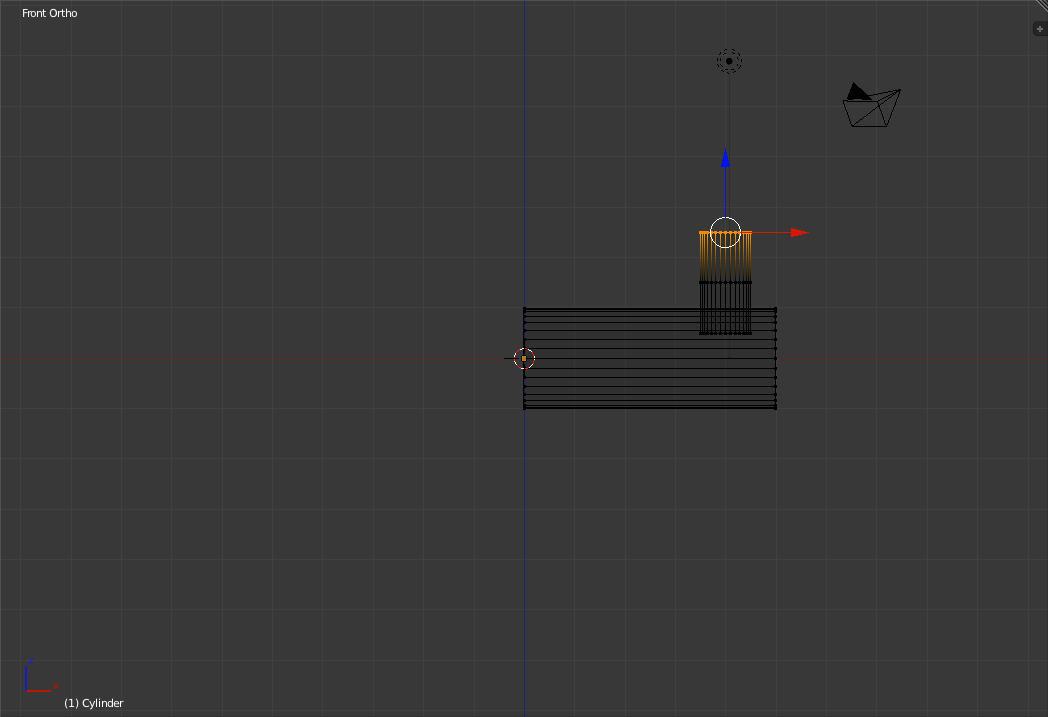
Now press 's' to scale up the new vertices and widen the top of the smokestack. 
Press 'e' to enter extrude mode and, while holding down the 'Ctrl' key, click to place the new vertices on top of the old ones. 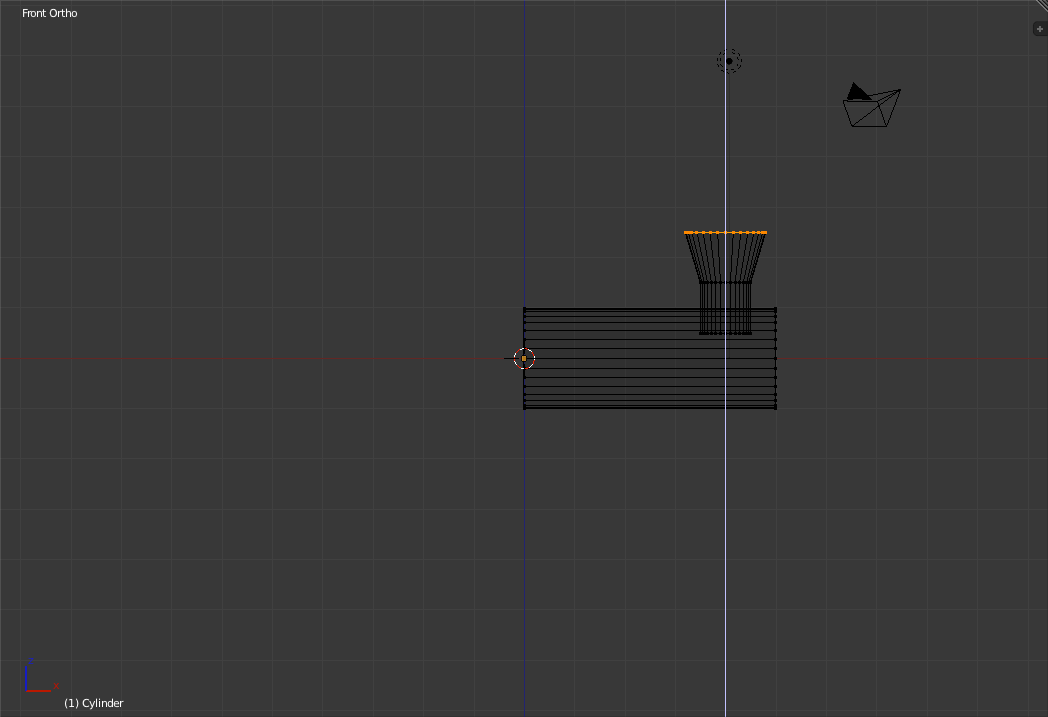
Now press 's' to enter scale mode and scale down the new vertices until they are a bit smaller than the lower part of the smokestack. 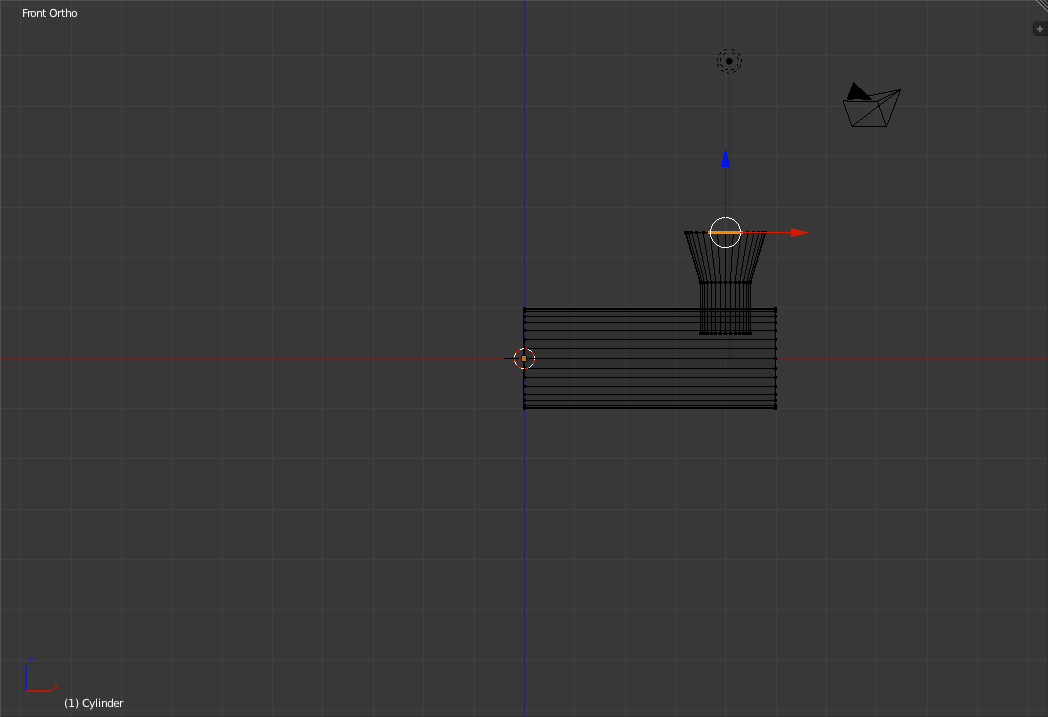
Now extrude again and drag down to the base of the smokestack. What we have done here is to create a hollow center of the smoke stack. 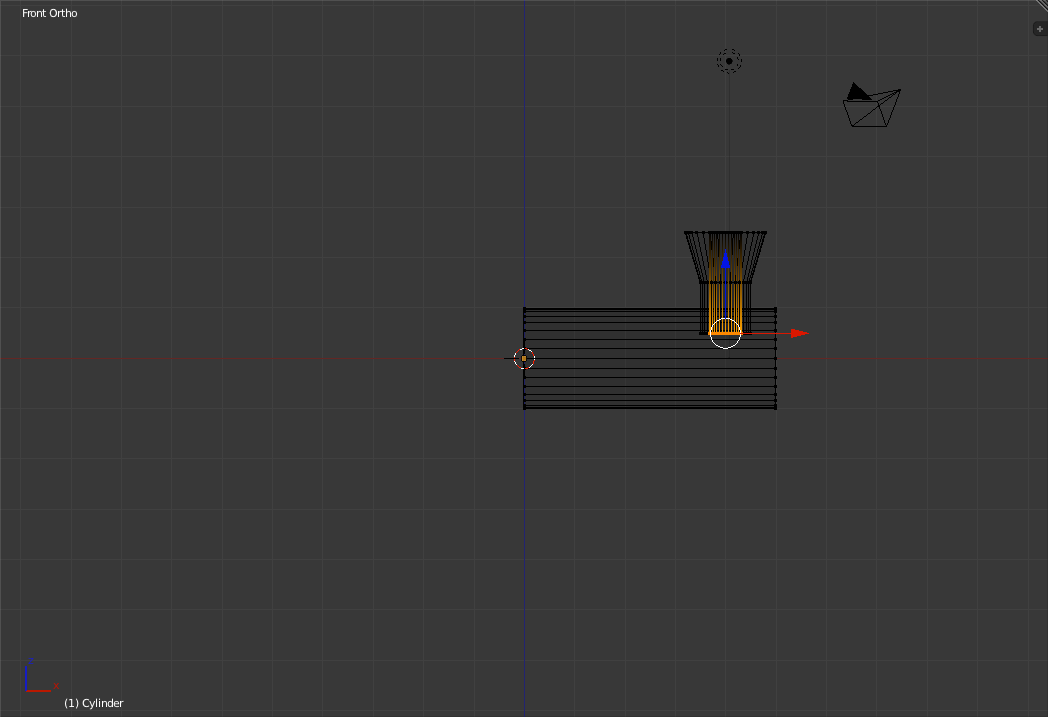
Press 'Tab' to exit "Edit Mode" and 'Numpad-0' to view the Boiler from the Camera's perspective. If you want you can return to shaded mode now by pressing the 'z' key. 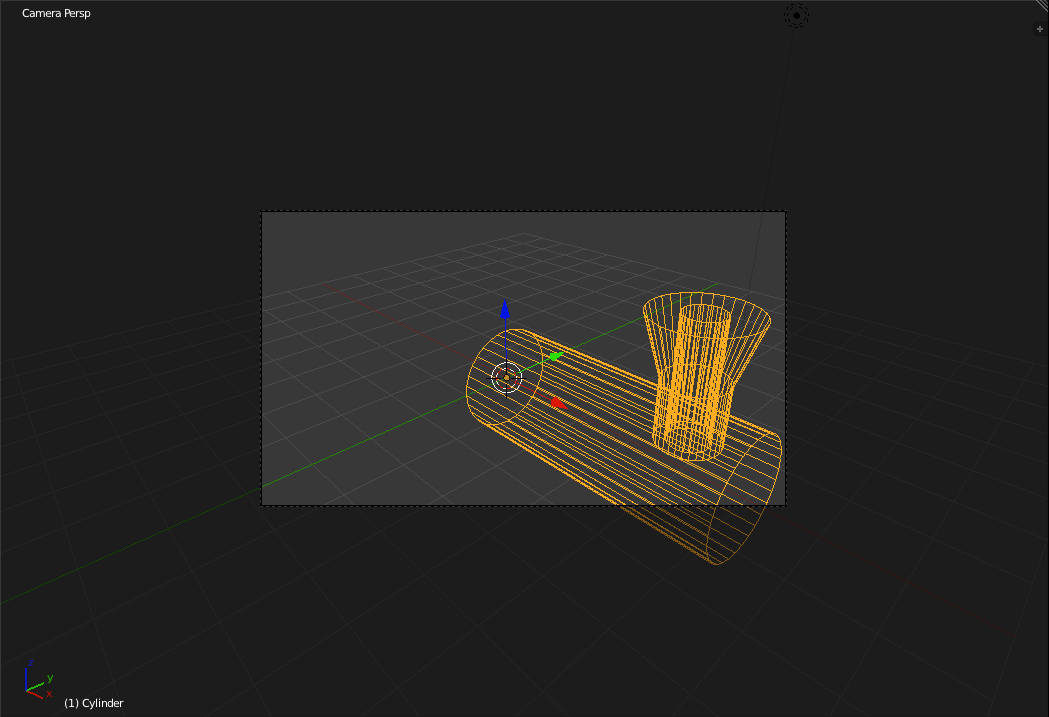
Building the Wheels and the CabPress 'Numpad-3' to enter the Right view and press 'Tab' to return to "Edit Mode". 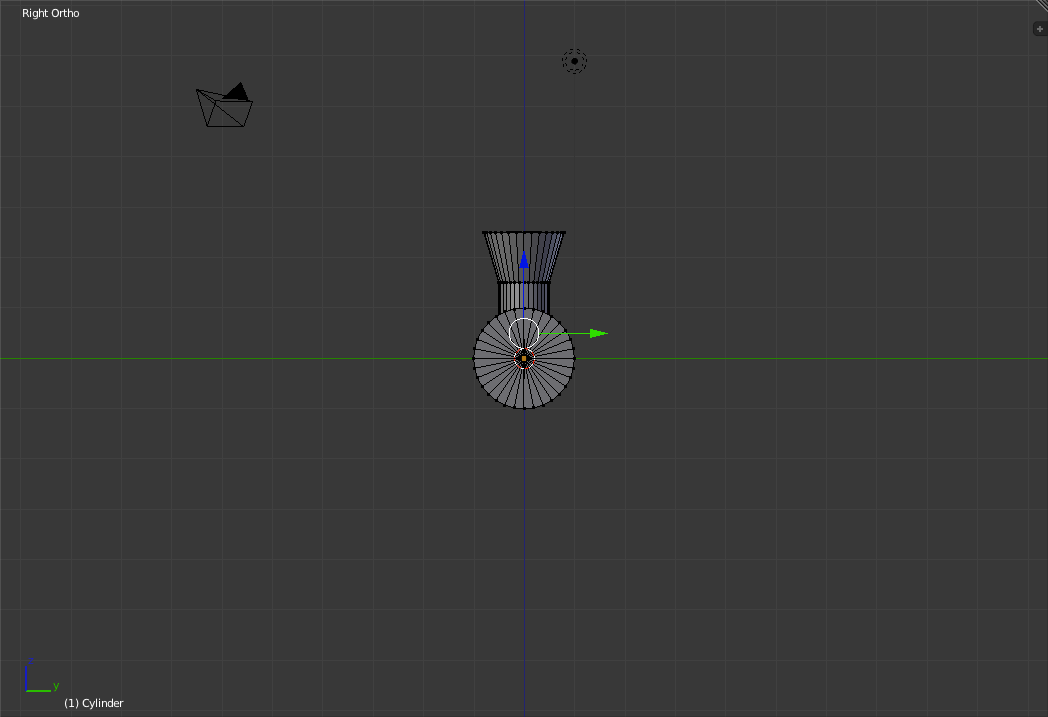
Press 'a' to select everything and 'g' to move it up one grid unit so the base of the boiler is on the y-axis. Now press 'Shift+A' and add another cylinder. 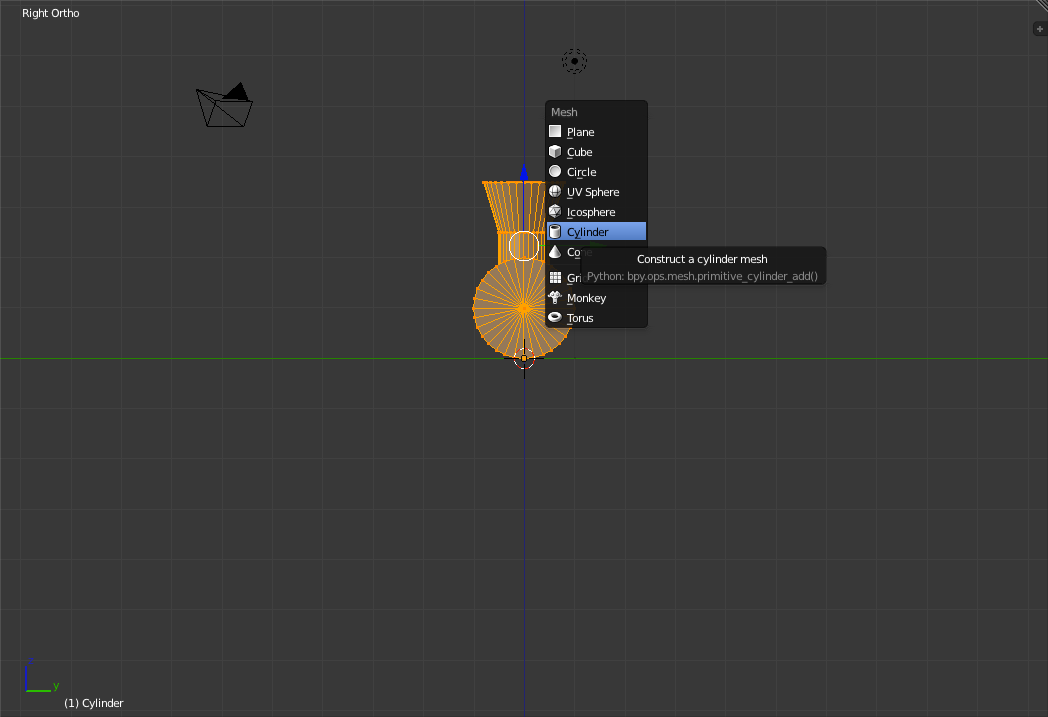
Rotate the cylinder 90 degrees by pressing 'r' and holding down 'Ctrl' to snap. 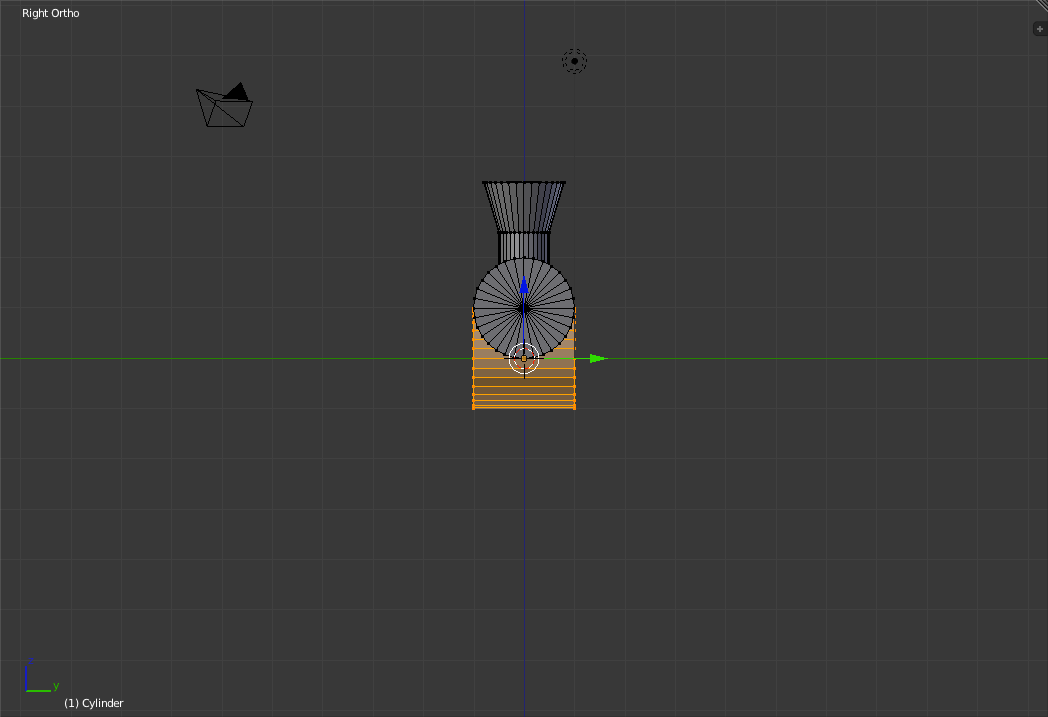
Now we need to make the wheels a bit wider so press the 's' key followed by the 'y' key. This will restrict Scaling to just along the y-axis. (This is how you can force movement, rotation or scaling along/about only one axis instead of all three) 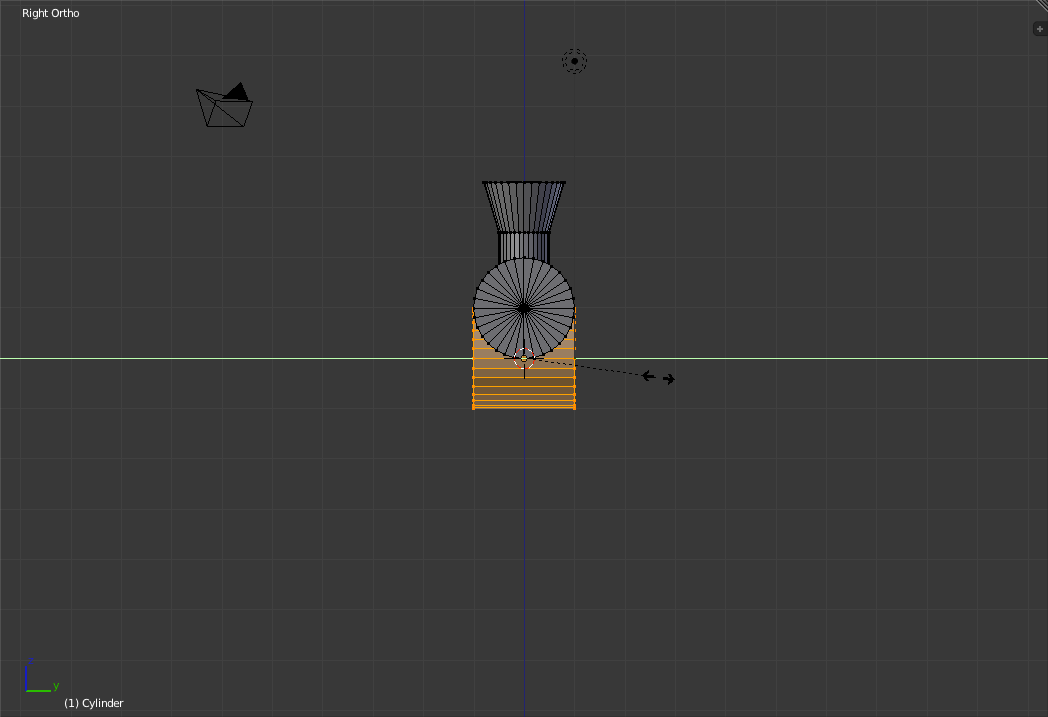
Now scale the wheel cylinder to make it a bit wider than the boiler. 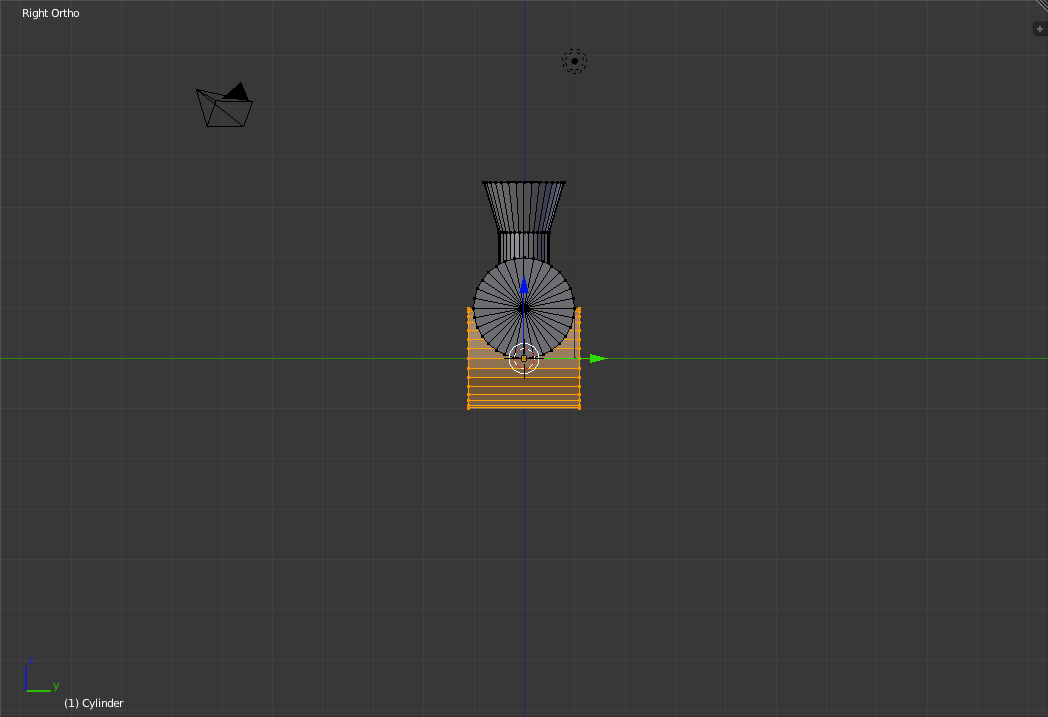
Press 'Numpad-0' to change to the camera perspective. This will make it a bit more obvious what is going to happen next. 
Press 's' followed by 'Shift+y'. This will put us into scale mode along only the x and z axes. The reason for this is so that when we resize the diameter of the wheel it does not change the width. 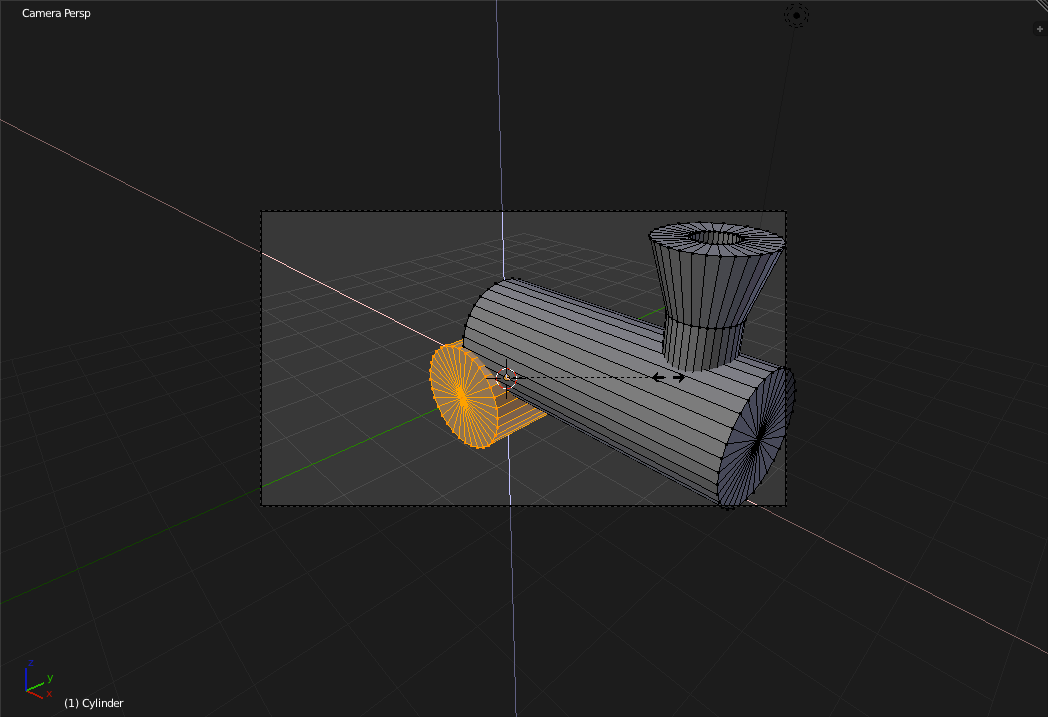
Now Scale down the wheel size a bunch. To confirm that the width of the wheel did not change, press the 'Numpad-7' key. 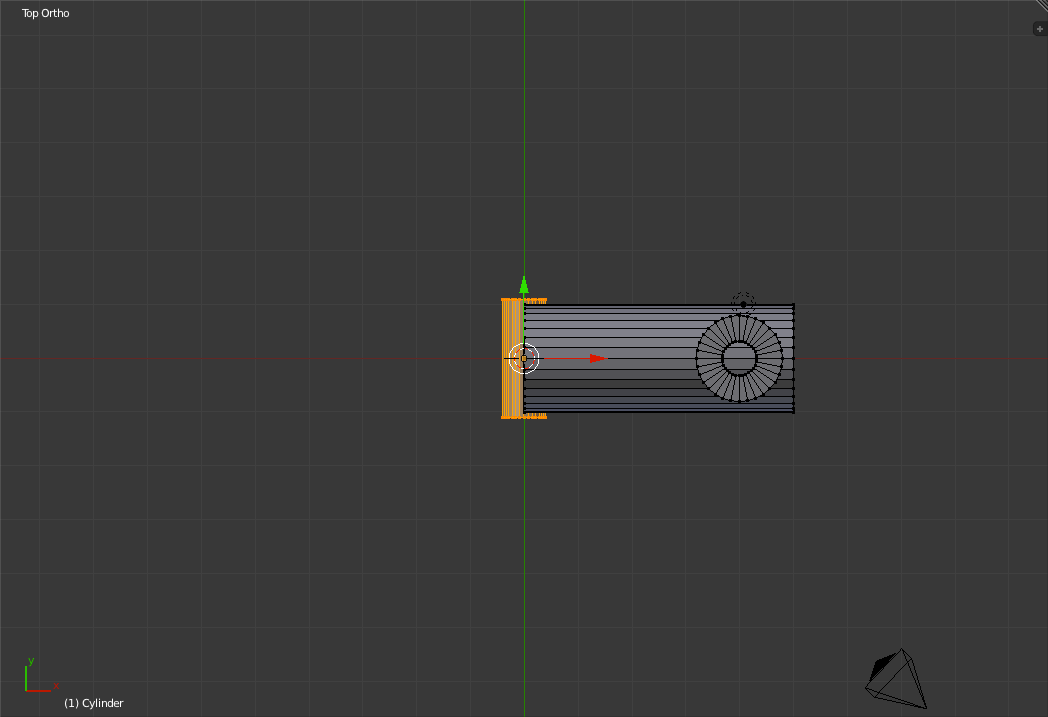
Now press 'Shift+d' to duplicate the wheel. Place the new wheel near the smokestack at the front of the train (Hold 'Ctrl' to snap). 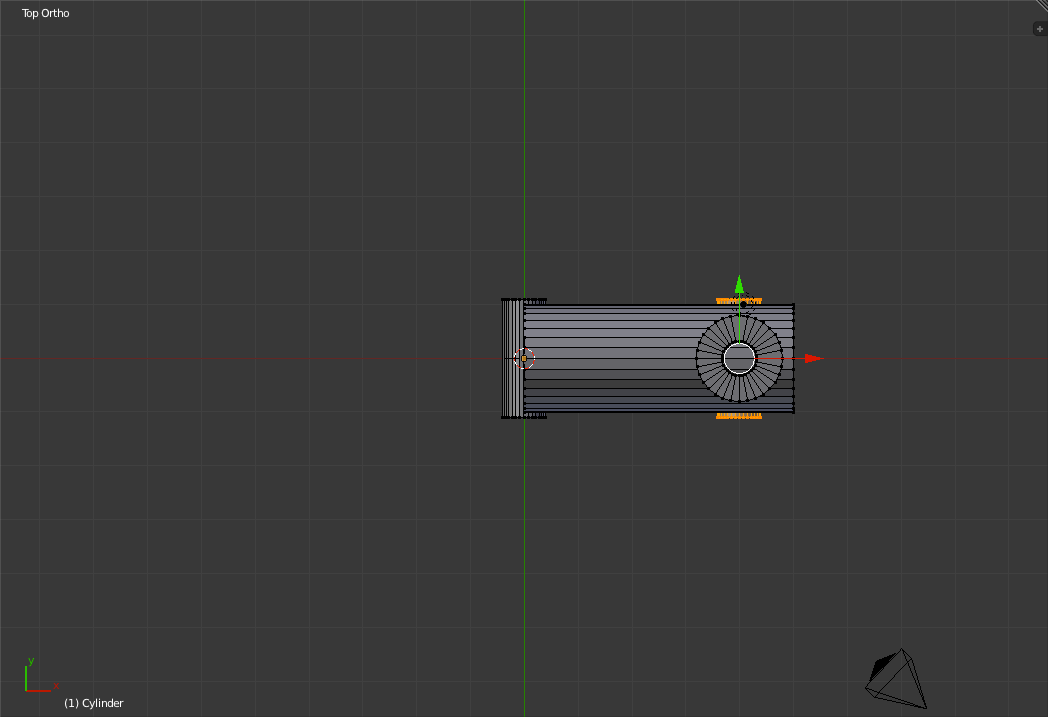
Now exit "Edit Mode" by pressing 'Tab'. The time has come to add the Cab. Press 'Shift+A' and select: "Mesh->Cube". 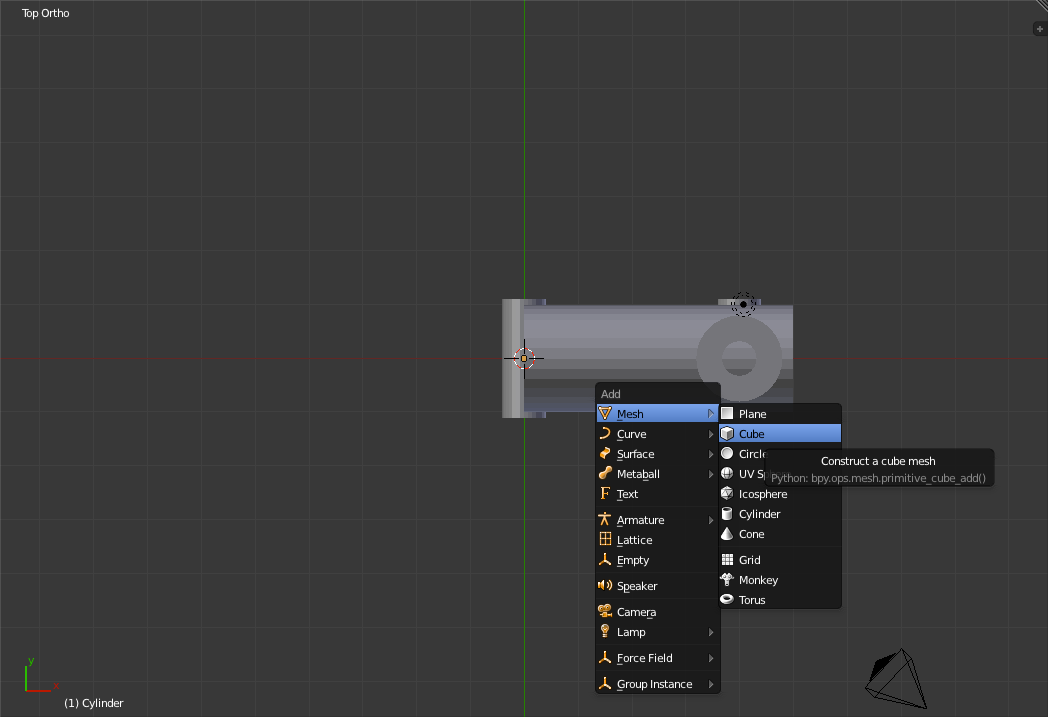
Go to the Front view by pressing 'Numpad-1' and move the new cube one grid unit to the left and one unit up (By pressing 'g' and dragging. Hold 'Ctrl' to snap). The Cab should now be above and to the left of the x and z- axes respectively. 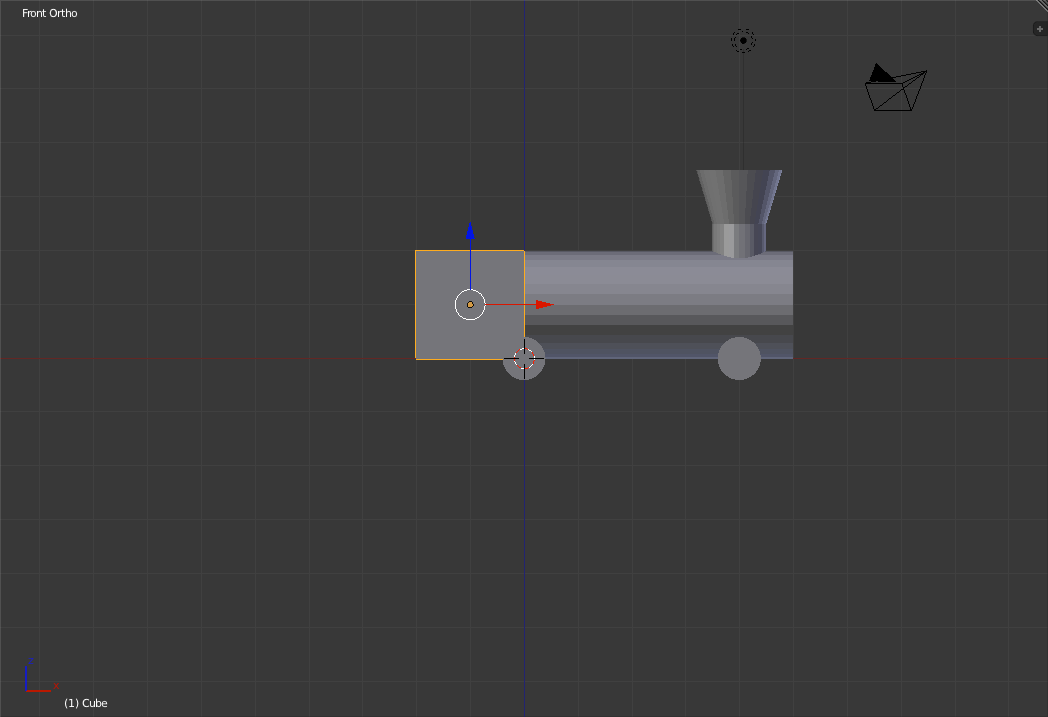
Go to "Wireframe Mode" by pressing 'z' and select the top vertices of the Cab (Using 'b'). Make the cab taller by dragging the selected vertices up one grid unit using the 'g' key. 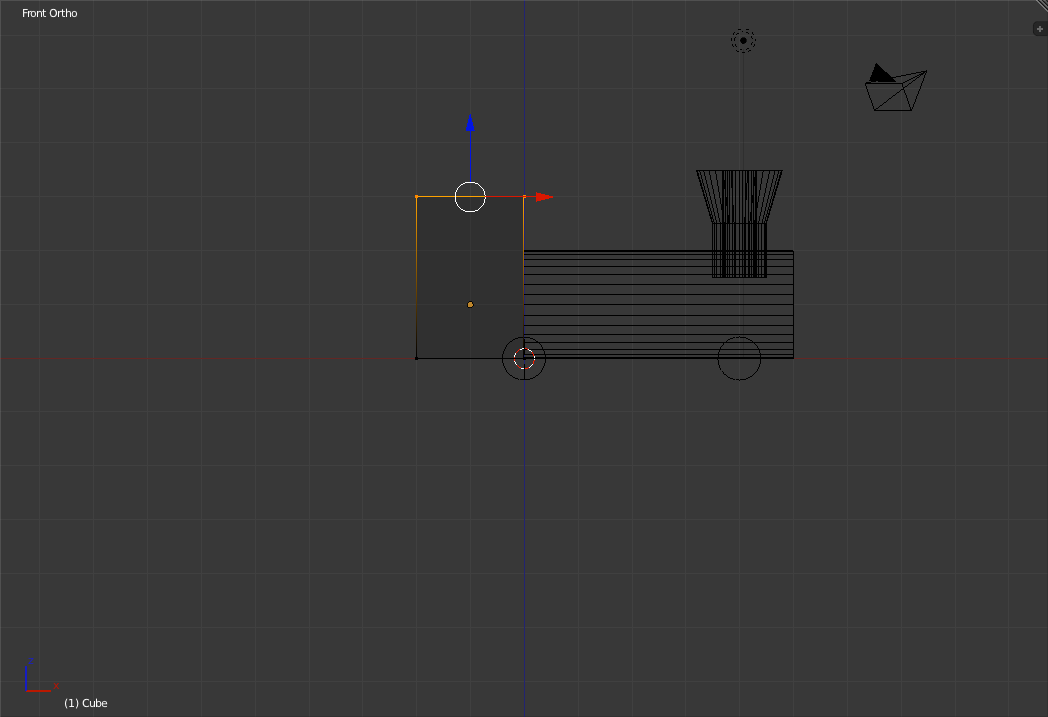
Return to shaded mode and go to the top view by pressing 'z' and then'Numpad-7'. Select the left edge vertices of the Cab by using 'b'. 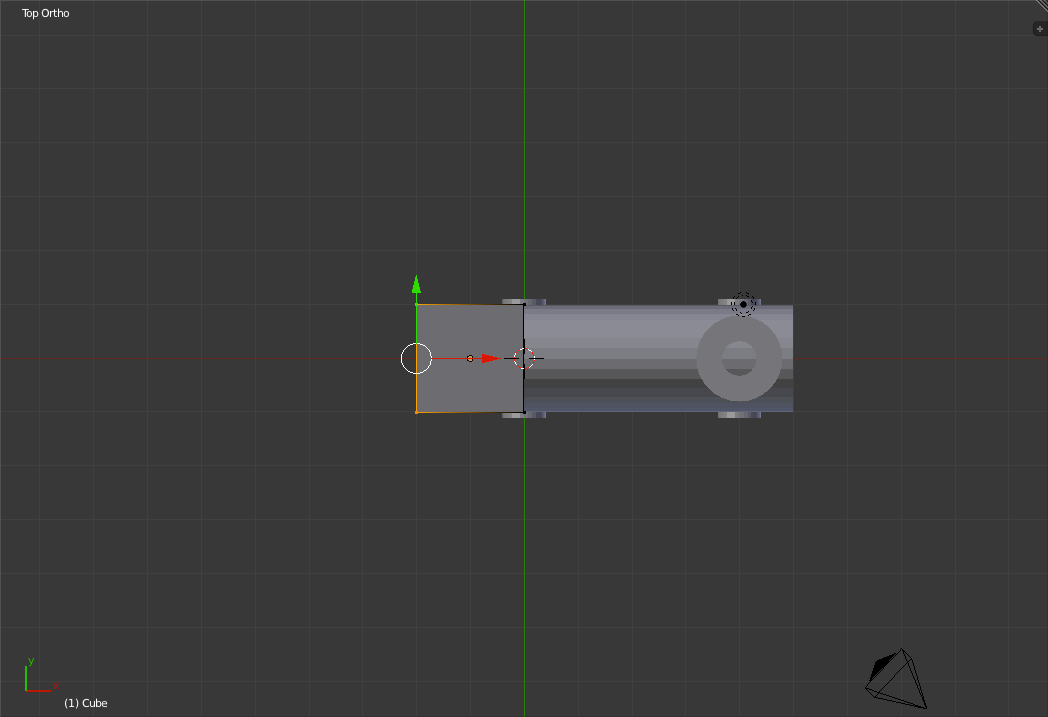
Now I will explain the difference between selecting in "Shaded mode" and "Wireframe mode". In wireframe mode you can consider the area you select using box select as penetrating until the edge of your vision (very far into the Blender 3d-view, so far you often won't notice that there is such a limit). However, in shaded mode you cannot select past any front facing faces, meaning that the last selection we did in shaded mode only selected the top pair of vertices at the left edge of the cab, not that entire side. To see that this is the case, press 'Numpad-1' to enter the Front view. (Note that this selection limitation is only for the selection tools, grab, rotate, scale, extrude, etc. are unaffected) 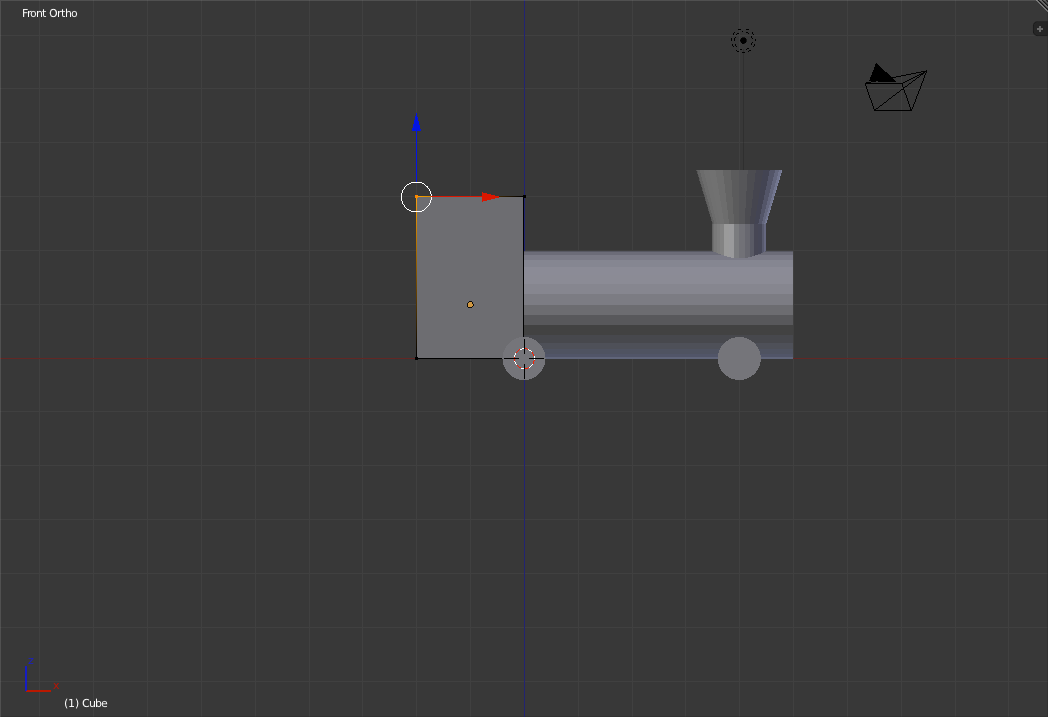
Now grab and drag the selected vertices to the left one grid unit (Using 'g' and holding 'Ctrl' to snap) and hit 'Tab' to exit "Edit Mode". 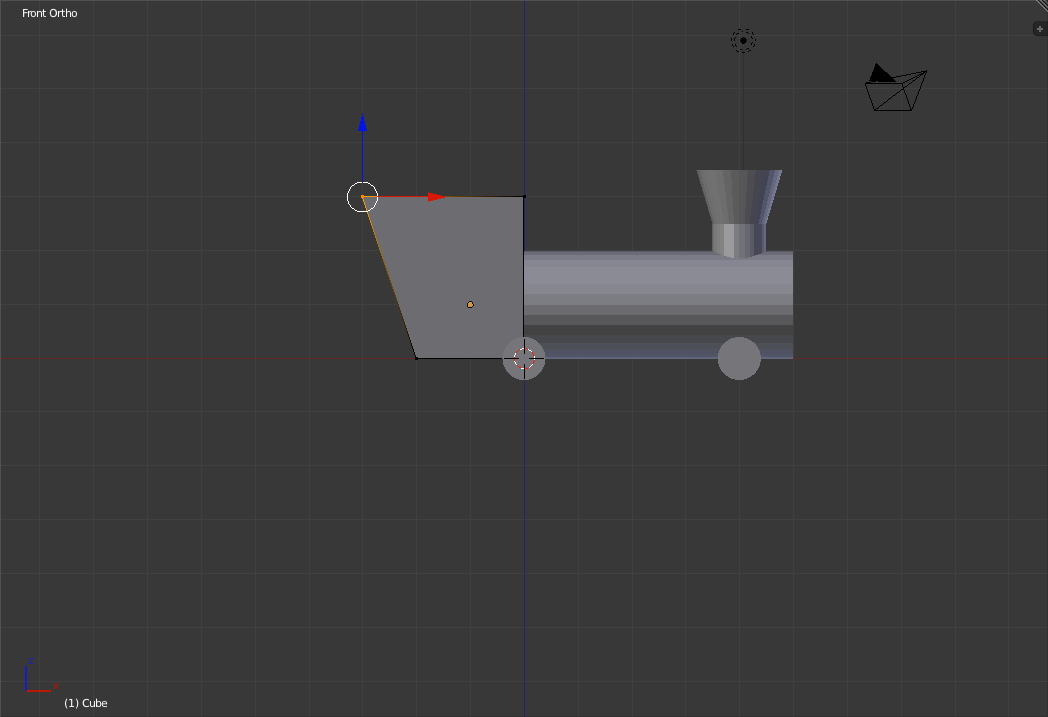
Select the Boiler object by Right-clicking on it. This method of selecting, unlike box-selecting, also makes the selected object the one that we aare editing. That means that if we had only used 'b' to box select the boiler, the next time we hit 'Tab' to go into "Edit Mode" we would be in "Edit Mode" for the cab, not the boiler, since that was the last object we had as our "key" object. Now enter "Edit Mode". With the front wheel still selected, press 'Shift+d' to duplicate the wheel. Drag the new wheel back to near the back end of the cab using 'g'. Zoom in a bit (Using the mouse scroll wheel)and then place the wheel more precisely by snapping to the next size smaller grid-squares. 
Exit "Edit mode" by pressing 'Tab' and switch to the camera view by pressing 'Numpad-0'. 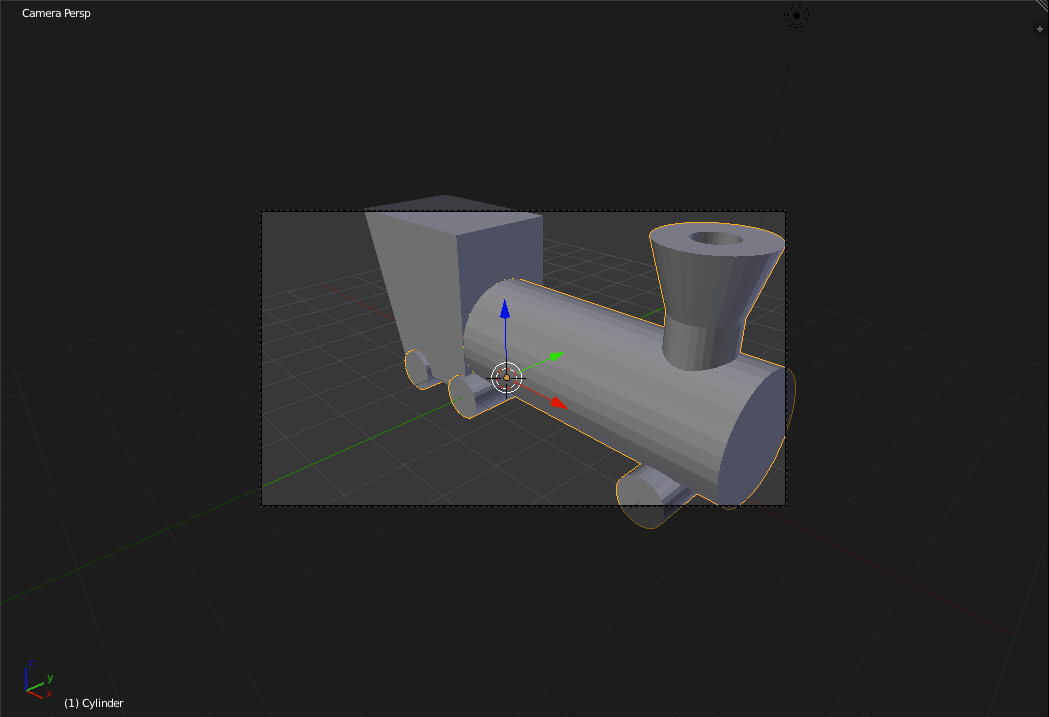
We now have finished modelling a simple steam engine that is made out of two objects. Don't forget to save now. Continue Learning: |