 Blender Tutorials
Blender Tutorials
Blender Tutorials
Navigation: |
Building a Glass and SpoonThis Tutorial is meant as an introduction to some intermediate modelling and material techniques in Blender (2.5 and up). You should already have some experience with modelling and applying materials in Blender. Table of Contents
To begin this tutorial open Blender, select ('b' key) and delete ('x' key) the default starting cube and go to the Front view in orthographic mode. 
Building the GlassThe first step to building the glass will be to make a plane ('Shift+a' and select "Mesh->Plane"). 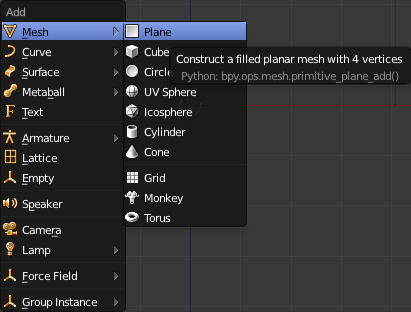
Now since we will be using this plane to build the profile of part of the glass we need it to be facing us. To do this go to the "Add Plane" Section of the left "Toolbar" and change the X rotation to 90 degrees. 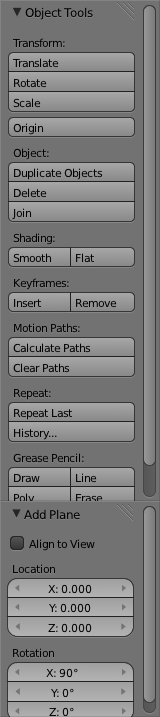
Now enter "Edit Mode" ('Tab' key) and switch to wireframe mode ('z' key) and delete the upper left vertex by selecting it ('b' key) and deleting it ('x' key). In the delete menu select "Vertices" If you had selected more than one vertex then selecting "Edges" would delete all selected Edges and selecting "Faces" would have deleted all selected Faces. 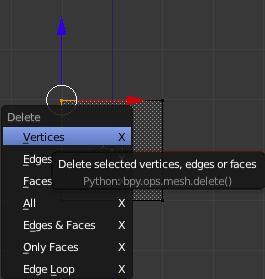
Now that the vertex has been deleted we are left with a backwards L-shaped pair of lines. Select all the remaining Vertices and move them so that the bottom left vertex is on the origin. ('g' for moving and hold down 'Ctrl' to snap to the grid). 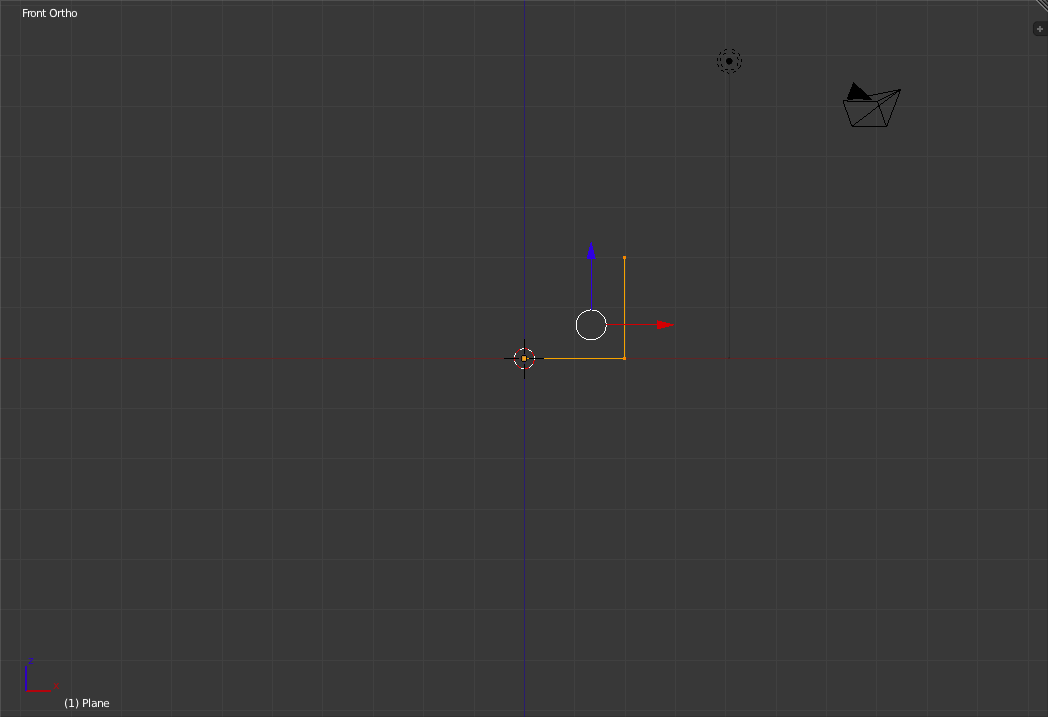
Now zoom in (By scrolling with the mouse wheel) until the top vertex is just near the top of the screen. Also, select the two right vertices and move them closer to the origin 10 small grid units (Remember that 'Ctrl' snapping snaps to the smallest visible grid unit when moving and extruding). 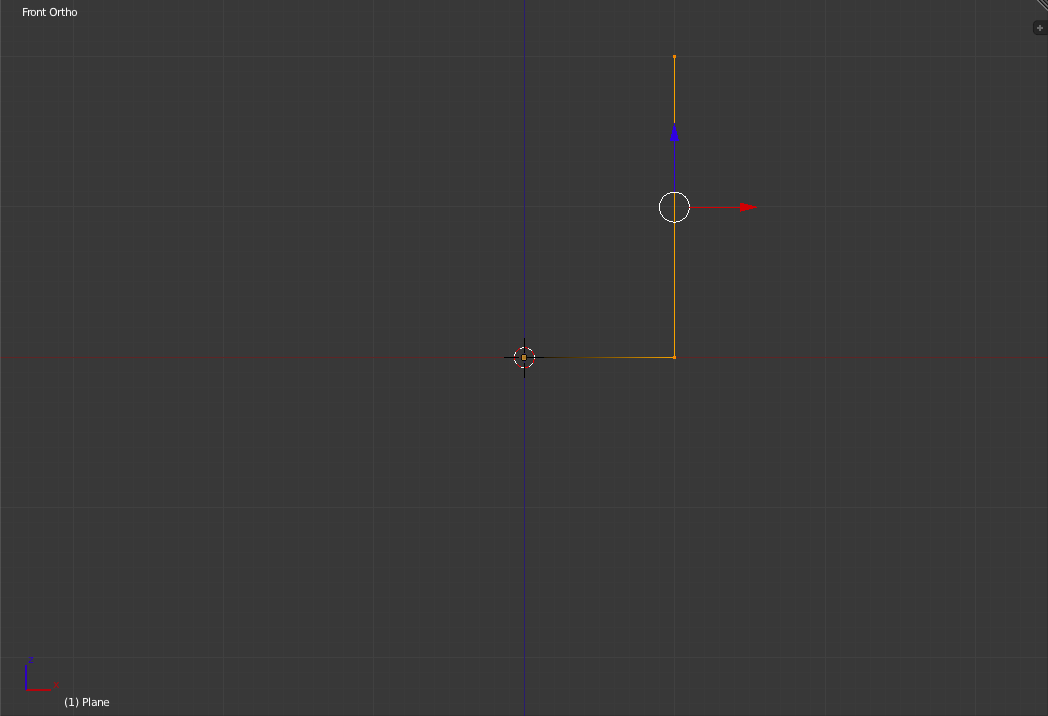
Now select and move the top vertex 2 small grid units to the right to give the side a slight slant. 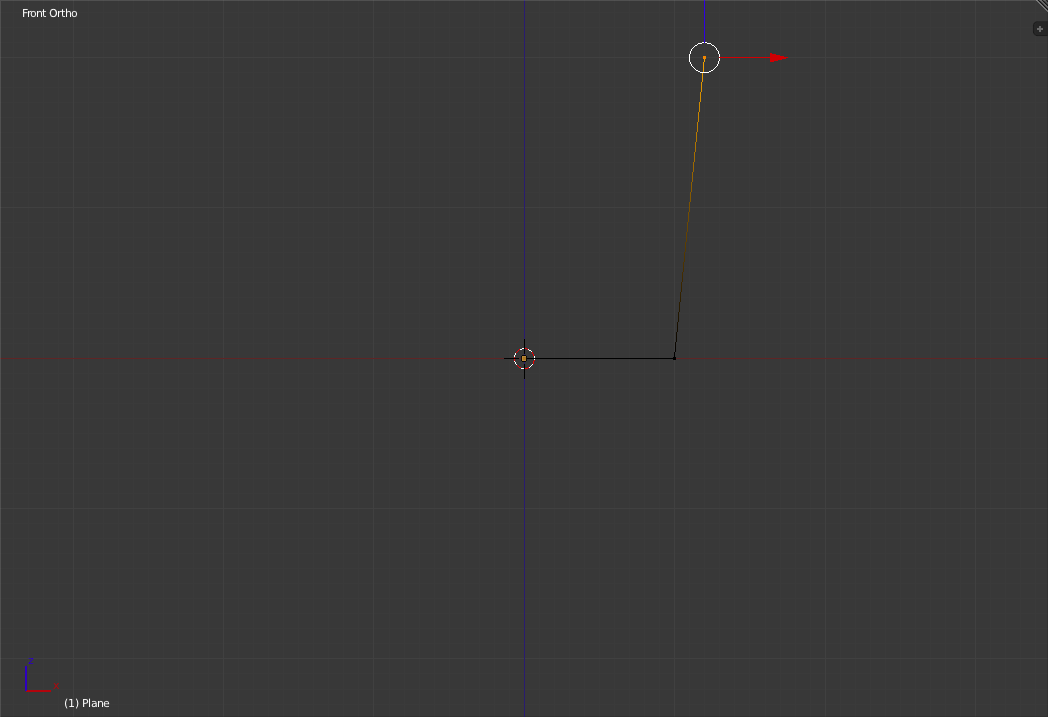
The next step is to extrude ('e' key) the top vertex towards the z-axis one small grid unit. 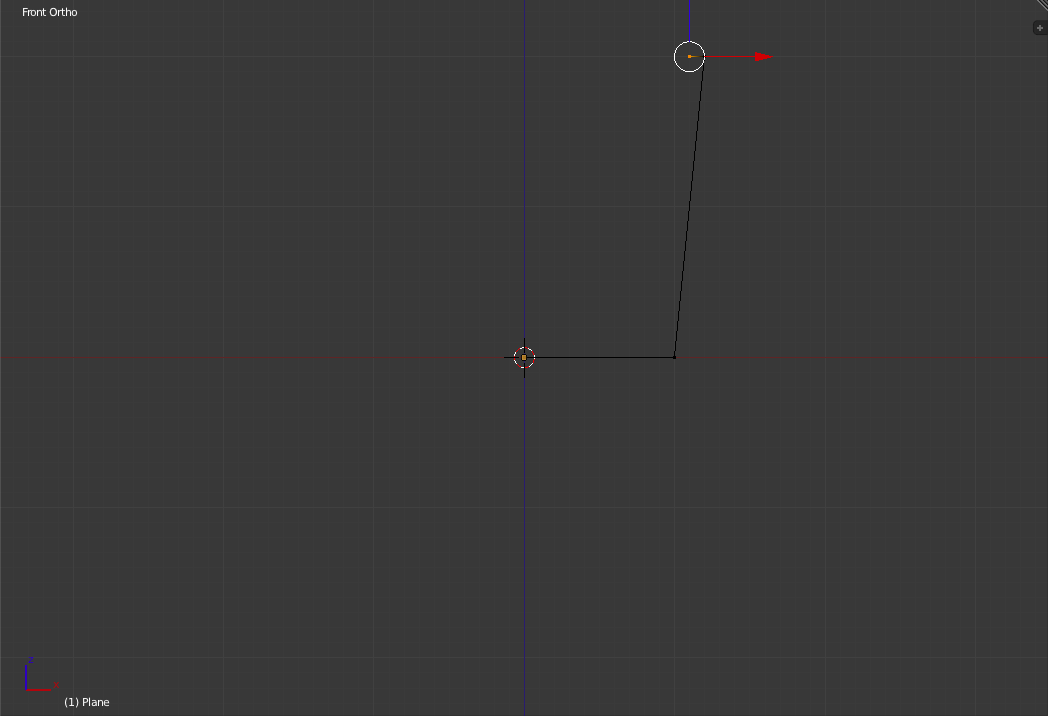
Now Extrude the new vertex down to a point 1 small grid unit above and 1 small grid unit to the left of the bottom right vertex. 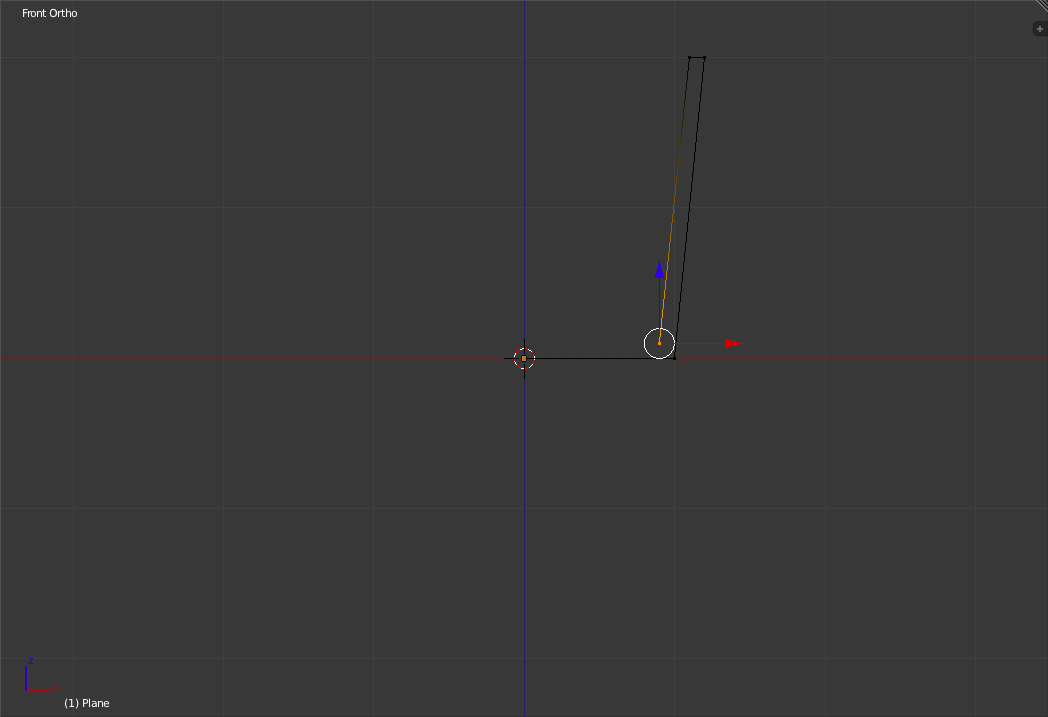
Finally extrude the new vertex to the z-axis (So that it lies 1 grid unit above the original bottom left vertex). 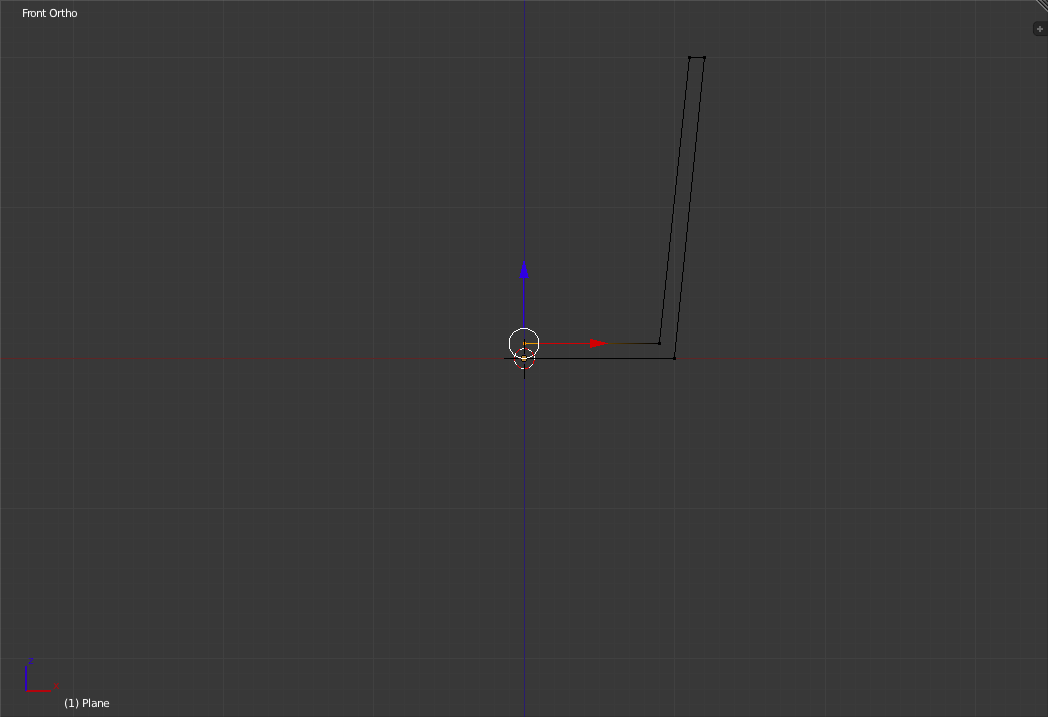
Now select all the vertices. and go into the top view. 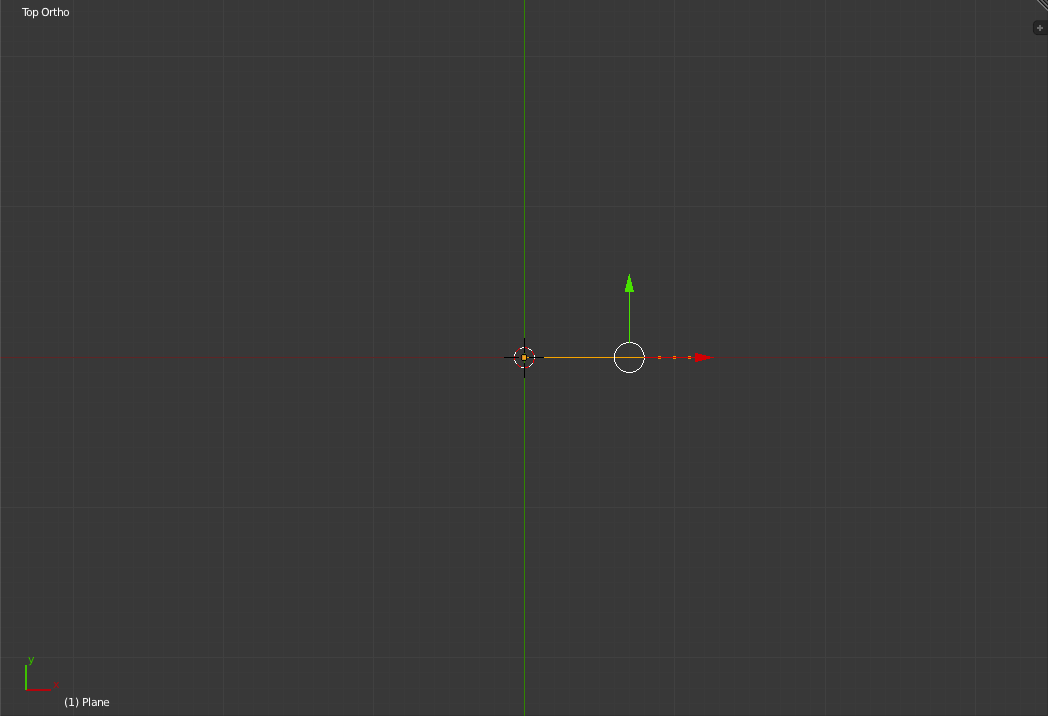
Now that we have completed the basic profile of our glass we need to spin it around to make the completed glass. Fortunately there is a built-in function just for this. Go to the left "toolbar" and select "Spin" in the "Add" section. 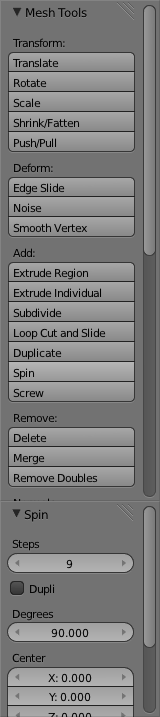
Now by default "Spin" only makes a turn of 90 degrees with 9 steps. For our glass we want it to go 360 degrees around with 8 steps. To do this, change the "Steps" and "Degress" Settings in the new "Spin" section of the Left Toolbar. 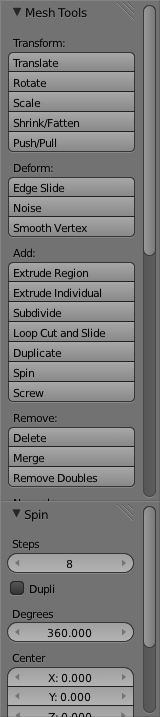 And you should get something like this: 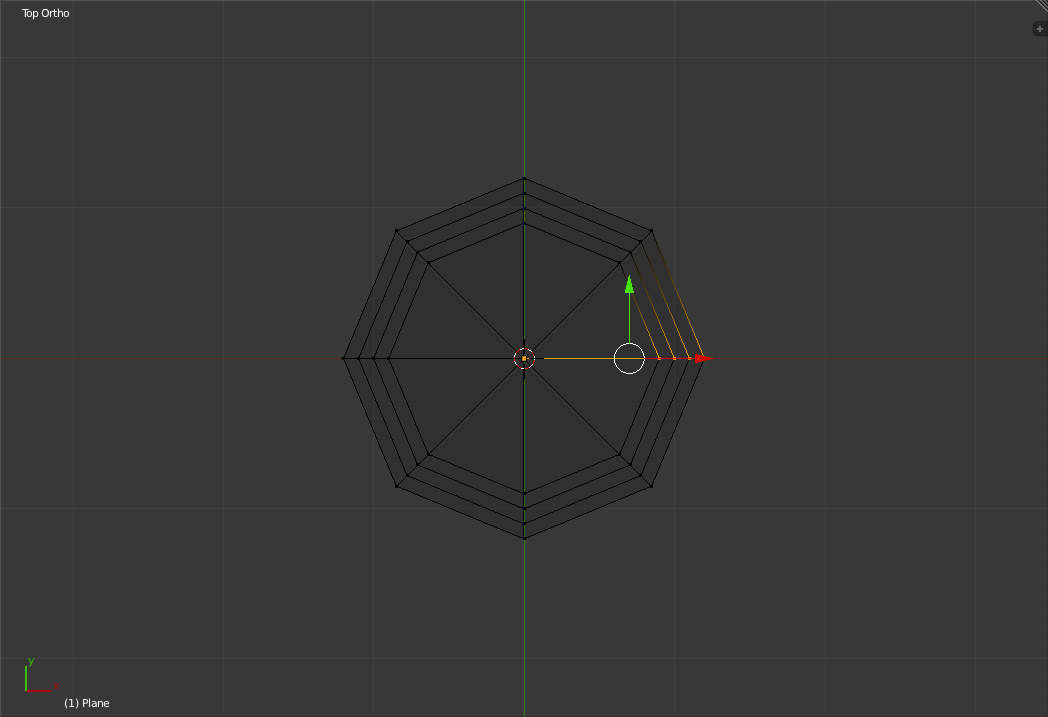
Now that the profile has been spun around the z-axis we need only remove the duplicate vertices the spin action has created. To do this, first select all the vertices and then click on the "Remove Doubles" Button in the Left "Toolbar". After clicking this button, blender tells you how many vetices it removed in the top menu bar left of the version number. 
Now exit "Edit Mode" ('tab') and switch to "Shaded Mode" ('z'). By going to the Camera view ('Numpad-0) you can see the glass is well on its way to being complete. 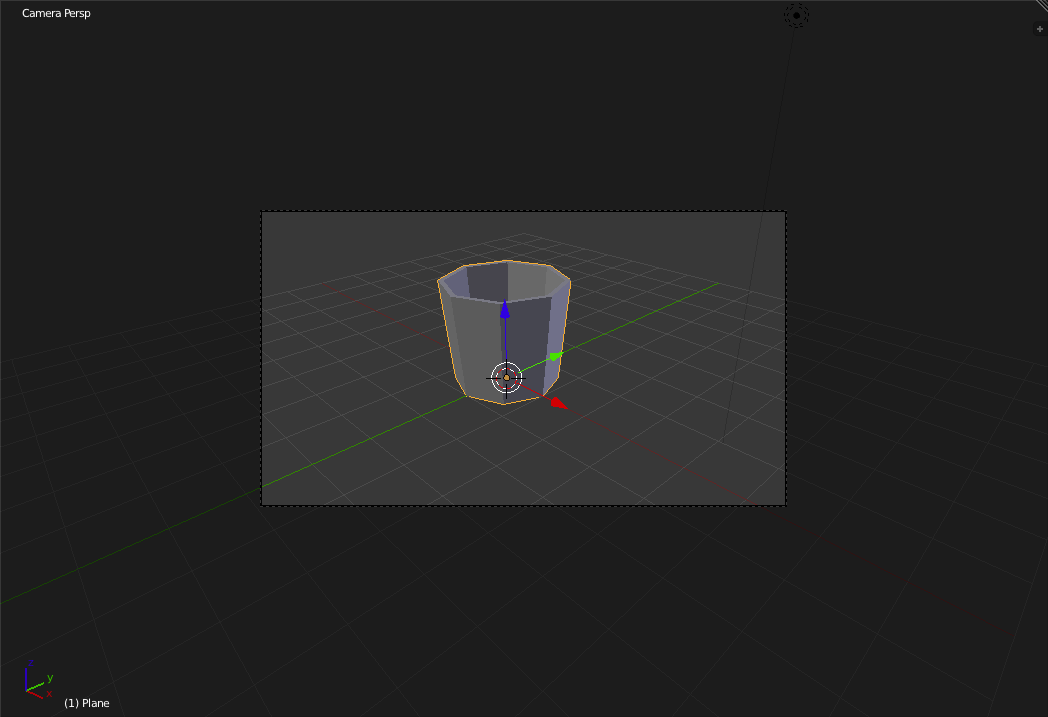
Transparency and Adding Detail to the Glass
Now go to the "Materials Panel" ( 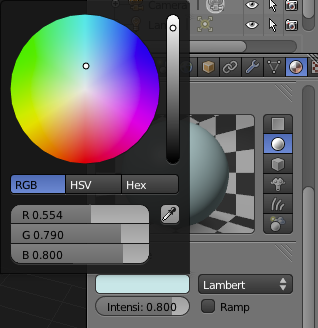
Now Scroll down so you can see the whole "Transparency" Section of the "Materials Panel" and check the box enabling transparency for the material. Below the Transparency checkbox there are three buttons that are used to select the type of transparency. The default type is Z-transparency. This is good for a simple transparency but doesn't tend to look very good for most uses. A better option is Raytraced transparency so select "Raytrace" now. 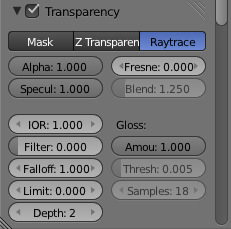
With Raytrace selected a number of extra options become available. Scroll down in the materials panel until you can see all the new options. The main options for raytraced transparency (For the purposes of this tutorial) are: Fresnel, IOR, Filter and Depth. Fresnel is generally used for setting how transparent the material is while IOR sets the Index of Refraction which will create the distortions you see when you look through a real transparent object. Filter blends in the material's colour to the transparentness of the material which can allow you to better see the material at high transparency levels and Depth sets a maximum to how many times light is refracted inside the object. At all times you can see a preview of the material in the "Preview" Section of the "Materials Panel". For this tutorial set Fresnel to 3.5, IOR to 1.5, Filter to 0.25 and Depth to 4.
Now the next step is to add some detail to our glass. To do this, go
to the "Modifiers Panel" ( 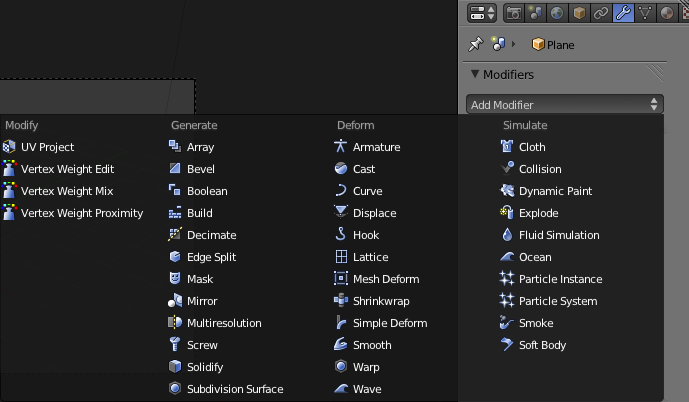
The Modifier we want is "Multiresolution" ( 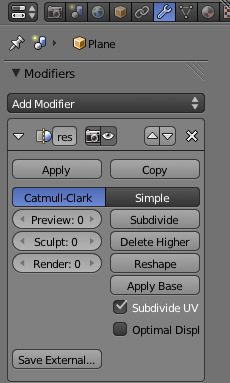
Multiresolution is a modifier that provides a unique way of subdividing an object to get you more vertices, edges and faces. Not only does it subdivide but it also rounds off the new faces to give the object a slightly smoother look. This can be useful to soften an otherwise roughly shaped object, such as our glass. For our purposes in this tutorial we only need to add one level of multiresolution. To do this, click the subdivide button once. 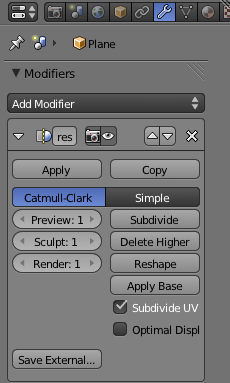
Now that we have done that, navigate to the "Render Panel" ( 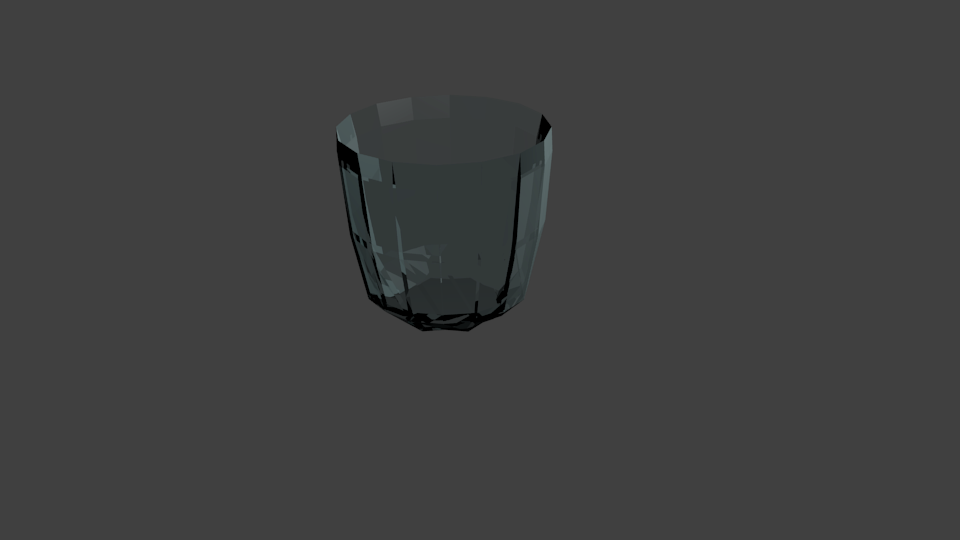
Adding a TableNow that we have a nice glass we should have something for it to be sitting on. To begin, go to the Top view ('Numpad-7') and zoom out so that you can see the camera near the bottom of the view. 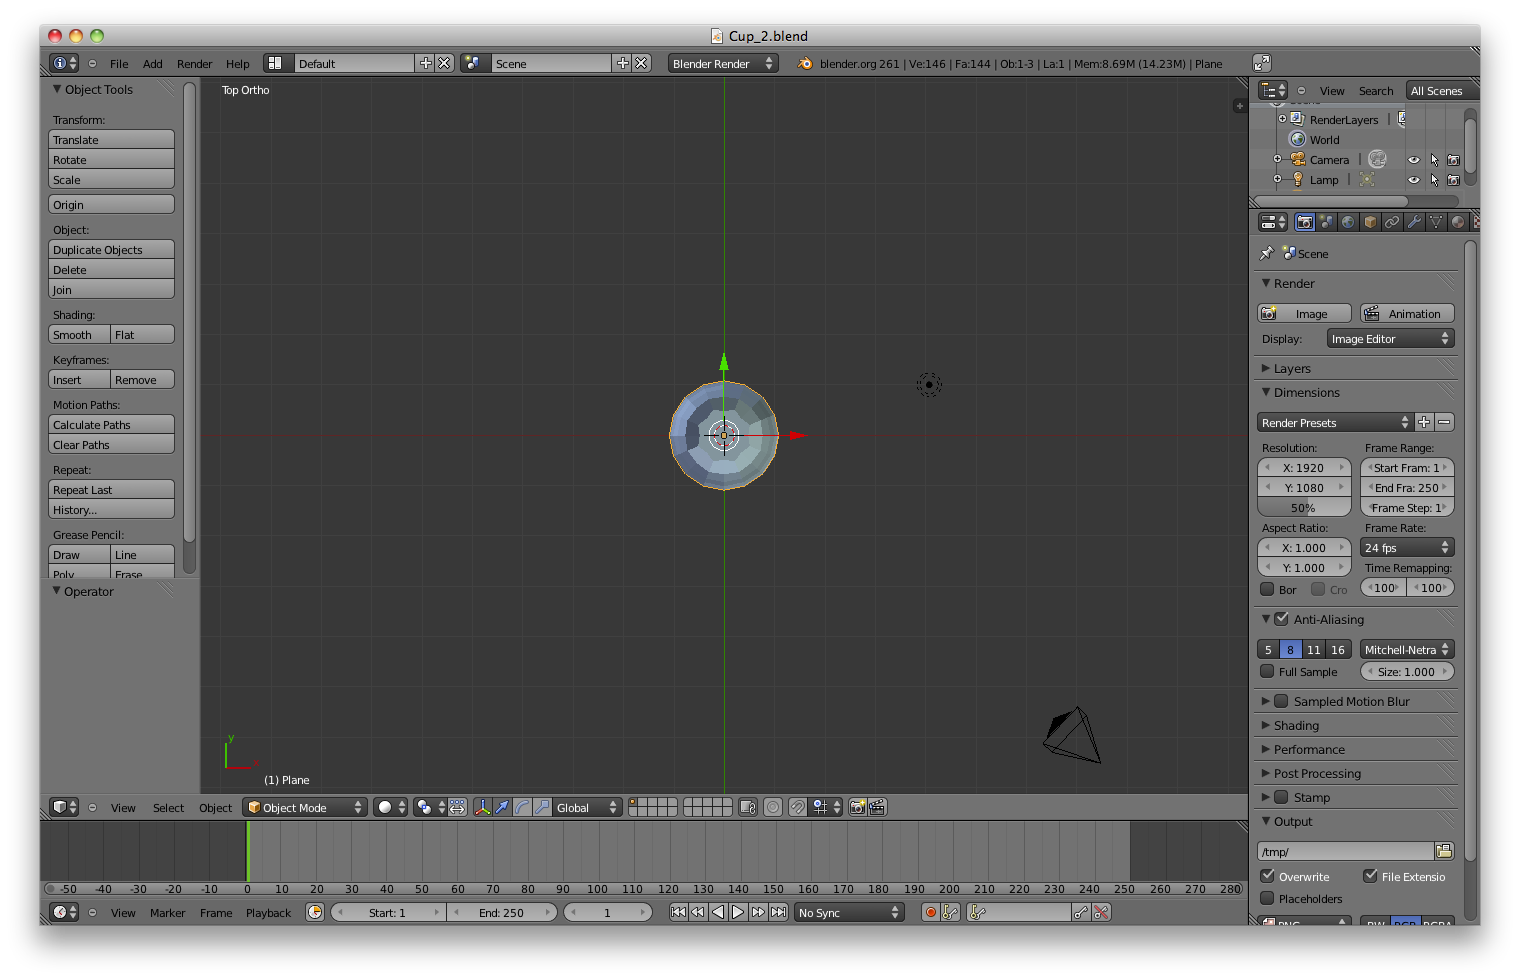
Now Add a Cube by pressing 'Shift+A' and selecting "Mesh->Cube". This cube will be used as our tabletop. Since the scene is so small there will be no need for us to build tablelegs. 
Now change to the Front view ('Numpad-1'), enter "Edit Mode" ('Tab'), enter "Wireframe Mode" ('z') and select and lower the top face of the cube to be flush with the base of the glass ('b' to select, 'g' to move and 'Ctrl' to snap). 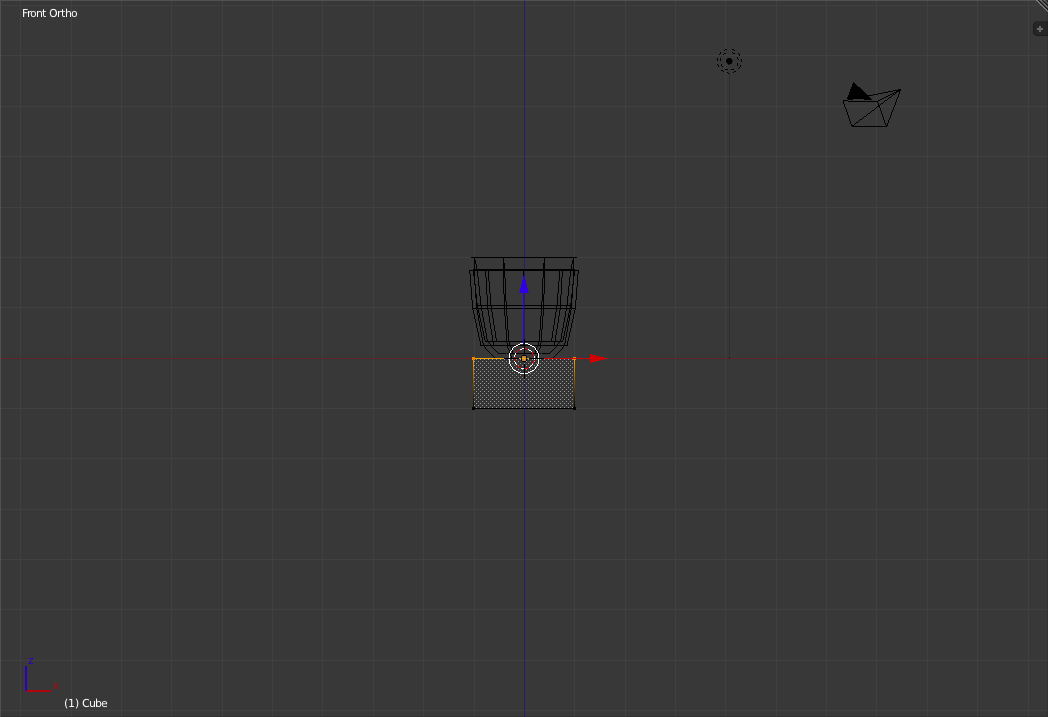
Now return to the Top view and select the left edge of the table and drag it to the left six grid units. 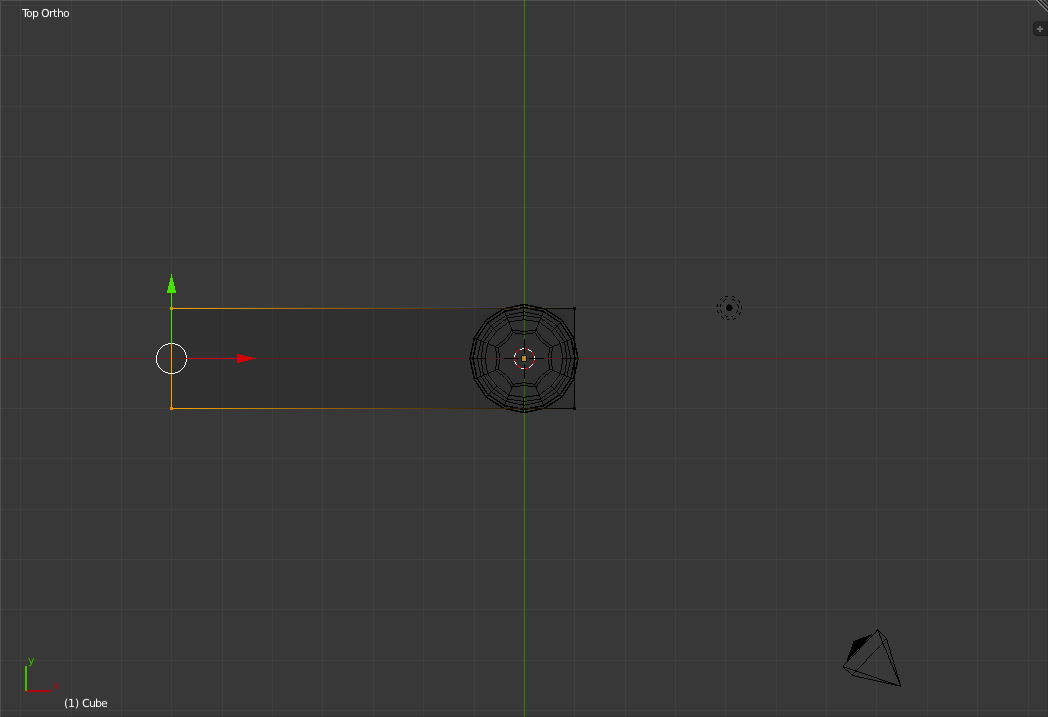
Do the same for the right hand edge (Move it right six grid units), the top edge (Move it up six grid units) and the bottom edge (Move it down six grid units). 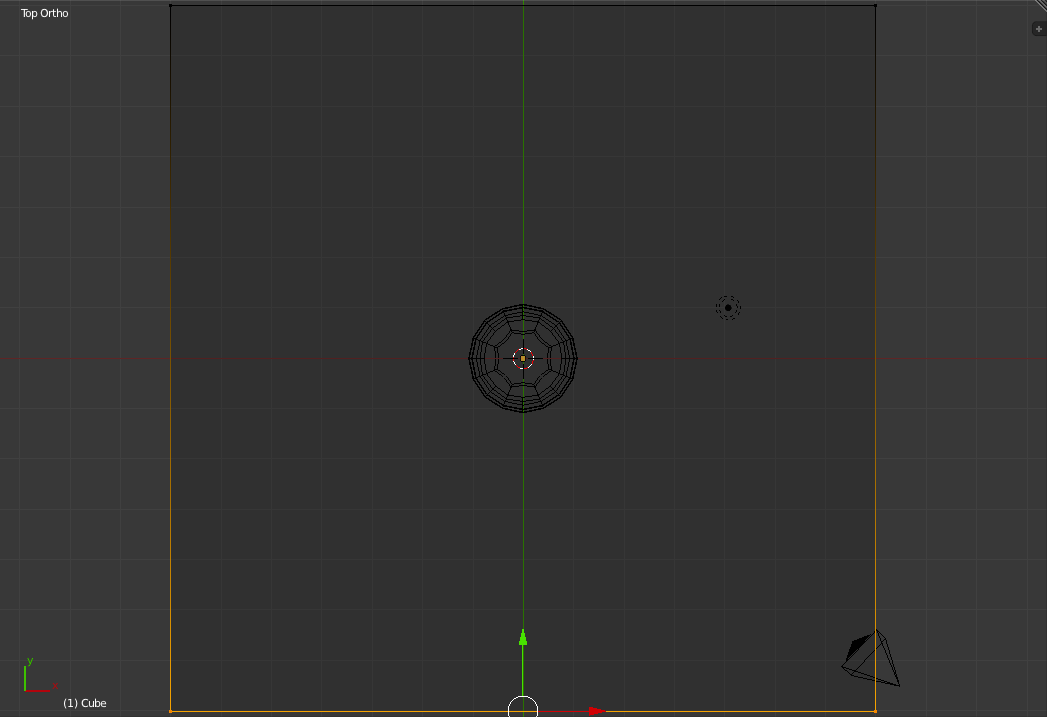
Now Select all the vertices and click the "Subdivide" Button in the "Add" section of the Left "Toolbar". Unlike Multiresolution this subdivision just adds the new vertices without changing the overall shape of the object. 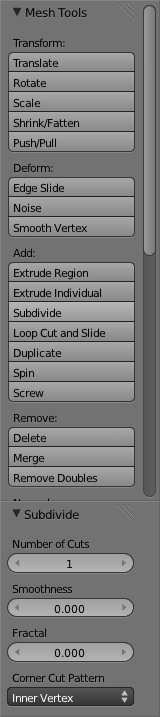
Change the "Number of Cuts" field value to 2 in the new "Subdivide" Section of the Left "Toolbar". 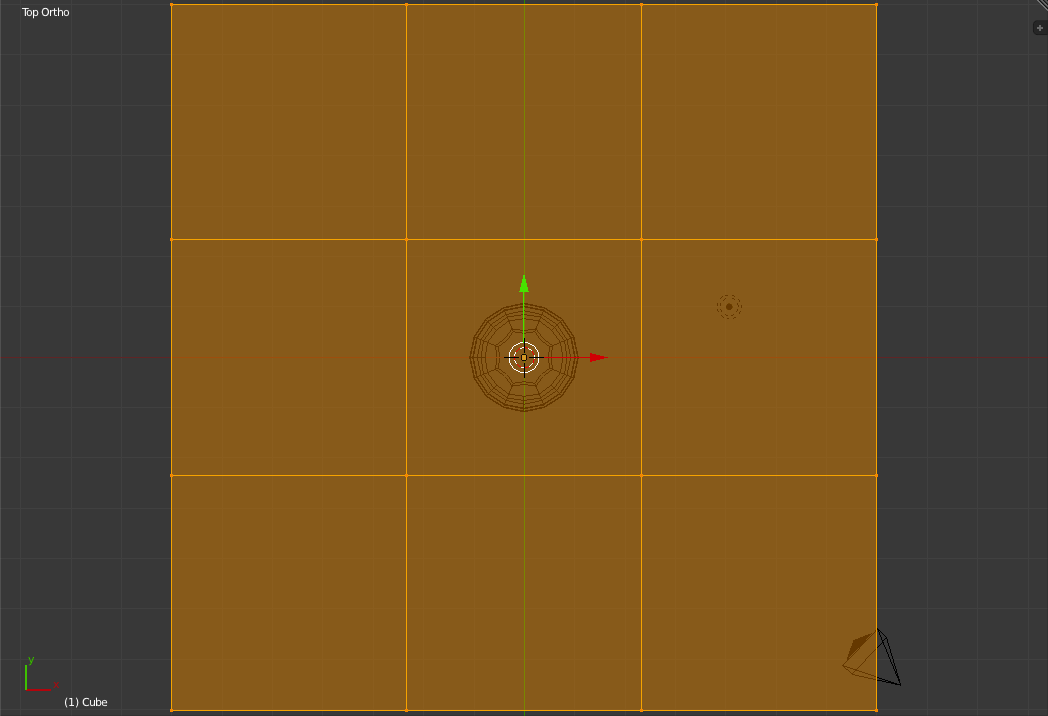
You can now Deselect all the vertices (using 'a') and select only the four corners to the table. 
Now press 's' followed by 'Shift+z' to scale those points along only the x and y axes. Scale them down so that you wind up with a shape similar to below. 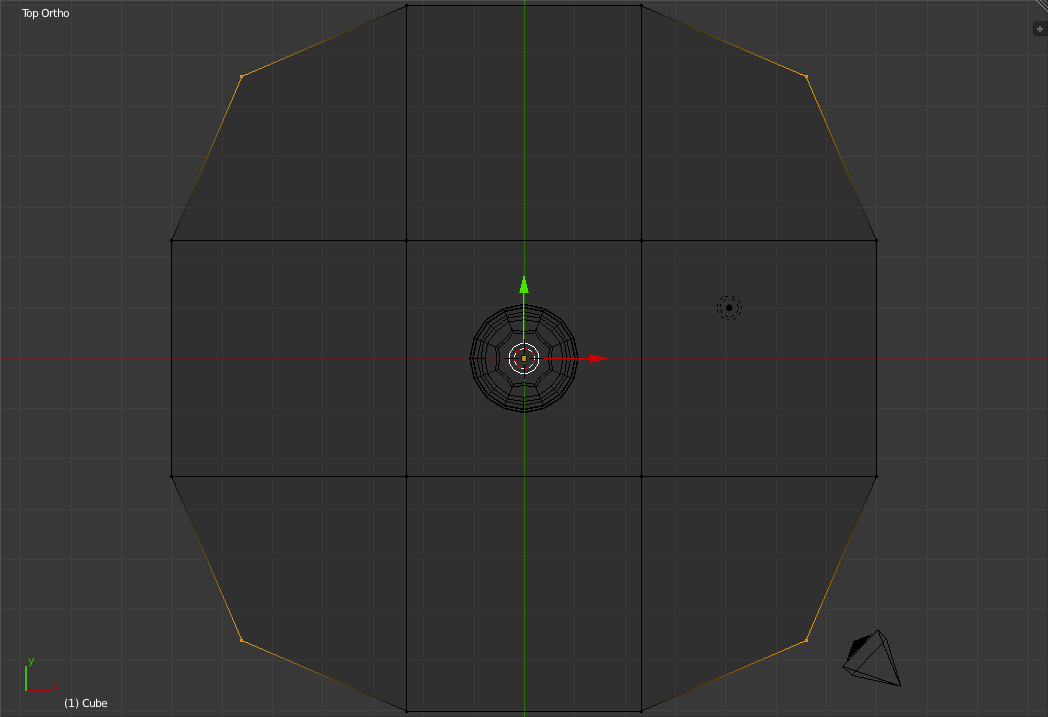
Now exit "Edit Mode" and return to "Shaded Mode" ('Tab' and 'z') as
well as going back to the Camera View ('Numpad-0'). Go to the
"Materials Tab" ( 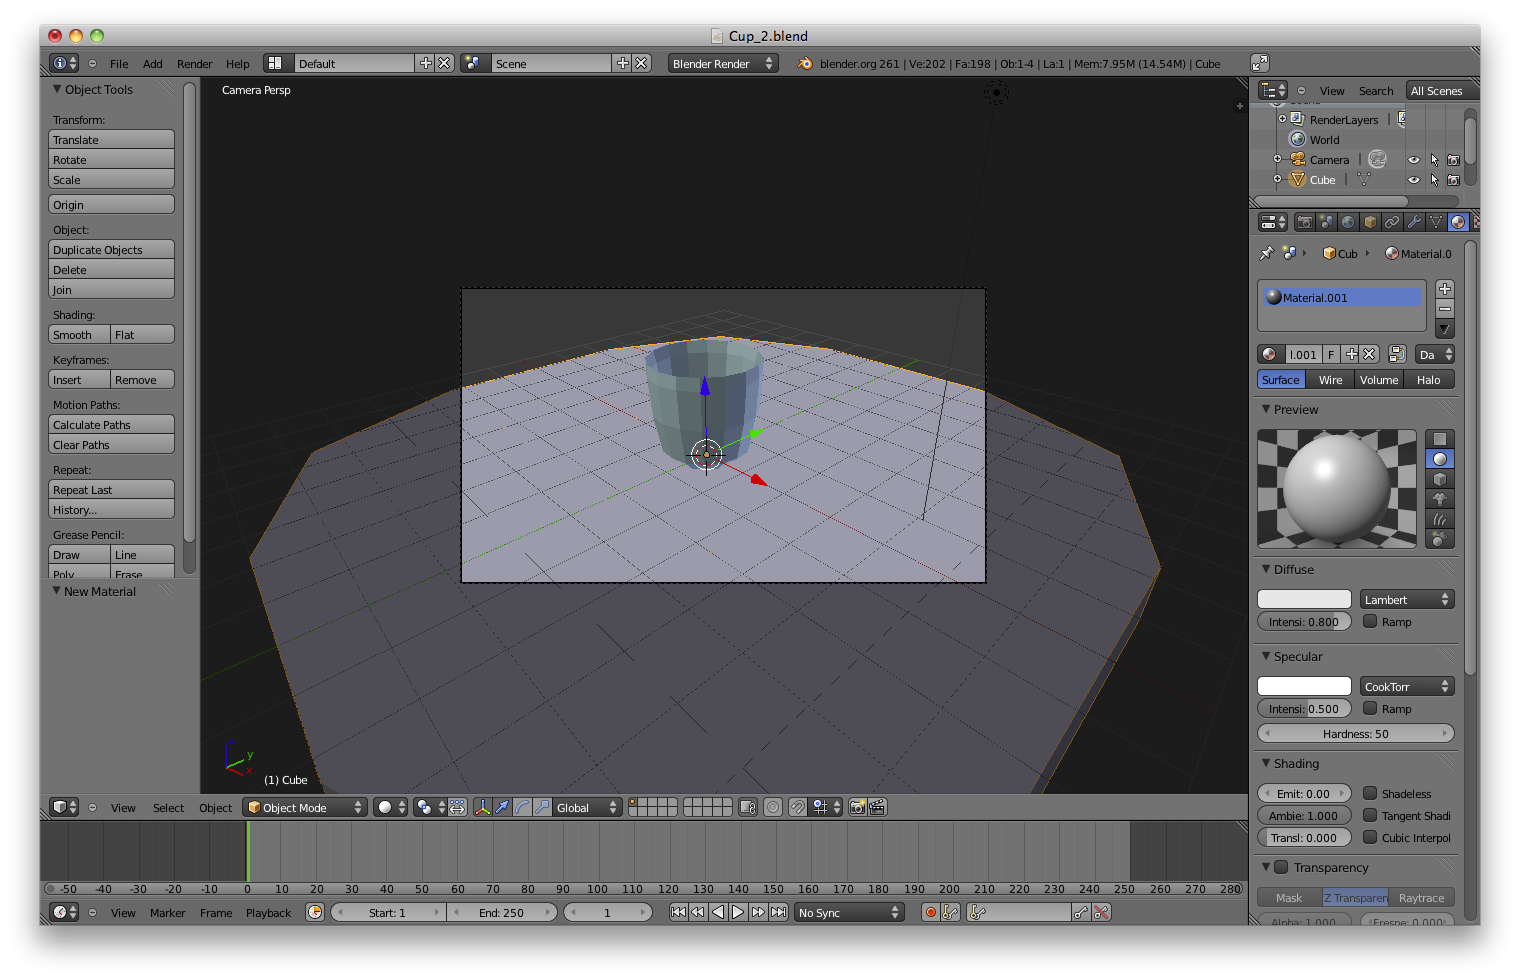
Change the material's colour to a light brown to suggest a wooden table. For this tutorial we will not be adding a texture to the table to actually give it a wood grain. 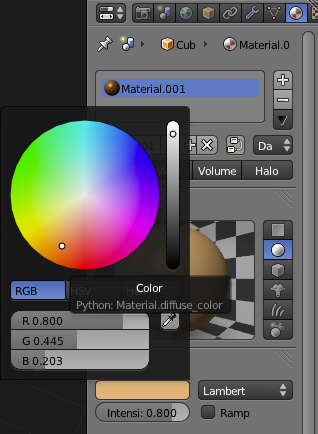
In the top menu bar select "Render->Image" to render the current camera view. As you can see, despite our glass being transparent its shadow is strangely solid. This is because the calculating of a number of transparent shadows can slow rendering so the default for all materials is to not render transparent shadows on themselves. 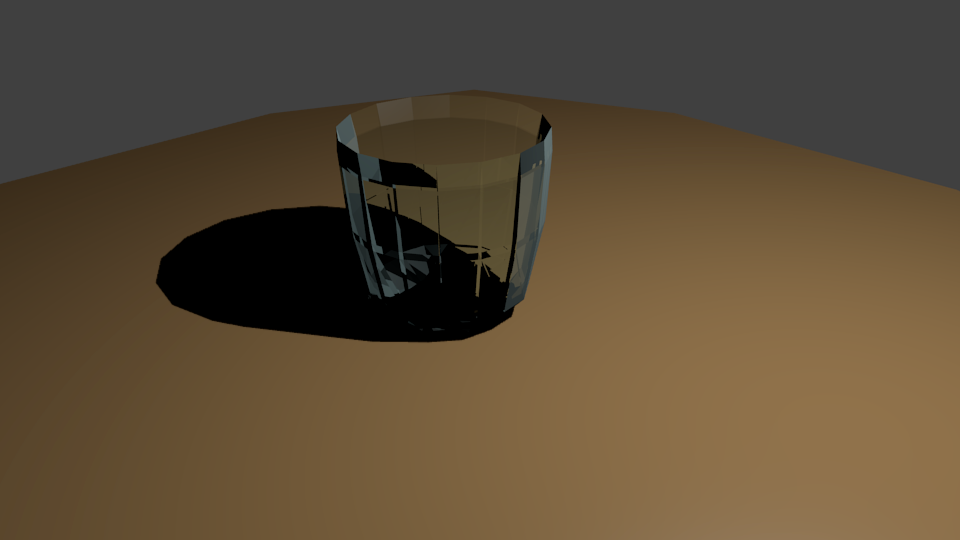
To fix this issue, scroll down in the "Materials Panel" to the
"Shadow" section. Open the section by clicking on the arrow and
check the "Reveive Trans" checkbox. Re-render either via the top
menu bar's "Render" menu or the "Render Panel" ( Adding a SpoonTo give our scene a bit more detail we will next create a simplistic spoon. To begin, return to the top view and create a new cube. Enter "Wireframe Mode". Next Move the Cube to the right until it is barely touching the right edge of the glass. 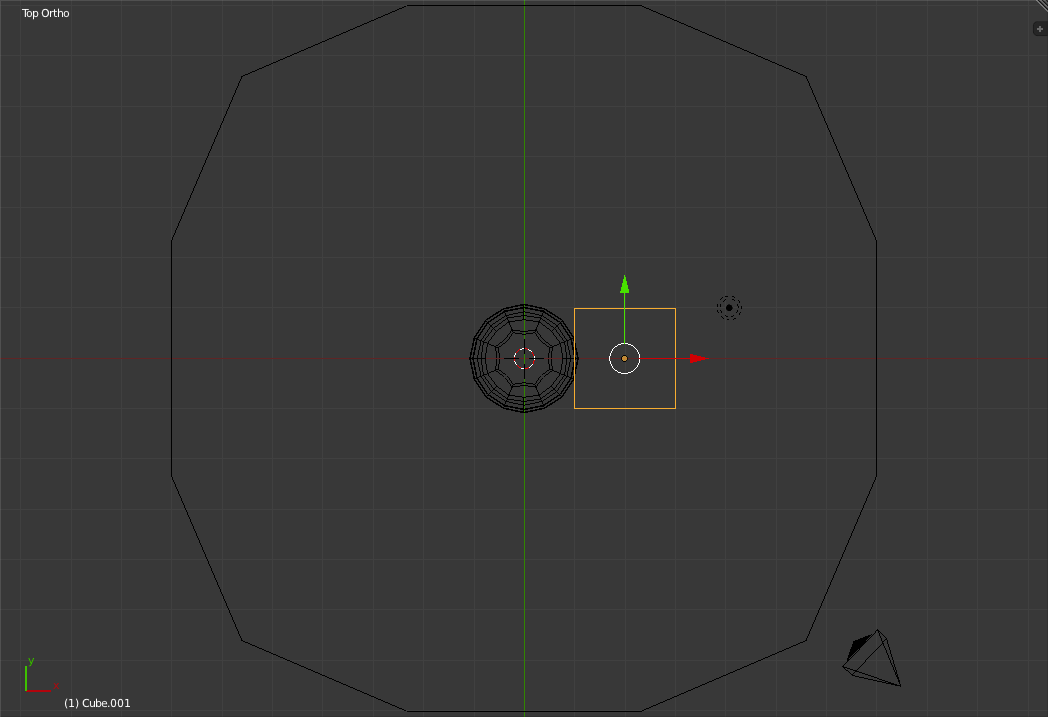
Now Zoom in (Using the mouse scroll wheel) until the cube is near the right edge of the view. Enter "Edit Mode". 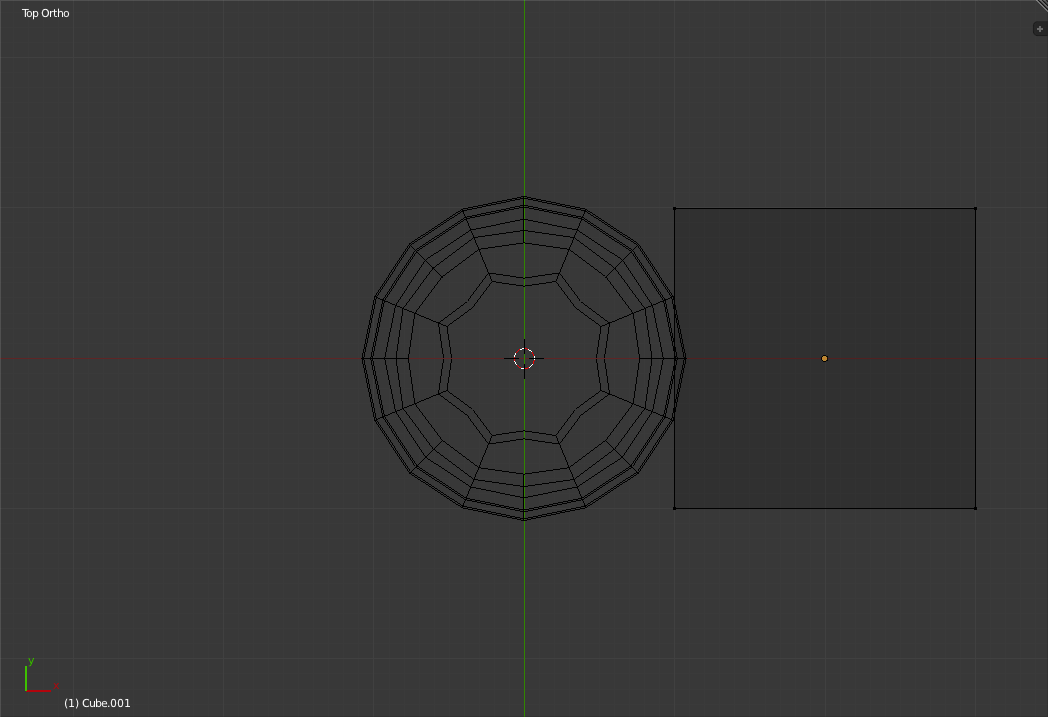
Switch into Front view. Select the bottom of the cube and bring it up until it is flush with the Tabletop. 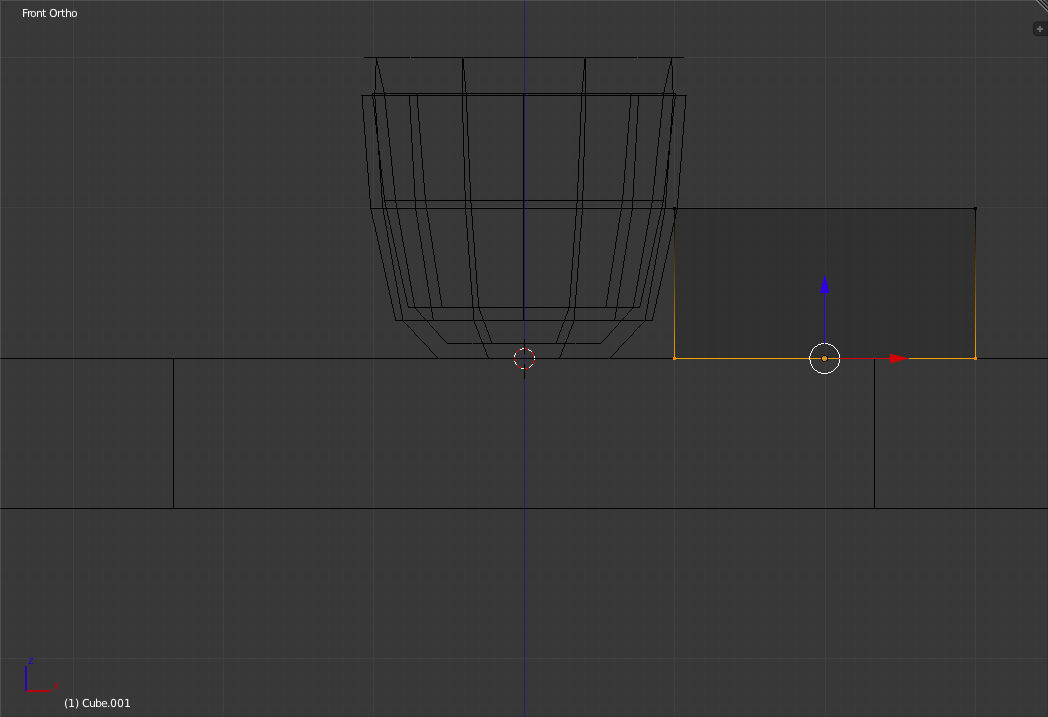
Next bring down the top until it is 1 small grid unit from the tabletop. Also bring the two sides together until they are each 1 small grid unit to either side of the "pivot point" of the object. The "pivot point" is the small coloured dot that was originally at the center of the cube. 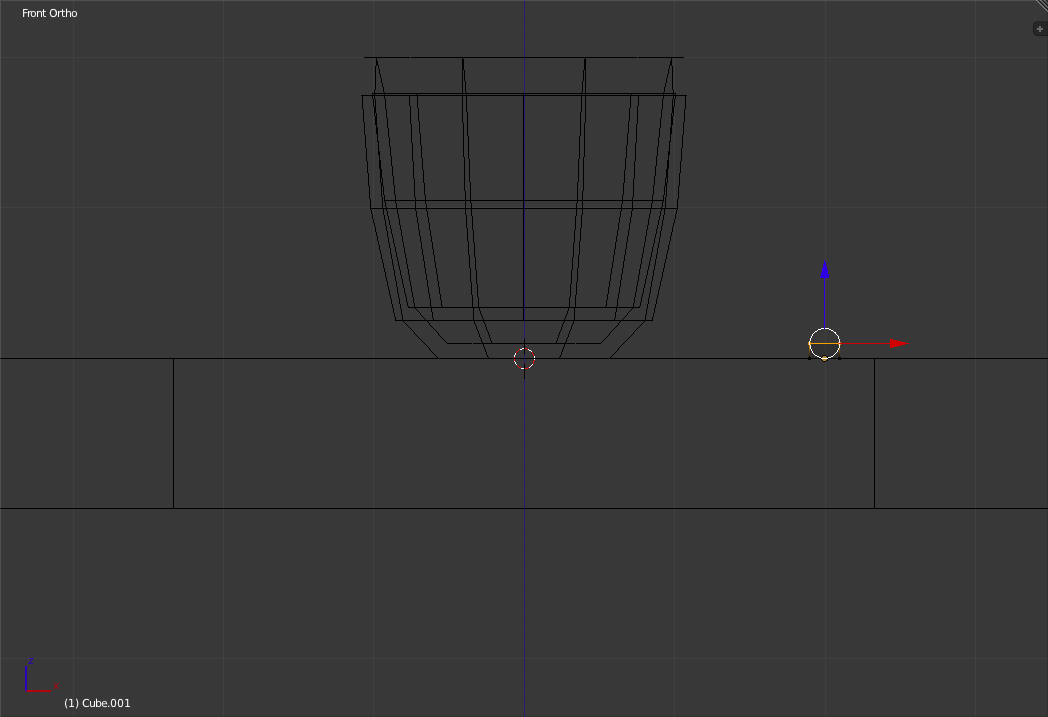
Switch into the Right View ('Numpad-3') and select the right hand edge of the rectangle. Press 'e' to extrude and drag 8 grid squares to the right. Click to place the new face. 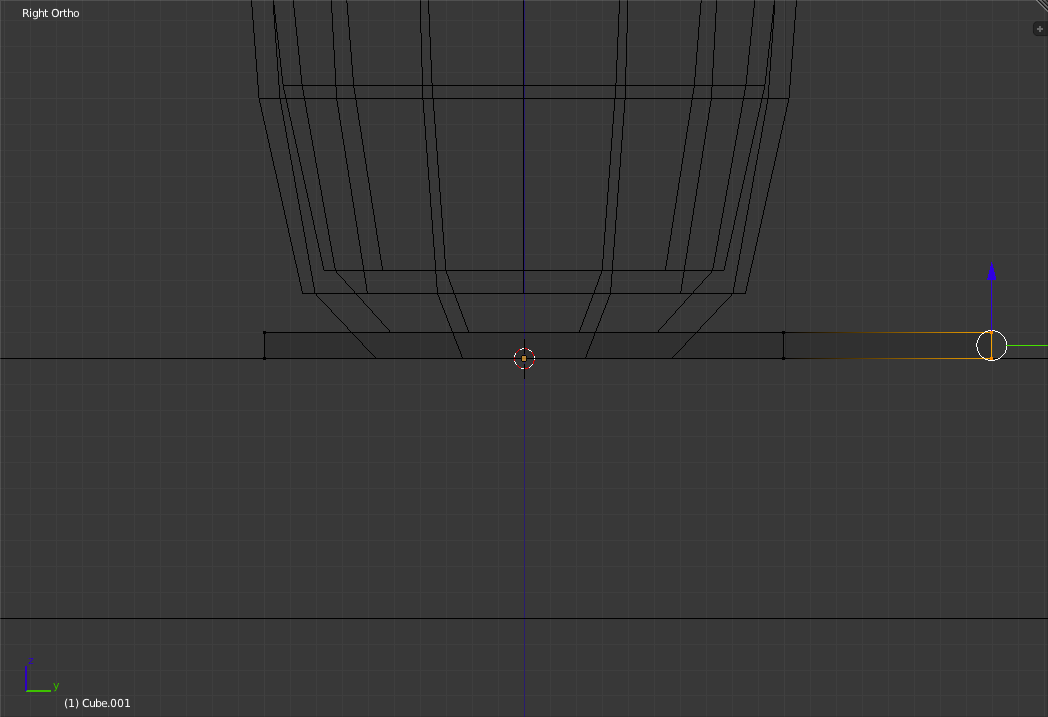
Go to the Top view. While holding your mouse near one of the sides of the spoon rectangle and press 'Ctrl+r' to enter "Ring cut" mode. This mode is used to cut a loop of edges into a ring of faces. 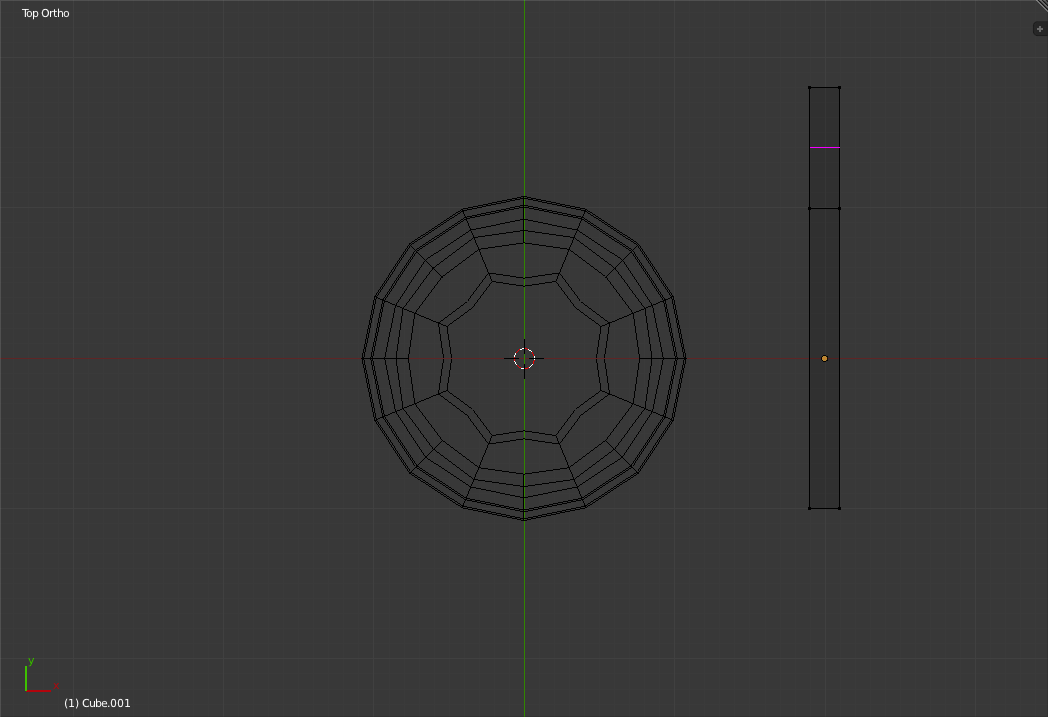
Scroll up with the Mouse Scroll wheel to increase the number of cuts to two (The location and number of cuts to be made are shown as purple lines on the object). 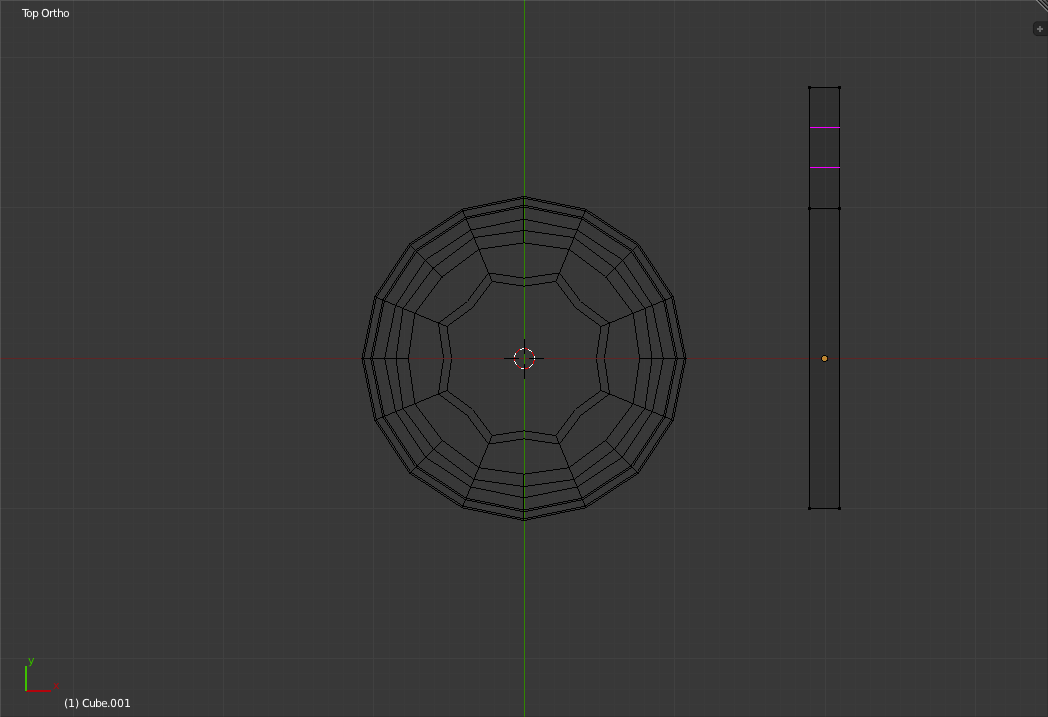
Click to place the new rings of edges. Now select the new vertices, one side of the spoon rectangle at a time, and pull them out 1 small grid unit. 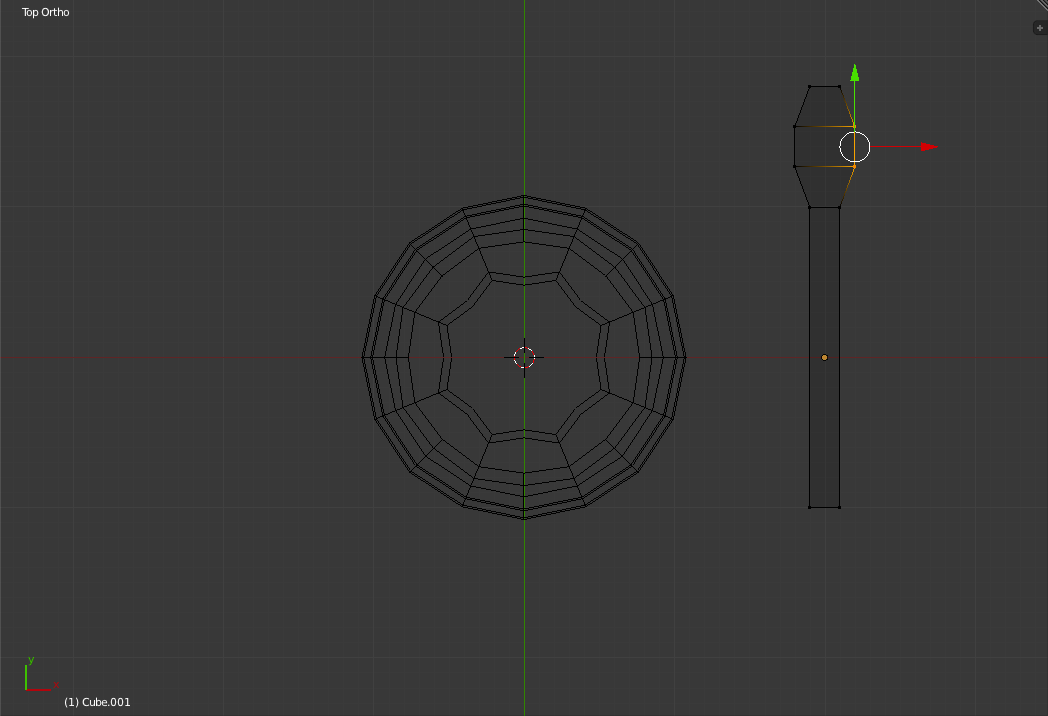
Now grab the top end of the spoon object and drag it one small grid unit down. 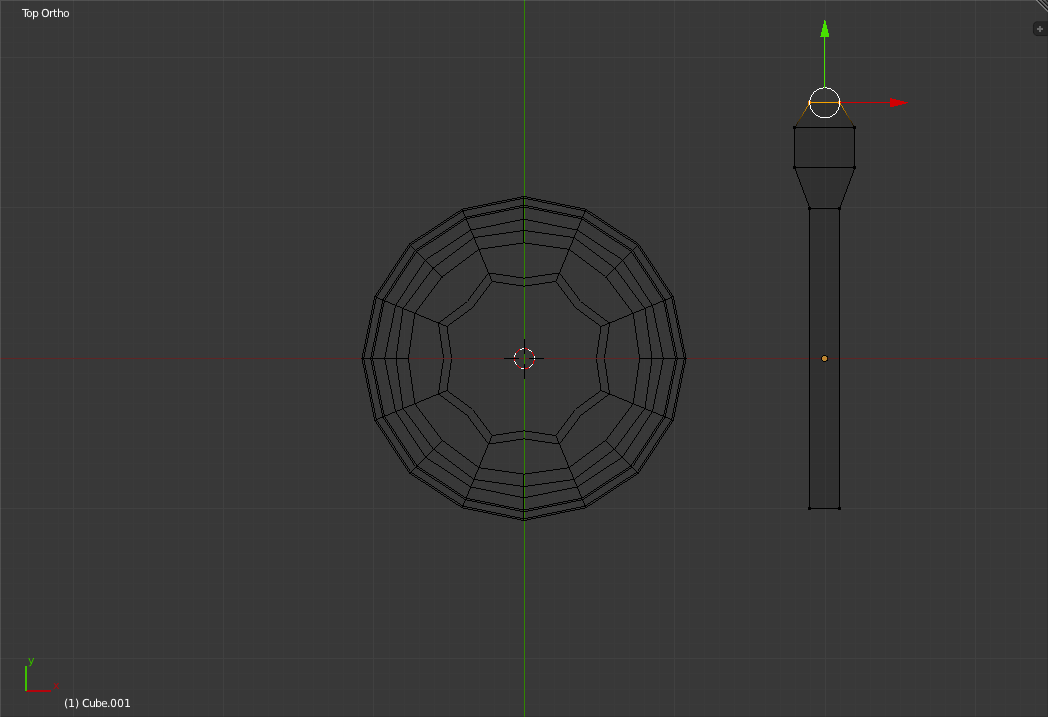
Re-enter "Ring cut" mode by pressing 'Ctrl-r' near the middle of the next-to-top edge. Hold down 'Ctrl' to snap it to percentages of the width of the edge. (We want the cut to be centered down the length of the spoon.) 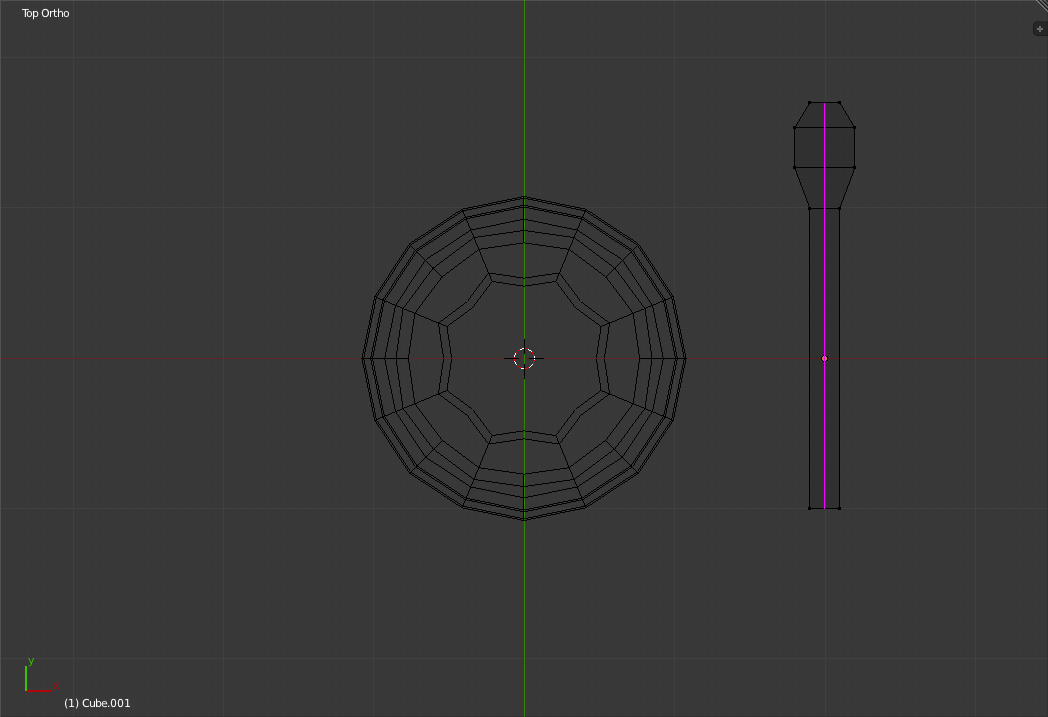
Click to place the new vertices. 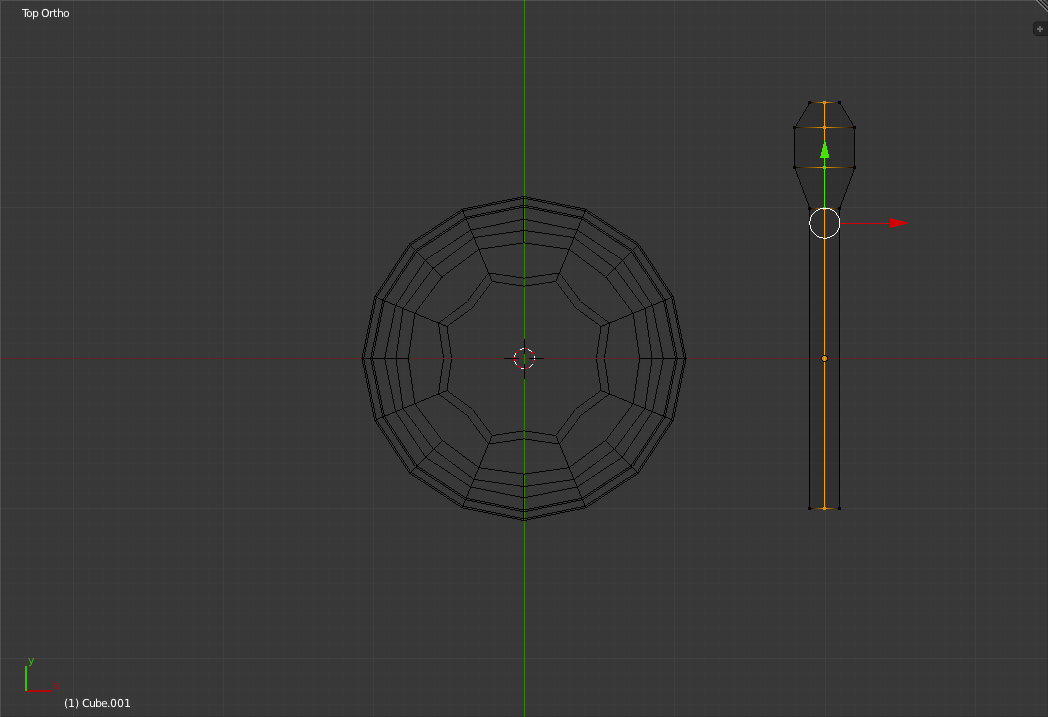
Switch to "Shaded mode" and select the two vertices in the middle of the Bowl portion of the spoon. 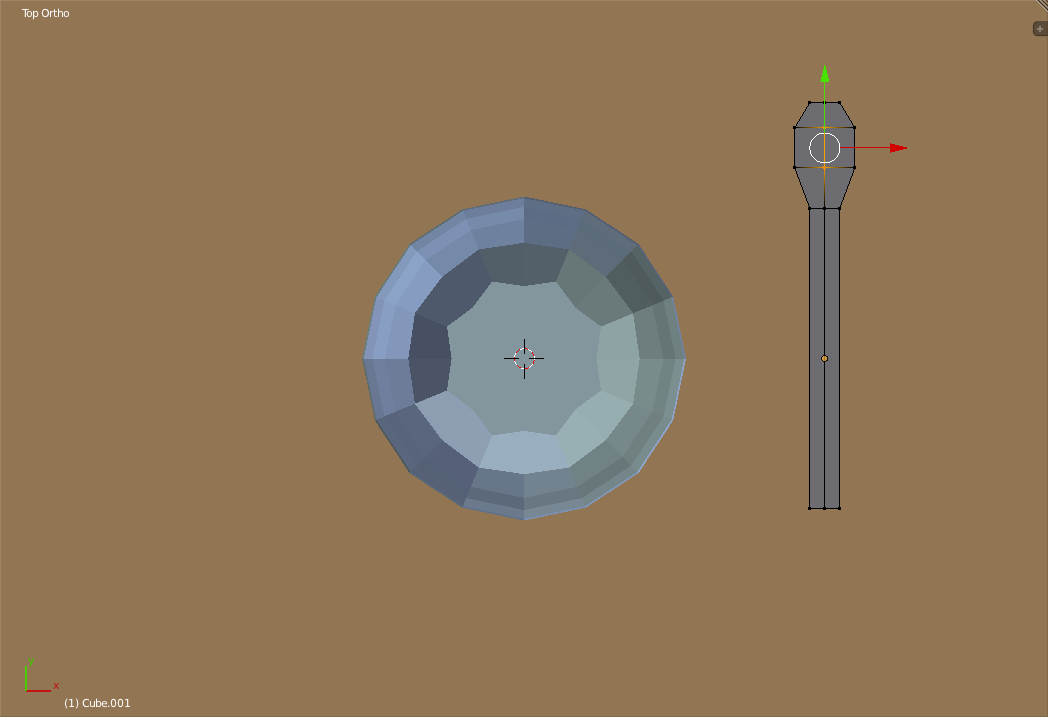
Return to "Wireframe mode" and go to right view. 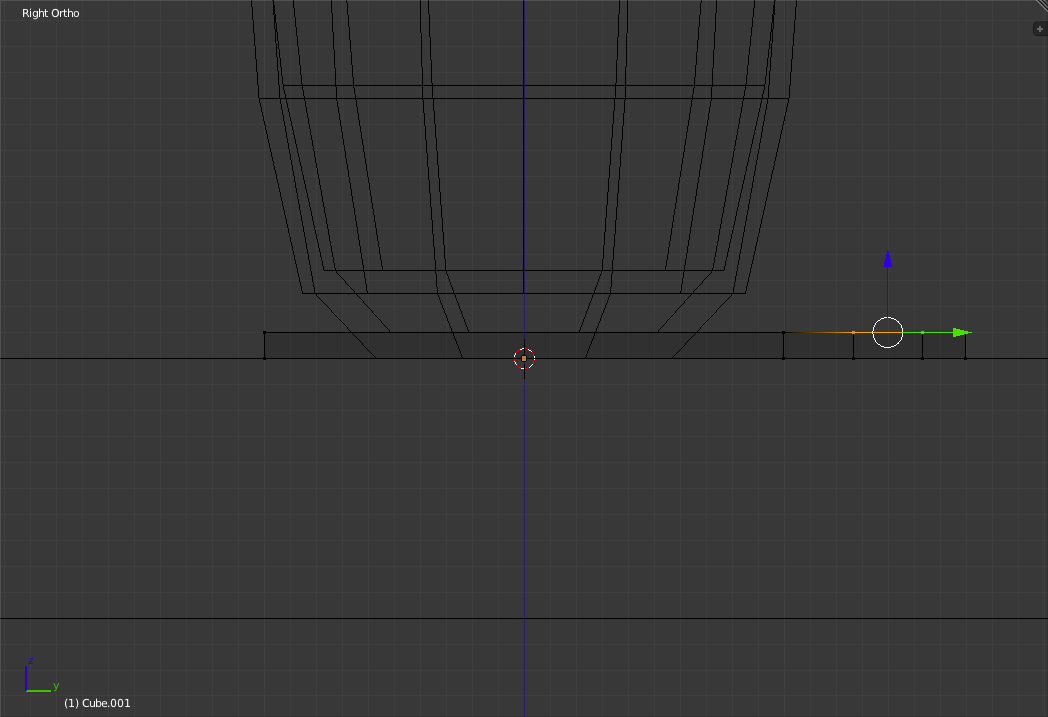
In order to get a closer look at the Bowl portion of the spoon, zoom in (mouse scroll wheel). Next, while holding down 'Ctrl', press 'Numpad-6' to move the view to the right to see the bowl portion of the spoon. 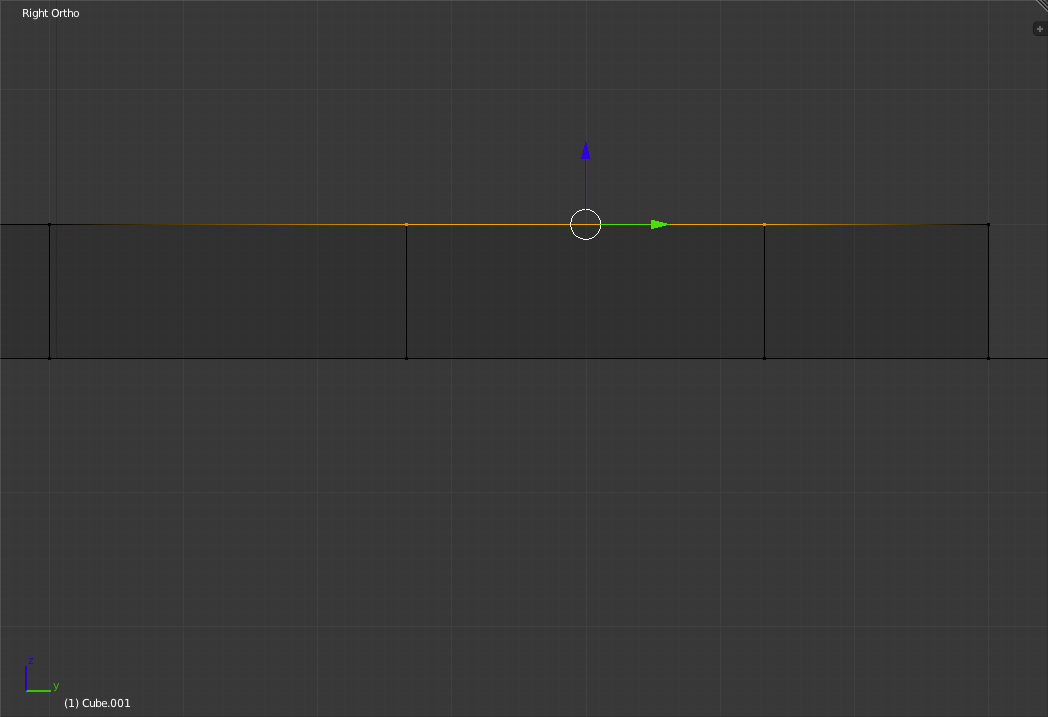
Move the currently selected vertices down to be just barely above the base of the spoon, thereby making the bowl portion more like a bowl. 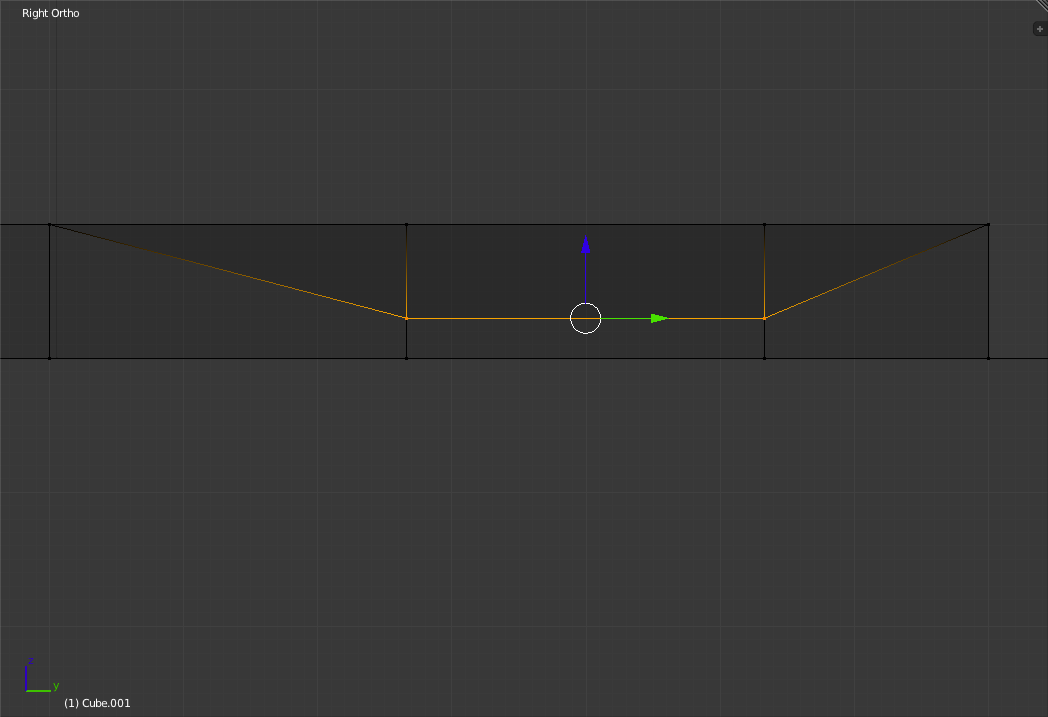
Switch to Top view and zoom out until you can see the entire Cup. To re-center the view on the 3d cursor, press 'Ctrl+Numpad-.'. 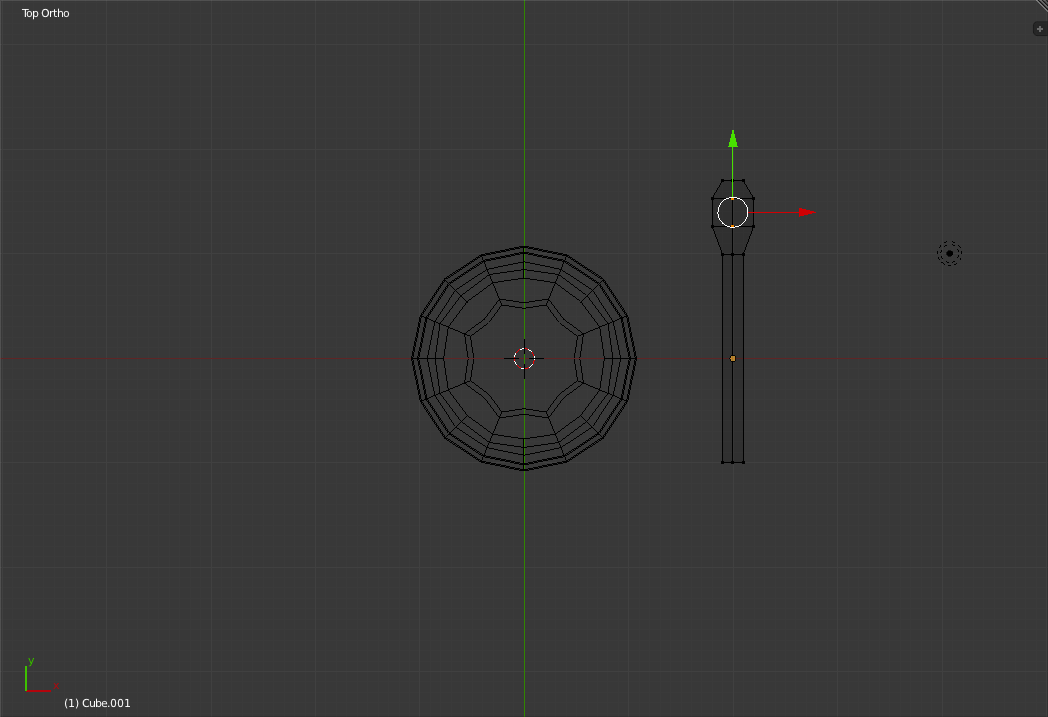
Switch back to Right View. Using "Ctrl-R" on the handle portion of the spoon. Scroll up to make it be 5 ring cuts. 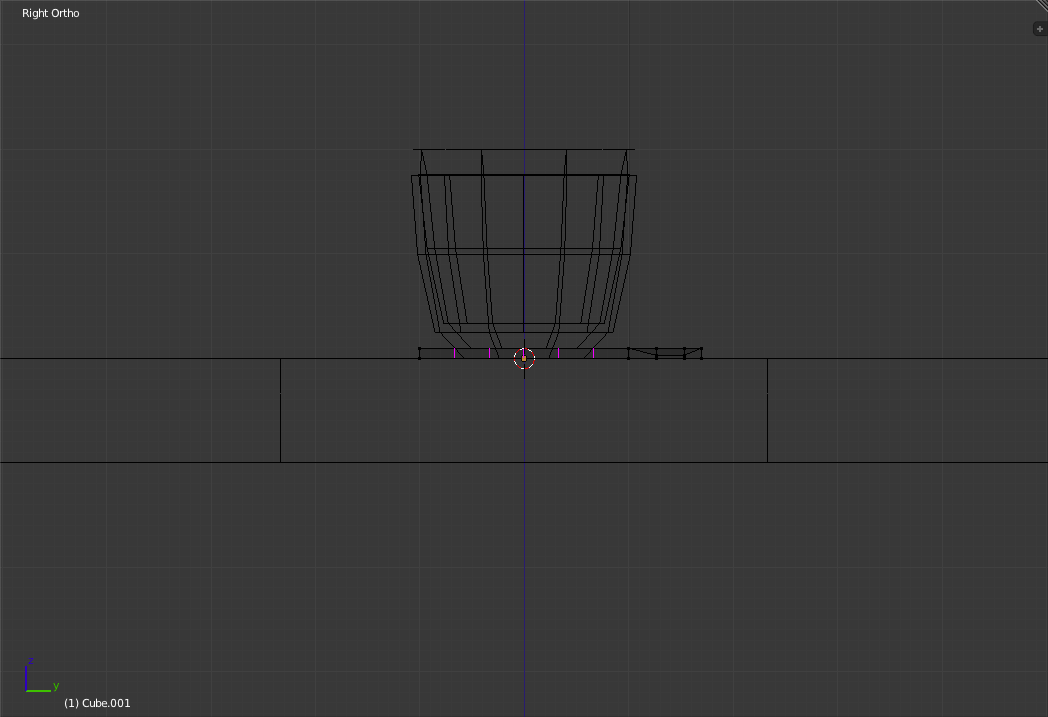
Click to place the new vertices. 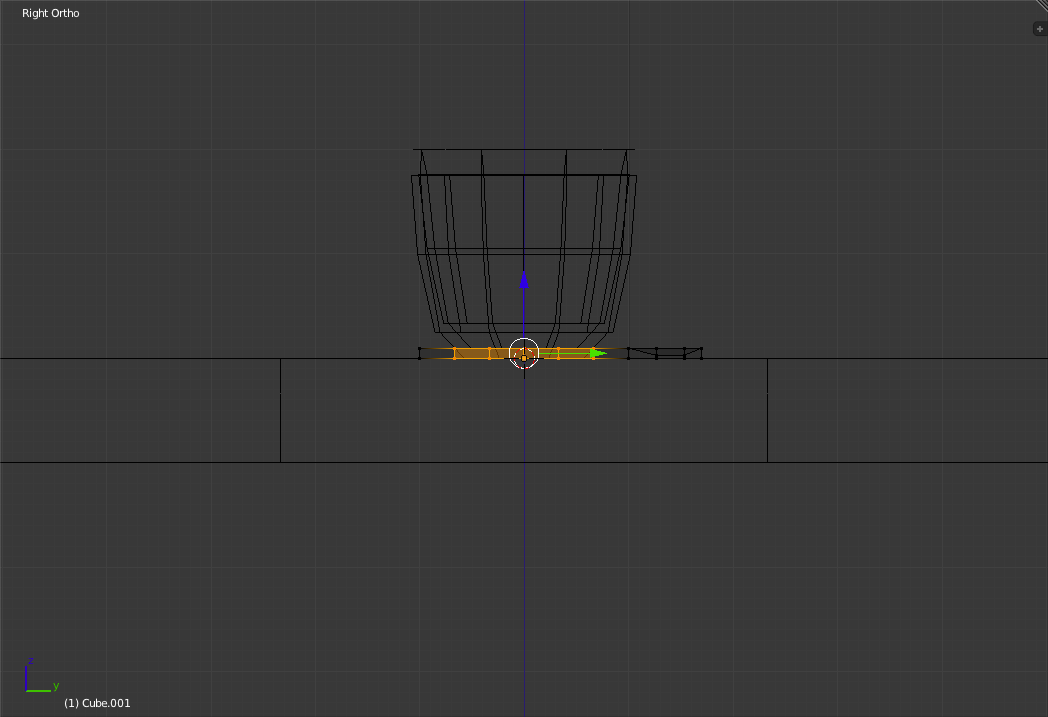
Zoom in and select the vertex to the left of the base of the bowl of the spoon. 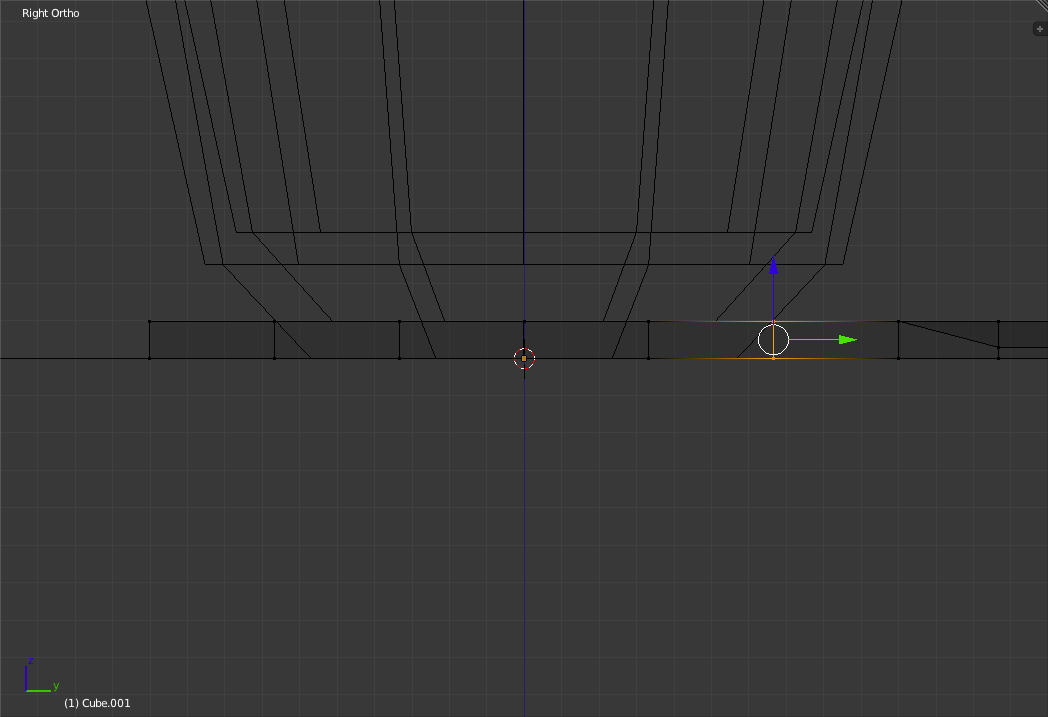
Drag the vertex up two grid units. 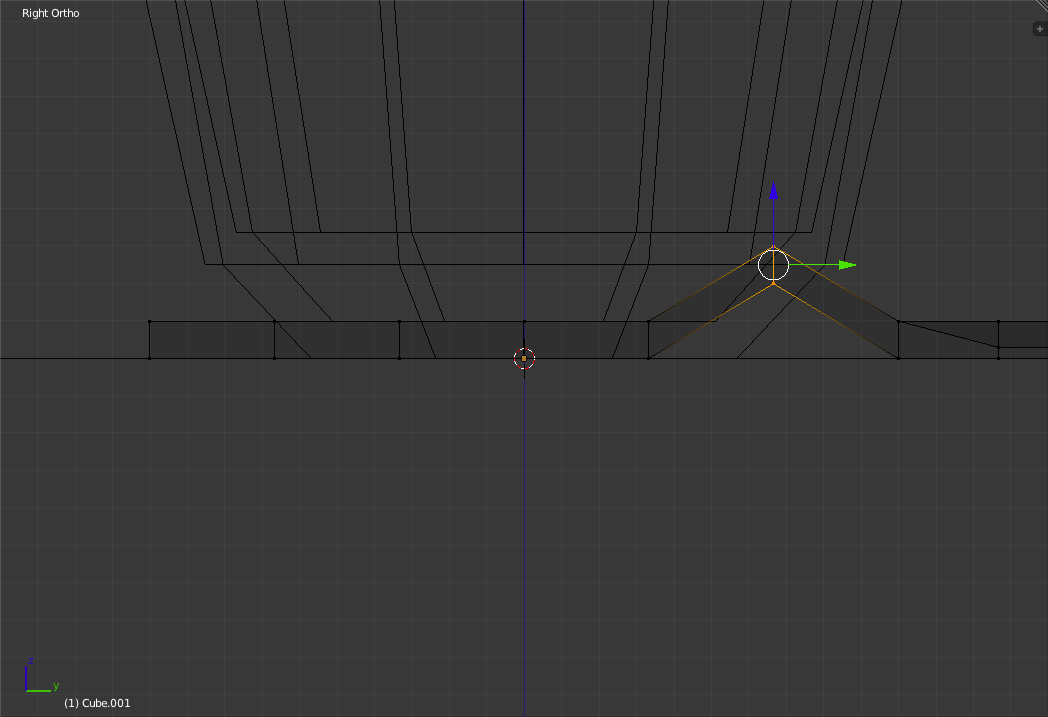
Select from the currently selected vertices to the second last row of vertices on the left. 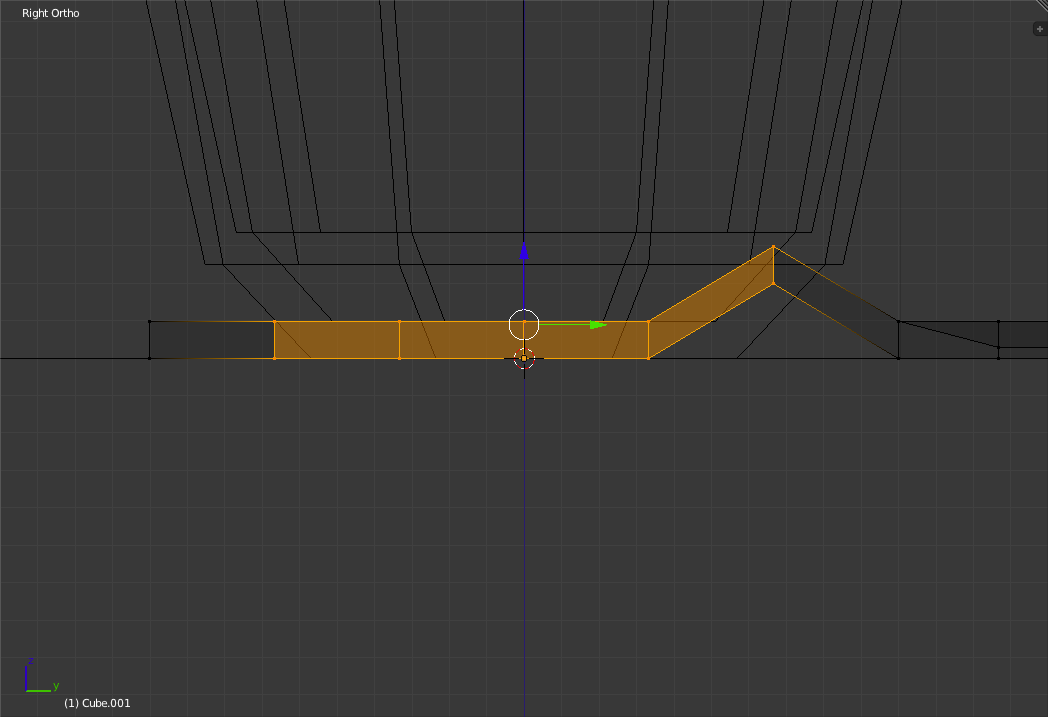
In the Left "Toolbar" click on the "Smooth Vertex" Button in the "Deform" section 8 times. This button tries to smoothen the object by adjusting the location of each of the selected vertices so as to reduce angles and distances between vertices. 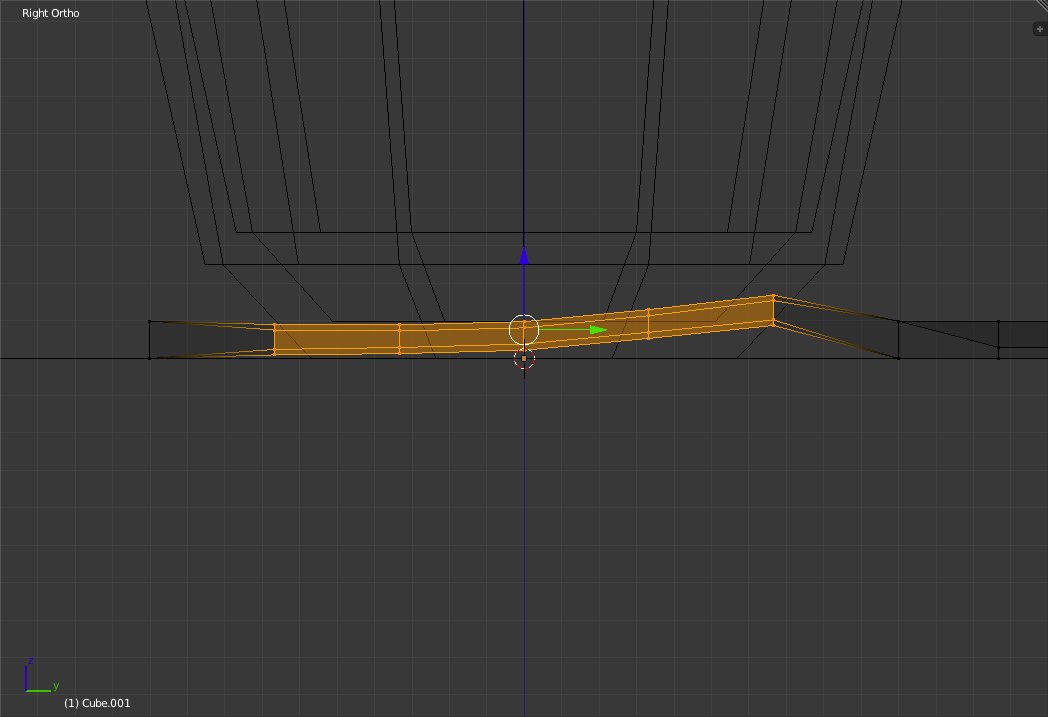
Making the Spoon Reflective and Changing the SkyExit "Edit Mode", switch back to "Shaded Mode" and go to the Camera View. Click on the "Smooth" Button in the "Shading section of the Left "Toolbar". 
In the "Materials Panel" ( 
Change the reflectivity setting to 0.5 and the Fresnel setting to 1.0. 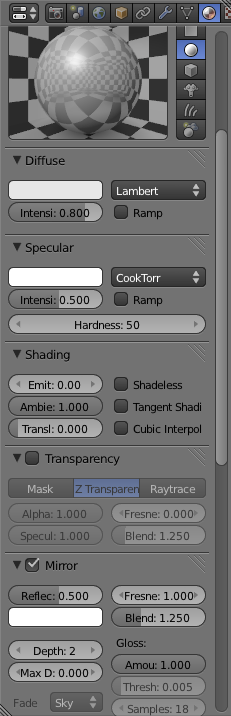
Now go to the "World Panel" ( 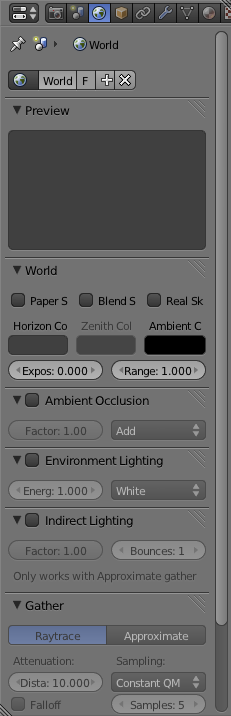
Change the Horizon colour to a slightly yellowish white. 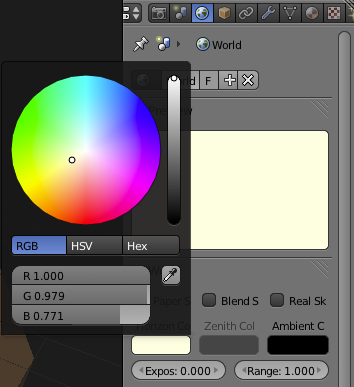
Then check the "Blend Sky" checkbox and change the Zenith colour to a greyish pale blue. While this blue colour won't be seen in the background it will be reflected off of the spoon. 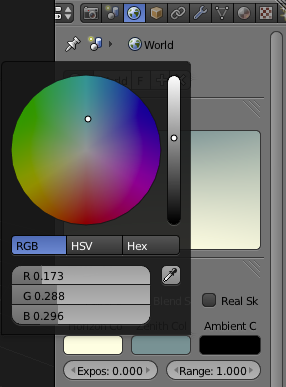
Now Render the Scene and you should see something along the likes of this: 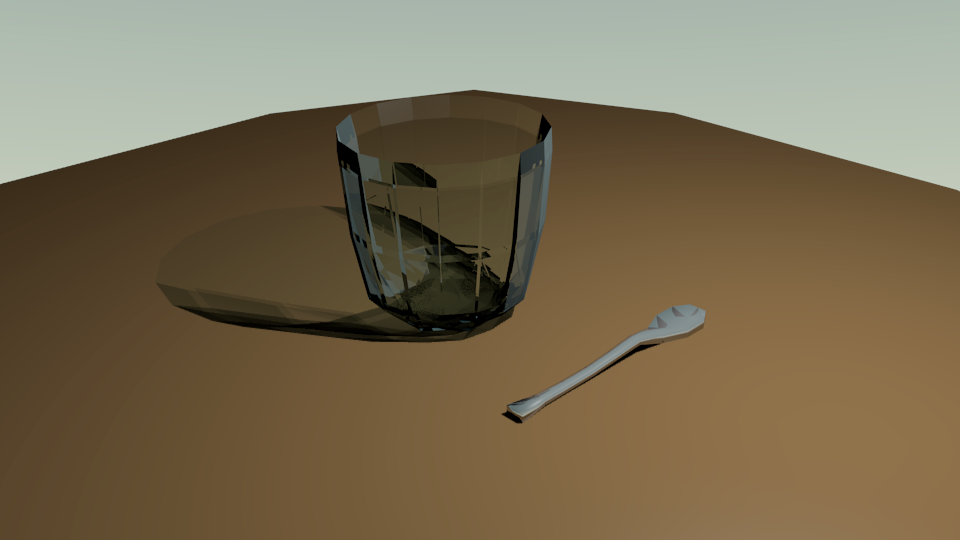
Don't Forget to Save! Continue Learning: |