 Blender Tutorials
Blender Tutorials
Blender Tutorials
Navigation: |
Introdution to Particle Physics and TypesThis Tutorial is meant as an introduction to particles in Blender (2.5 and up). You should already have some experience with modelling, applying materials and animation in Blender. Table of ContentsTo begin this tutorial open Blender and load the "Glass and Spoon" blender file from: Building a Glass and Spoon. If you have not done that tutorial yet, please at least complete until the end of the "Transparency and Adding Detail to the Glass" Section of it or create a scene with a mostly transparent, concave glass or bowl into which we can drop particles. 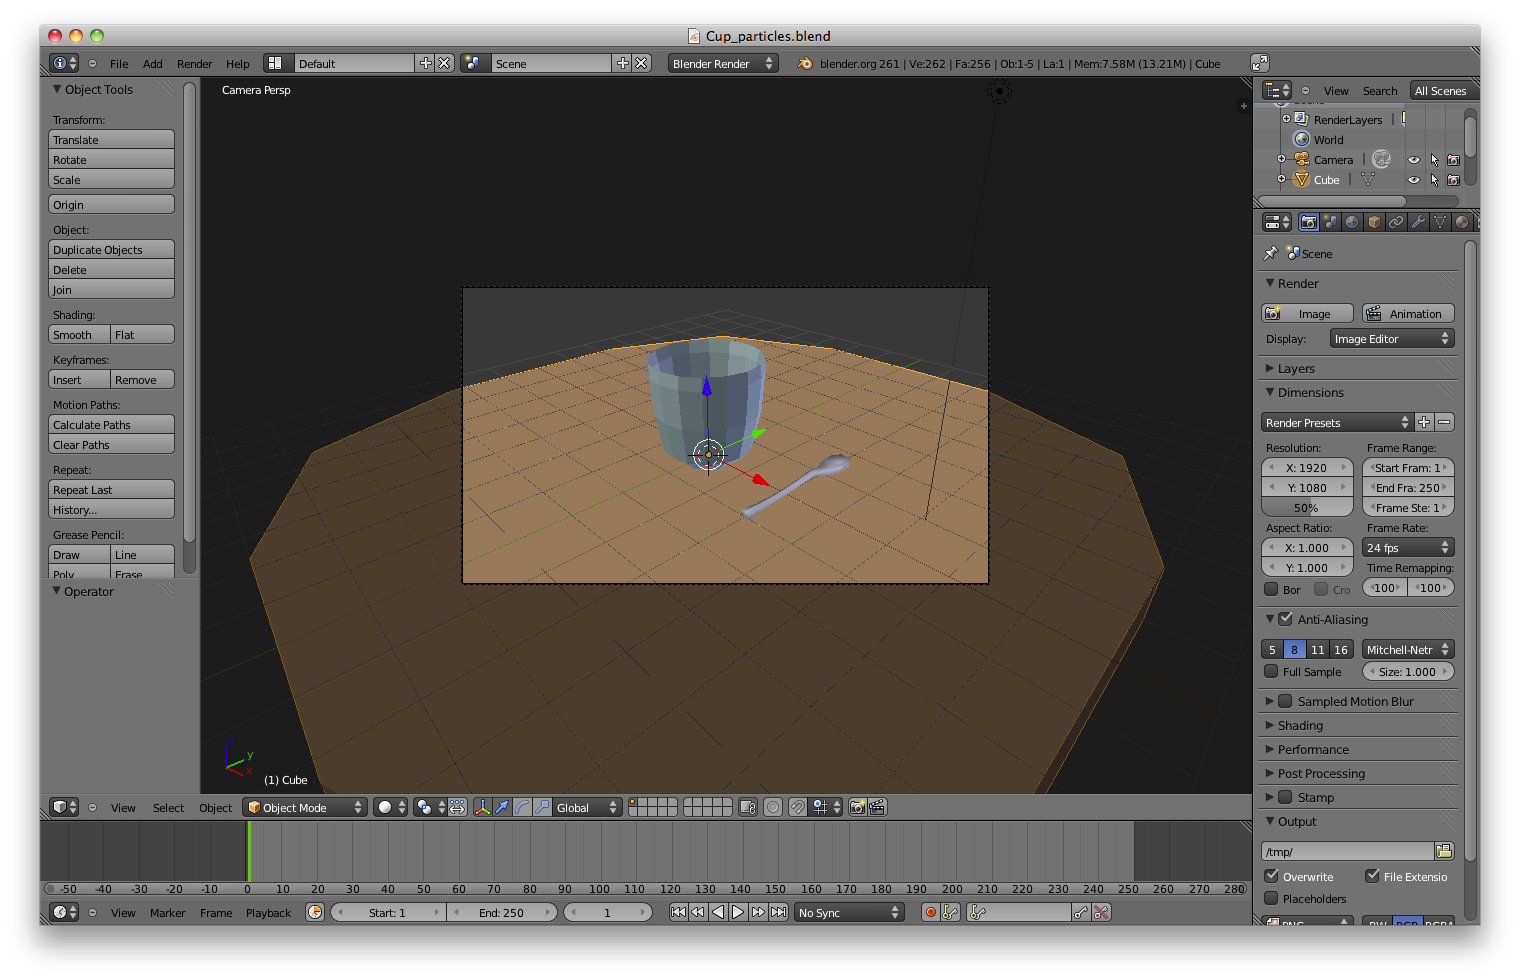
Setting up the Particle EmitterTo begin, go into the Camera view ('Numpad-0') in "Shaded mode" (If in wireframe mode, press 'z'). Now Add a Plane by pressing 'Shift+a' and selecting "Mesh->Plane". This plane will be our particle emitter. 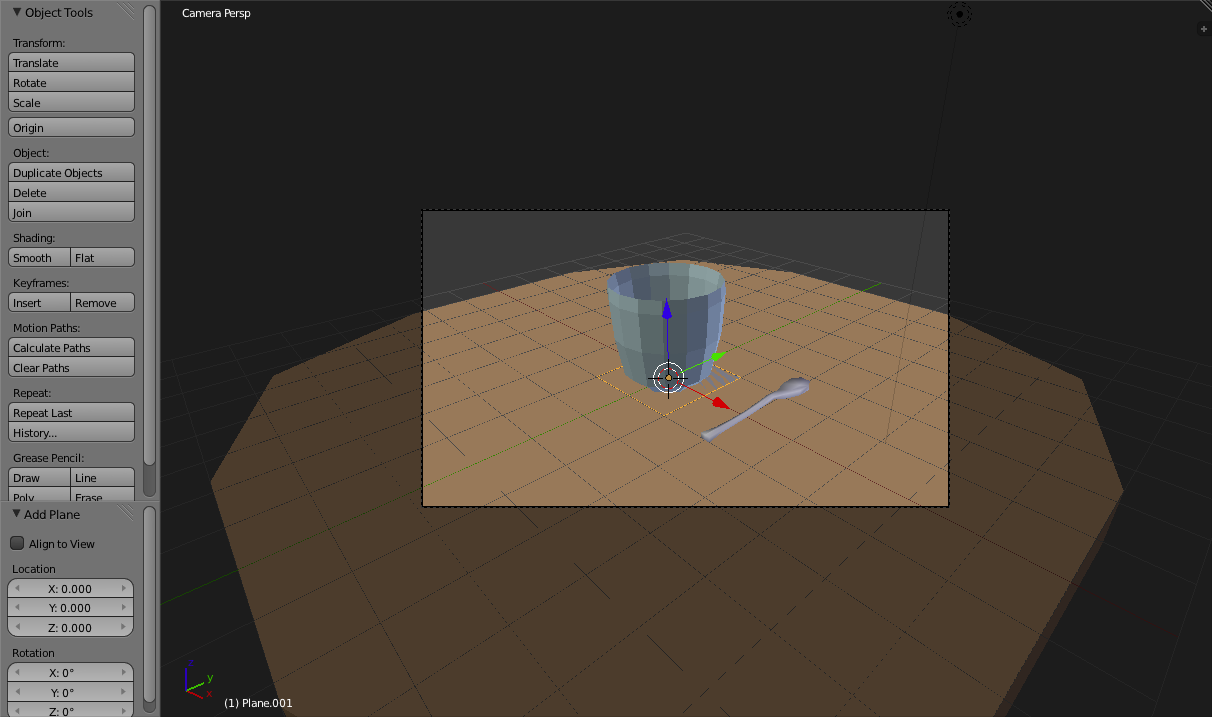
Since particles are emitted from the front of faces we need to flip the plane over (by default the front face of a plane is the top). To do this, change the "X Rotation" Field in the "Add Plane" Section of the Left "Toolbar" to 180. 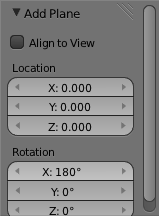
Now we need to move the plane above our glass. To do so press 'g' followed by 'z' to restrict motion to the Z-axis. 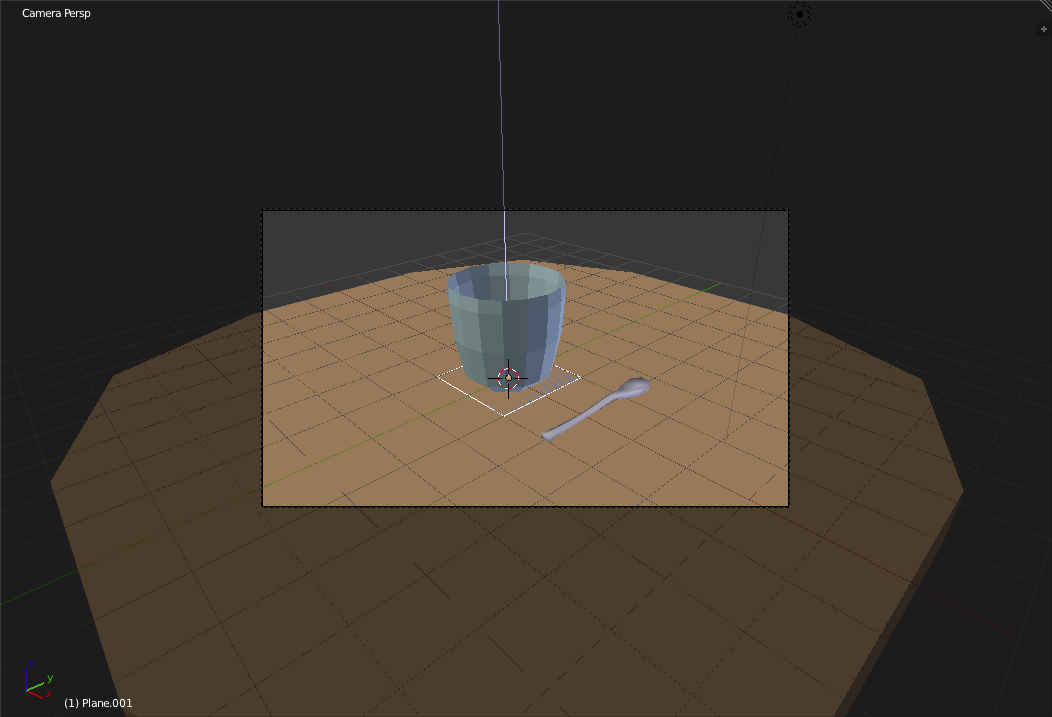
Now Raise the Plane up 6 grid units ('Ctrl' to snap to grid units). 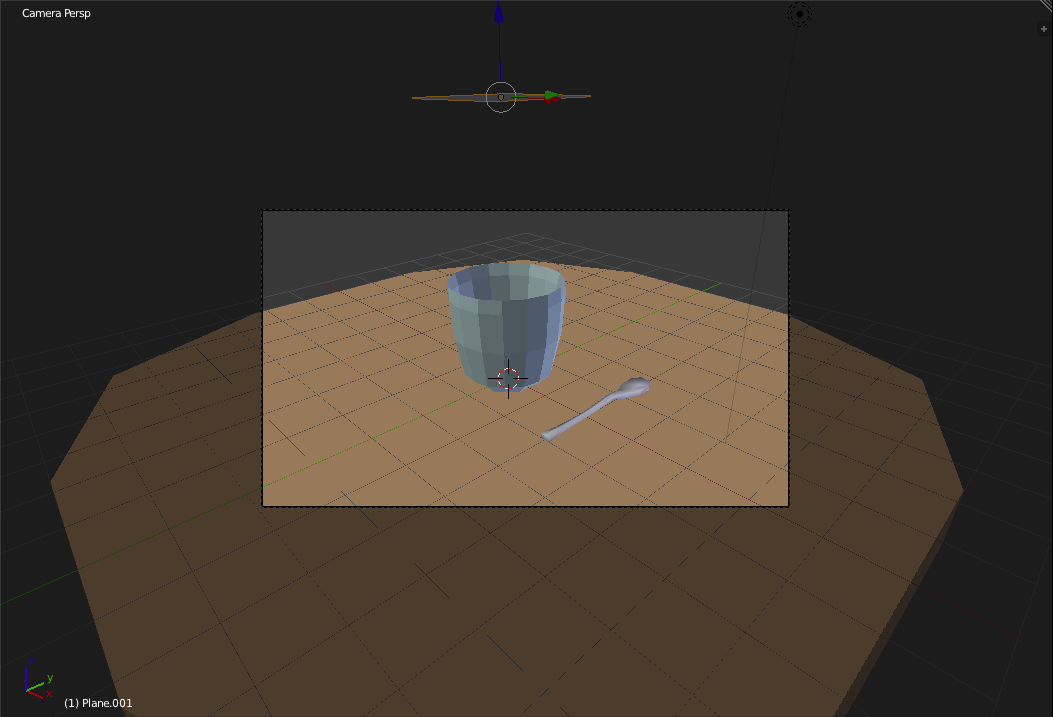
Navigate to the "Particles Panel" ( 
Press 'Alt+a' to playback the animation. The tiny squares you see falling represent the particles that are being emitted. As you can see, by default particles are only affected by gravity and pass right through other objects. (If you want to confirm that they pass through objects you can switch to "Wireframe mode".) 
To make the particles bounce off of objects start by selecting the
tabletop by Right-clicking on it. Then Navigate to the "Physics
Panel" ( 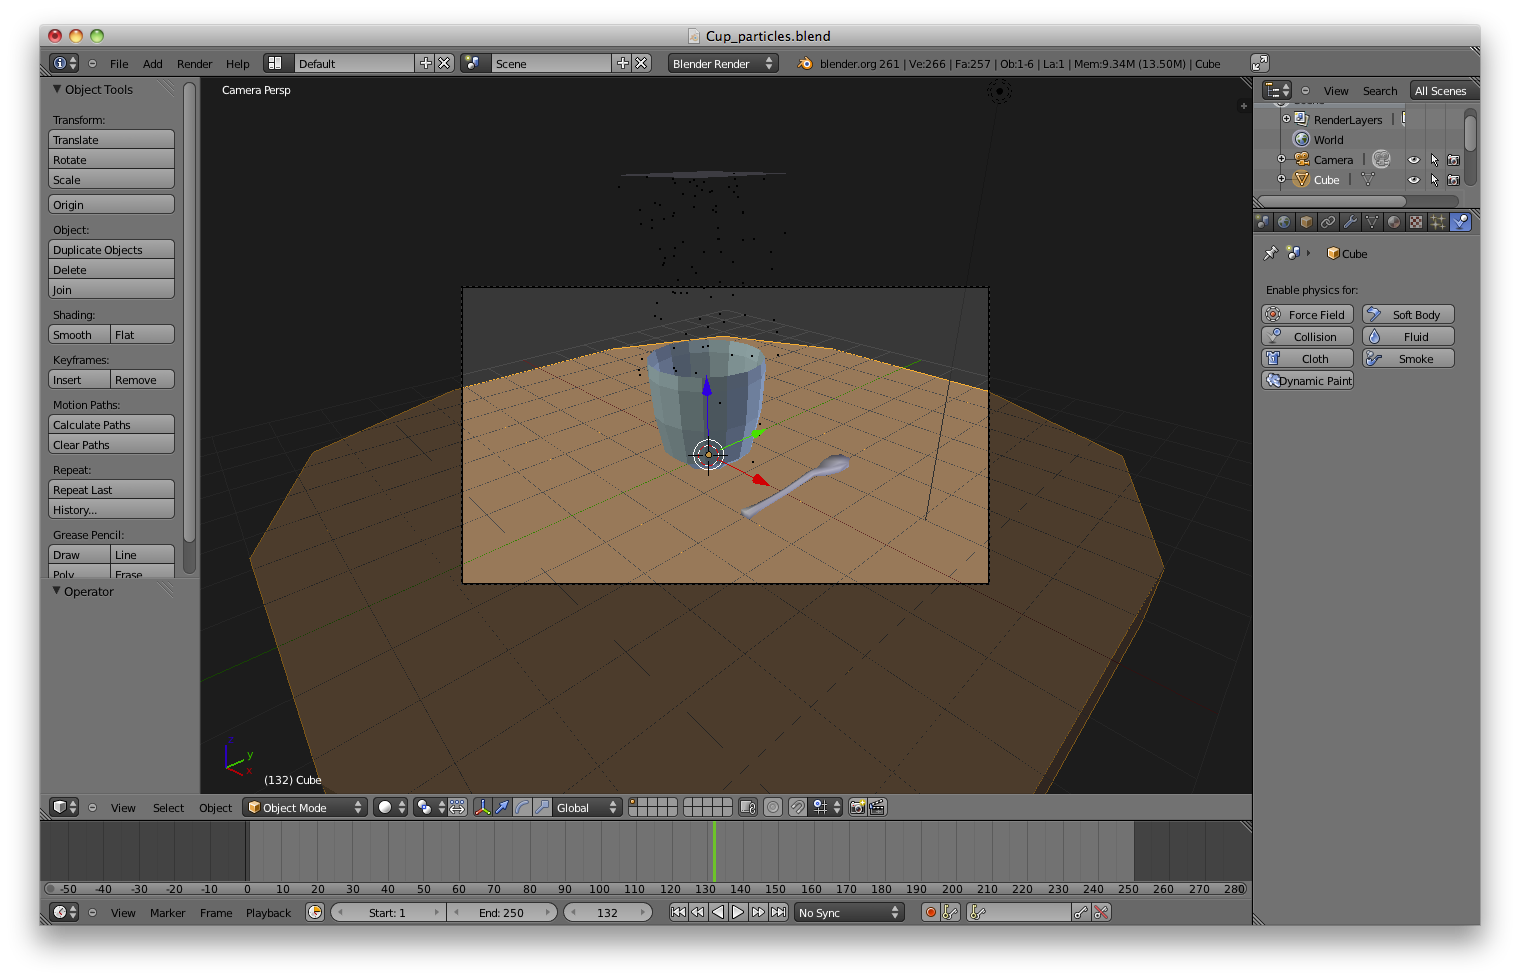
To make the Tabletop into an object that particles will bounce off
of, click the "Collision" ( By designating this object to be a Collision object we are making it so that objects under the influence of physics will record collisions with this object. 
Right-click on the Glass and click the "Collision" ( 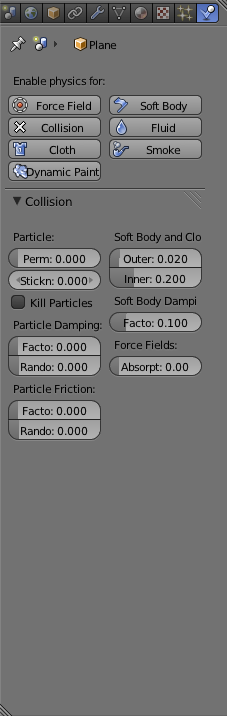

Replay the animation by pressing 'Alt+a' and you will se the particles are now bouncing off of the glass, table and spoon. 
Now if you render a frame in the middle of our timeline (such as frame 105) you will see that the particles (Which are of the default "Halo" type) do not appear when they are behind the transparent side of the glass. Nor do they, for that matter, seem to actually cast a shadow. 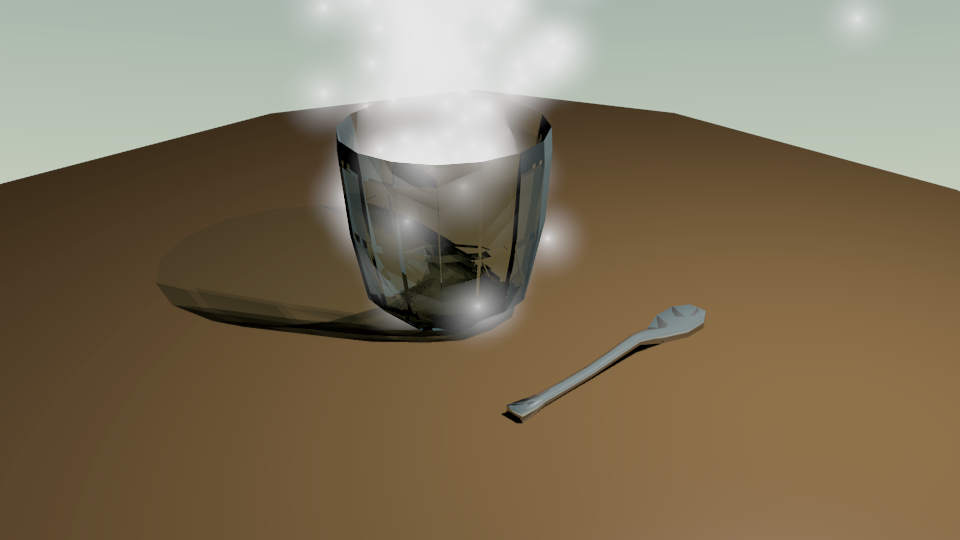
These problems will be resolved in the next section. Different Particle TypesScroll down in the "Particles Panel" until you see the "Render" Section. There you can see what types of particles we have available. 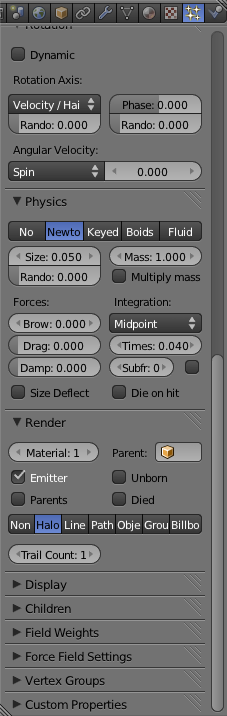
For the next step try selecting "Line" from the list of particle types. 
To see this type of particle, still at a frame near the middle of the timeline (ex: 105), render an image. As you can see, the particles are now rendered as little stick-like objects. Fortunately for us they are now shown through the transparent side of the glass and do indeed have shadows. 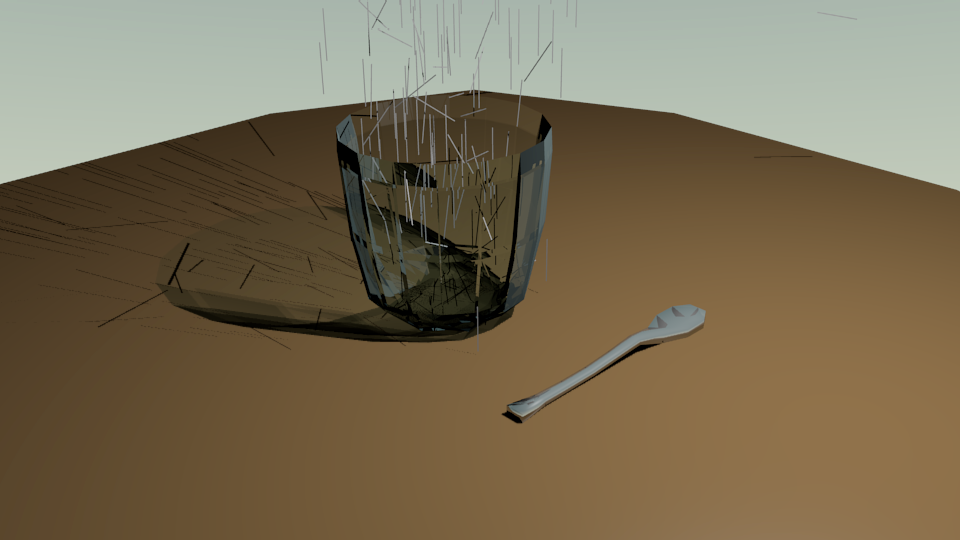
Now switch to the Front View ('Numpad-1') and add a Sphere by pressing 'Shift+a' and selecting "Mesh->UV Sphere". 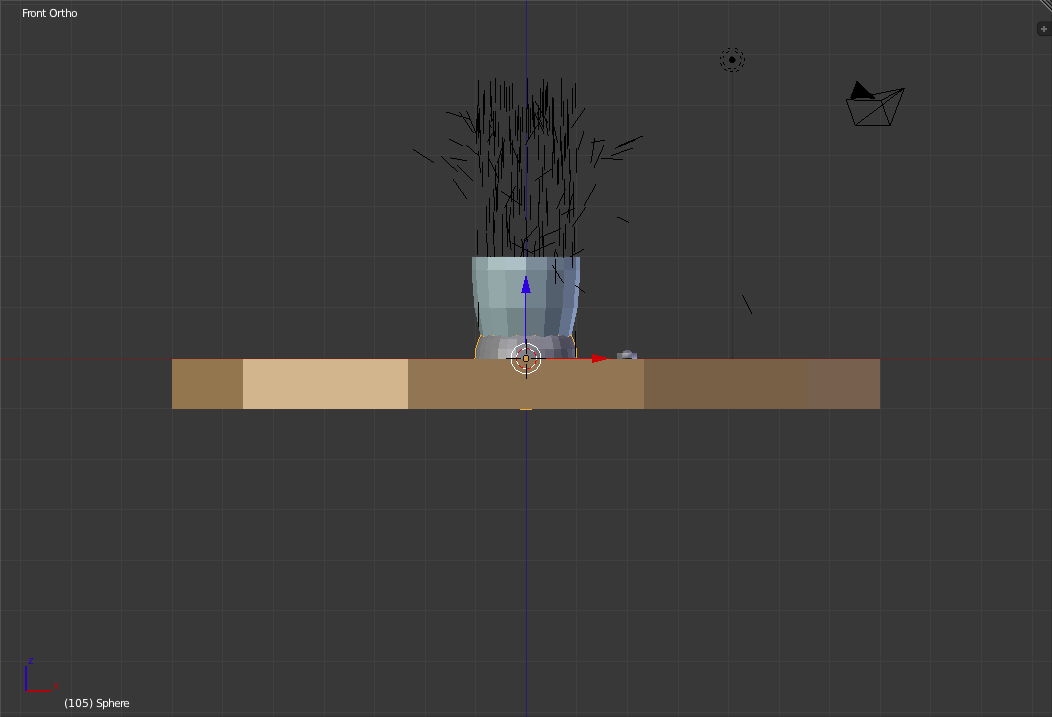
Move the sphere below the Tabletop ('g') so it is out of sight of the camera. Now press "Smooth" in the "Shading" section of the Left "Toolbar". 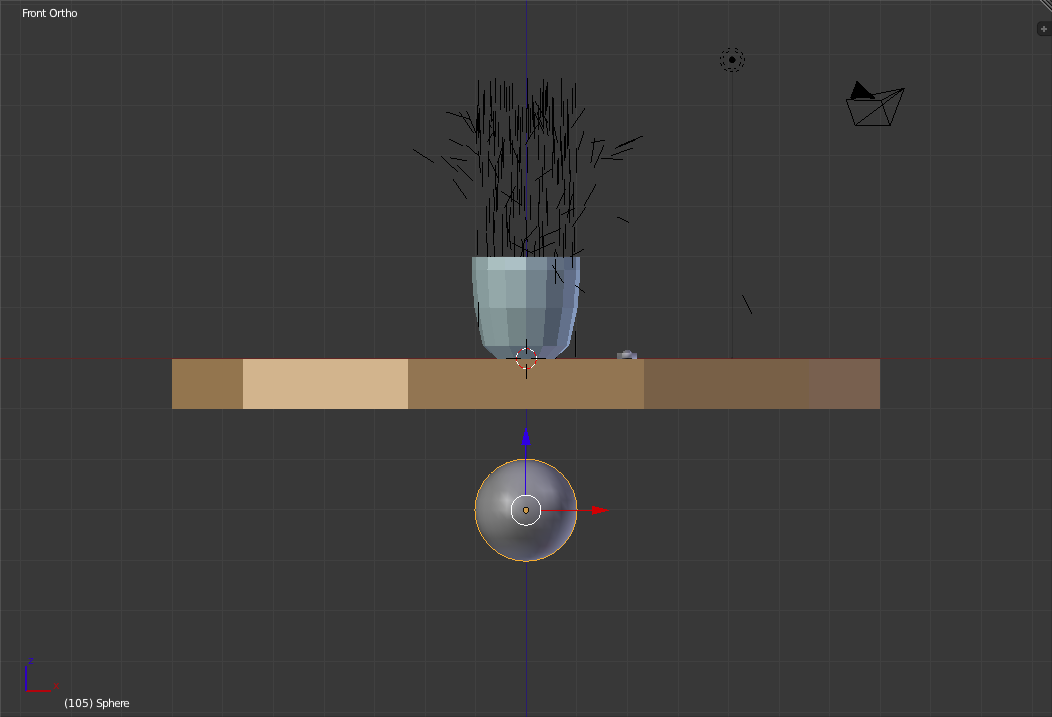
Since we will need to refer to this sphere later, go to the "Object
Panel" ( 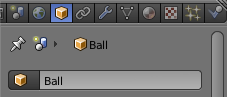
Now to give the ball some colour detail, in the "Materials Panel"
( 
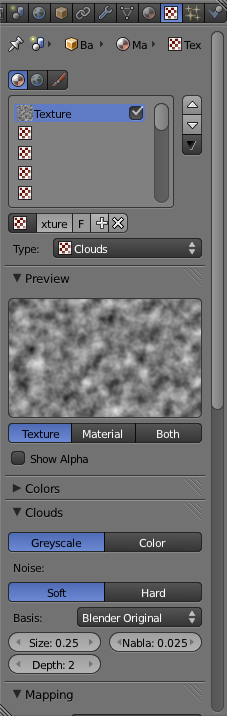
Change the texture type to "Magic" and return to the Camera View. 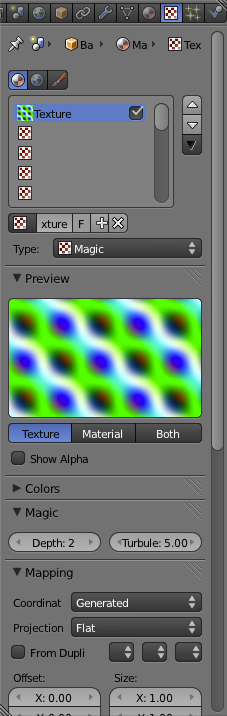
Select the Plane (Right-click) and go to the "Particles Panel"
( 
Select Ball for the "Dupli Object Type" field. 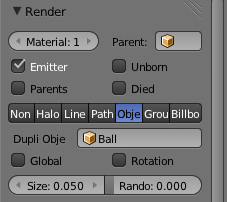
As you can see, the line particles have now been replaced with tiny balls. 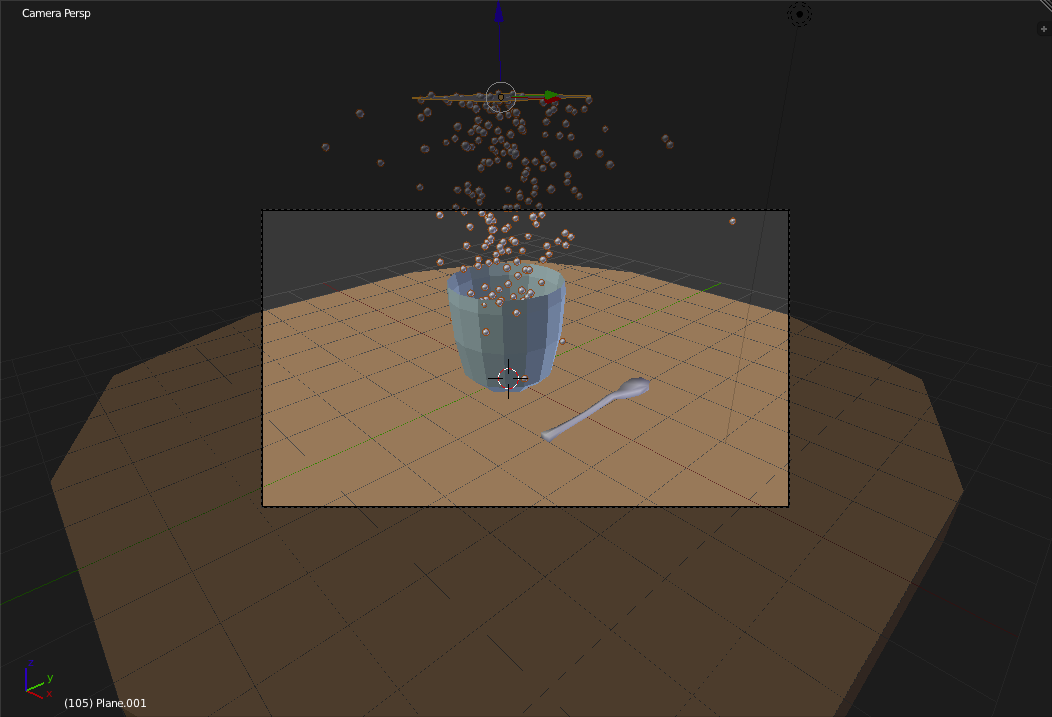
Render an Image to see the new setup. 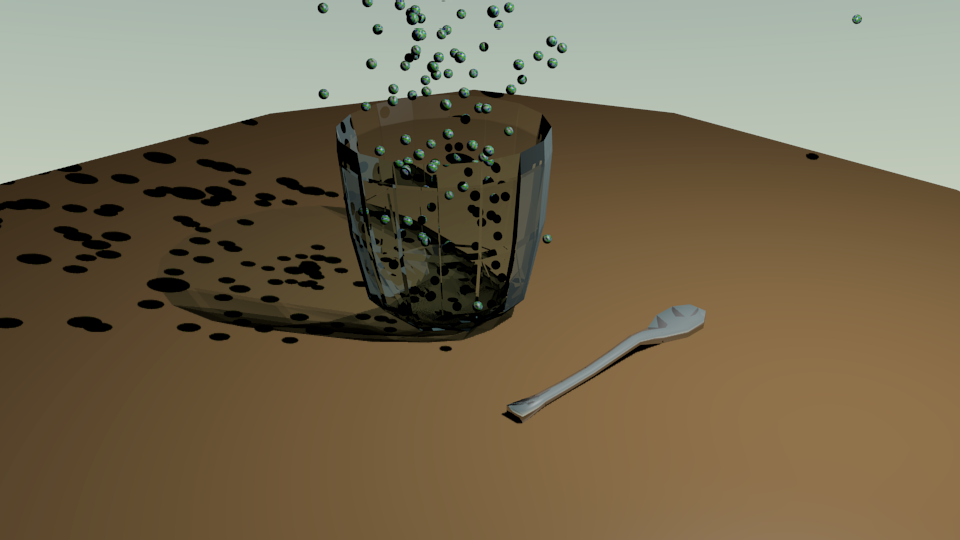
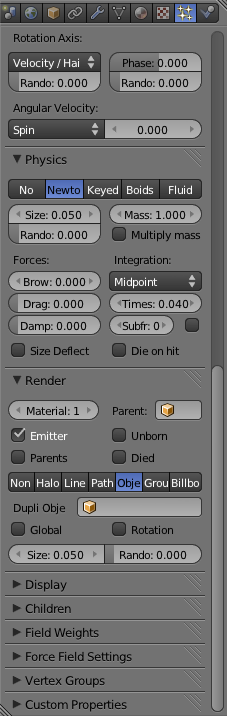
Adjusting the Particle SettingsScroll back up to the top of the "Particles Panel". Under the "Emission" Section you can set the number of particles, the start and end time, the lifespan (in frames) of particles and a random variance factor for their lifespan, where they are emitted from and how they are emitted. For this tutorial, change the Start time to -10 to have the particles already be in motion when the animation begins. Also change their lifespan to 250 to have them last at least as long as the full animation. 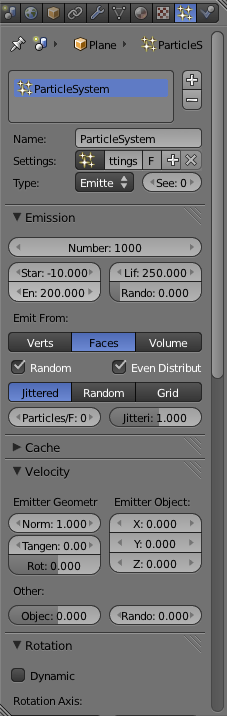
Now scroll down in the "Particles Panel" to the "Physics" Section. In this section you can select they type of physics to apply to the particles (Which defaults to "Newtonian"). You can also set the particle size, mass and a number of flat forces that will affect the particle's motion. For this tutorial, change the particle size to 0.1 and the random variance for the size to 0.5 (rthis will make the particles not all the same size). 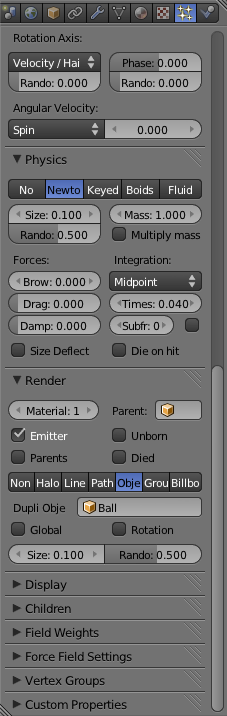
Now go to the "Render Panel" ( 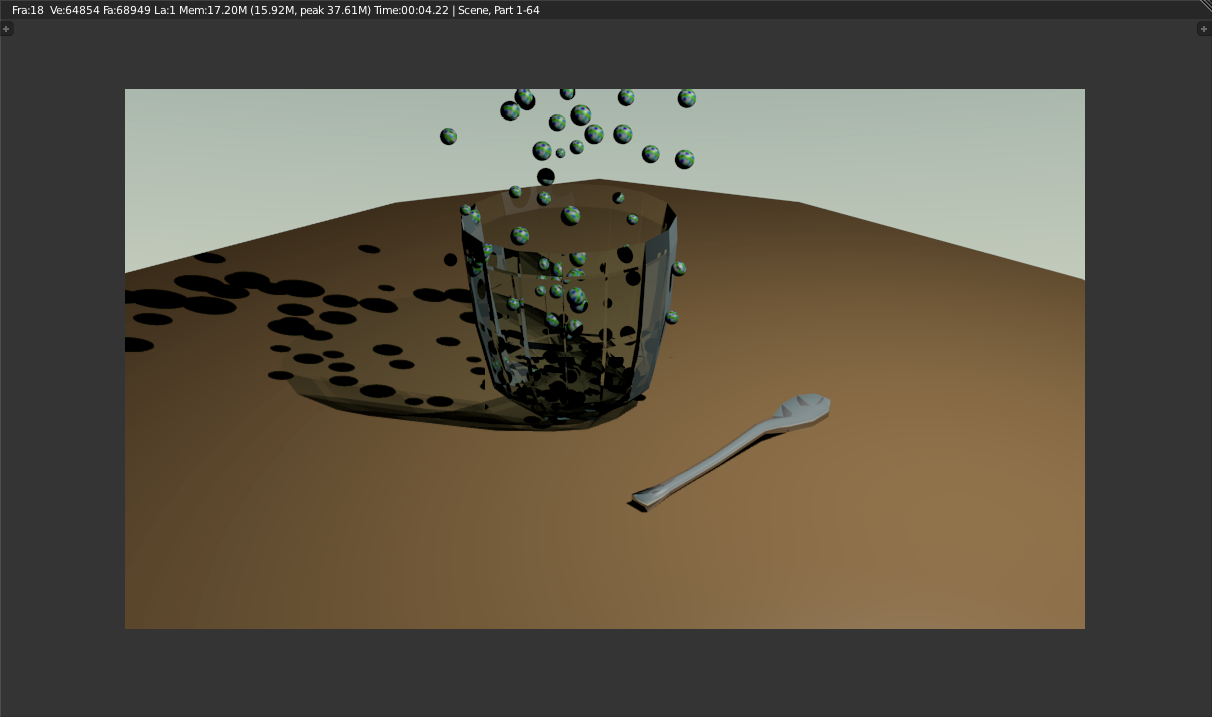
Continue Learning: |