 Blender Tutorials
Blender Tutorials
Blender Tutorials
Navigation: |
Simple Animation for the Simple Train EngineThis Tutorial is meant as an introduction to animating Blender (2.5 and up). You should already have completed the Modelling a Simple Train Engine Tutorial. Table of ContentsTo begin this tutorial open Blender and load the Simple Train Engine blender file from: Building a Simple Train Engine Tutorial. (Note: I did this tutorial after adding materials to the train engine. This is not required for this tutorial to work.)Setting the First KeyframeThe first step is to go into the Top View by pressing 'Numpad-7'. 
Now select the lamp using 'b'. (The Lamp is the litte dot surrounded by two dashed circles just above the smokestack). To select the lamp, drag over the dashed lines that go around it. 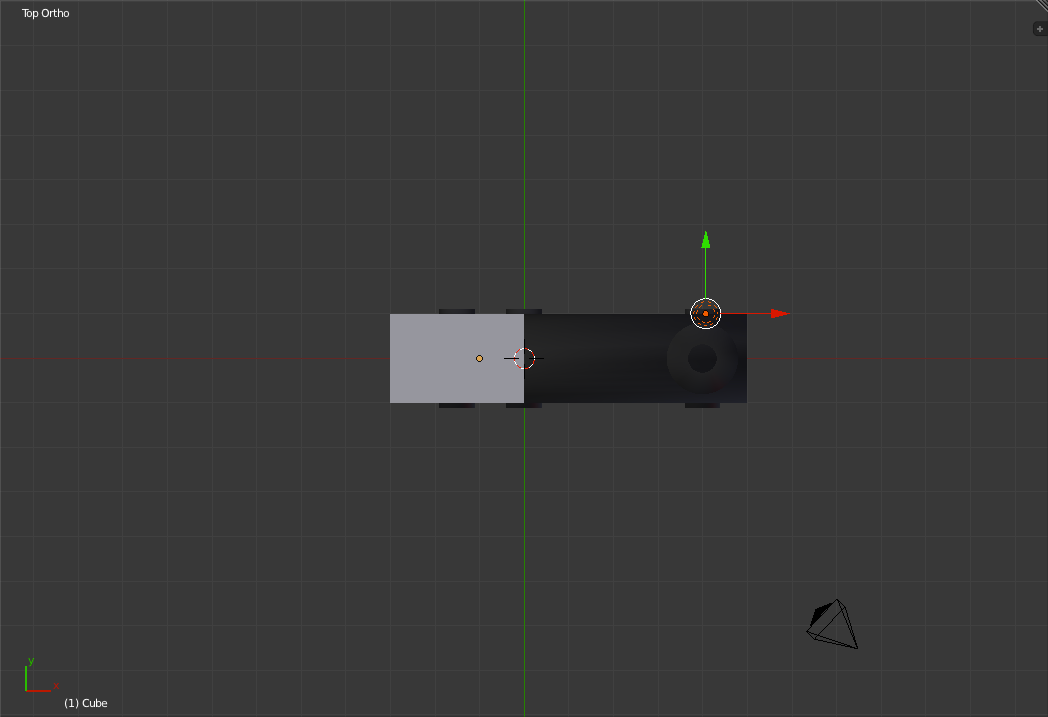
Now move the lamp to be below the train engine. This will provide better lighting for the animation. Then deselect the lamp by pressing 'a' and select the train engine using 'b' (Both the Cab and the boiler). 
Move the Train engine to the left edge of the 3d view using 'g'. 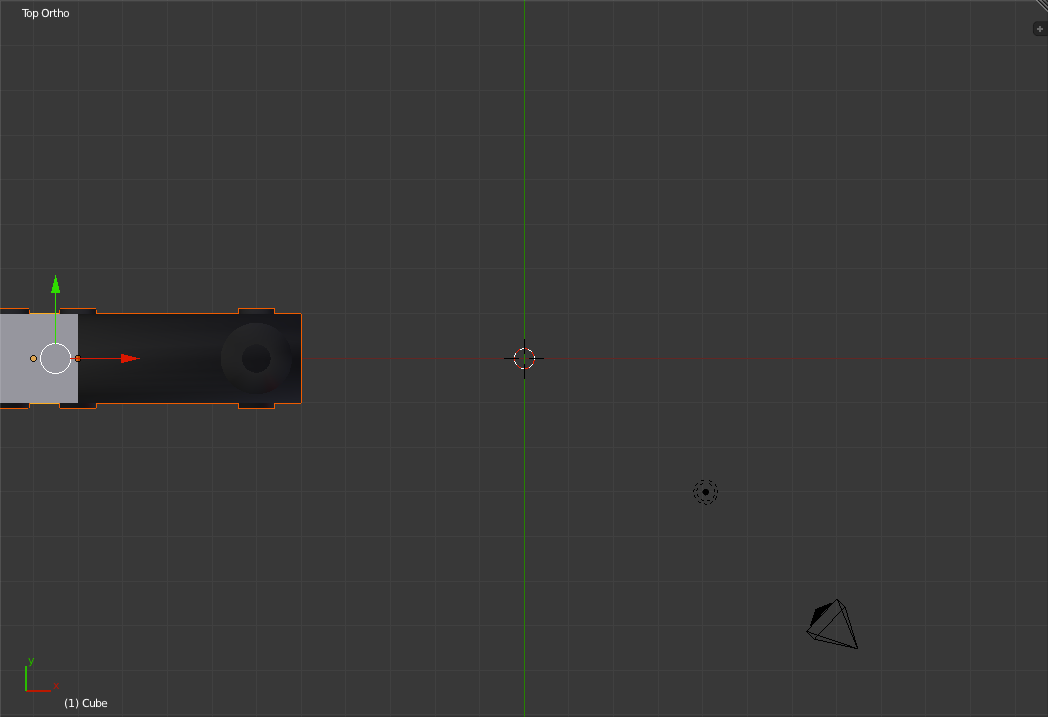
Now press the 'i' key. This will bring up a "Insert Keyframe Menu" That will let you pick what kind of key frame you would like to set. For this case, select "LocRot" as we want to store a keyframe for frame 1 for the engine's location and rotation. 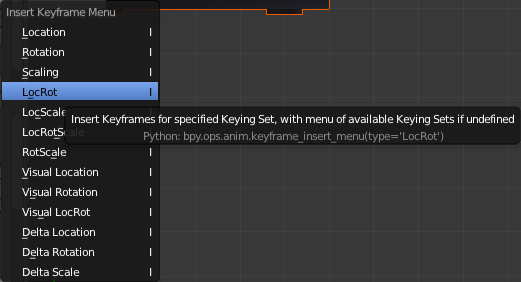
Setting the Second KeyframeAt the bottom of the window, change the current frame to frame 250 (Which is the current end of our animation). 
Now move the train engine to the top-right corner of the 3d view using 'g'. Also rotate the train engine so that it points toward the top right using 'r'. 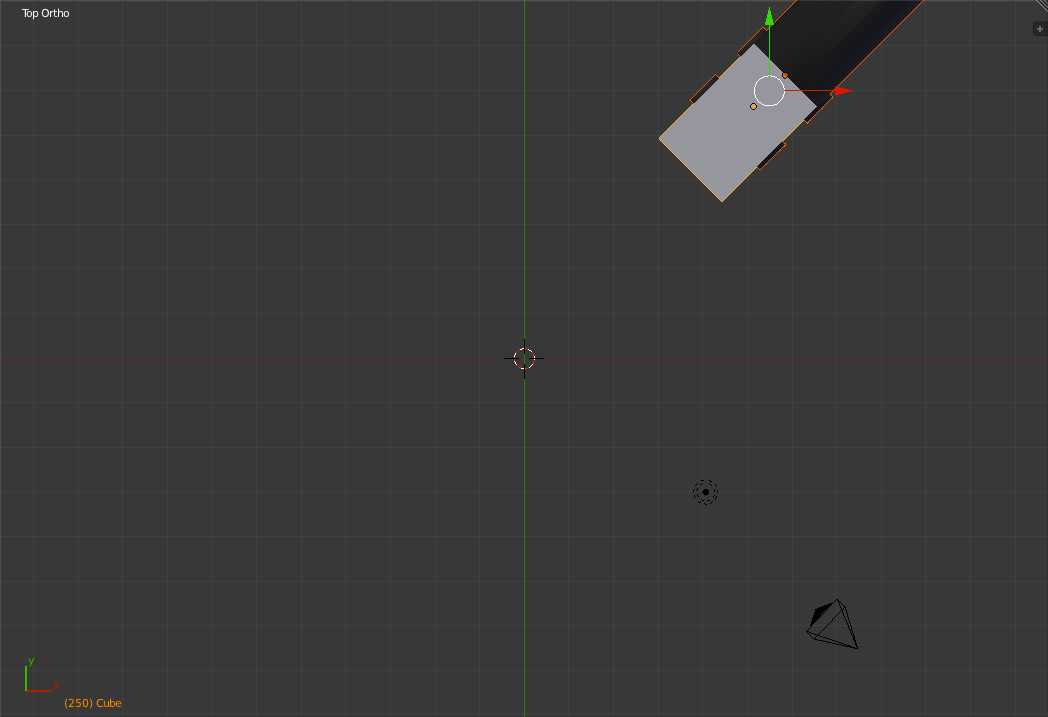
Press 'i' and select "LocRot" to add another location & rotation Keyframe for the current frame. 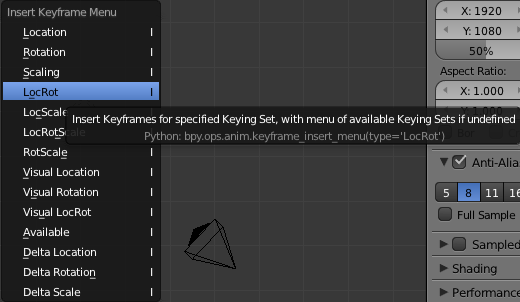
Press 'Numpad-0' to go to the Camera view. To play back the animation in the 3-d view you can press 'Alt-a'. When you are done watching the animation, press 'Esc' to stop it. 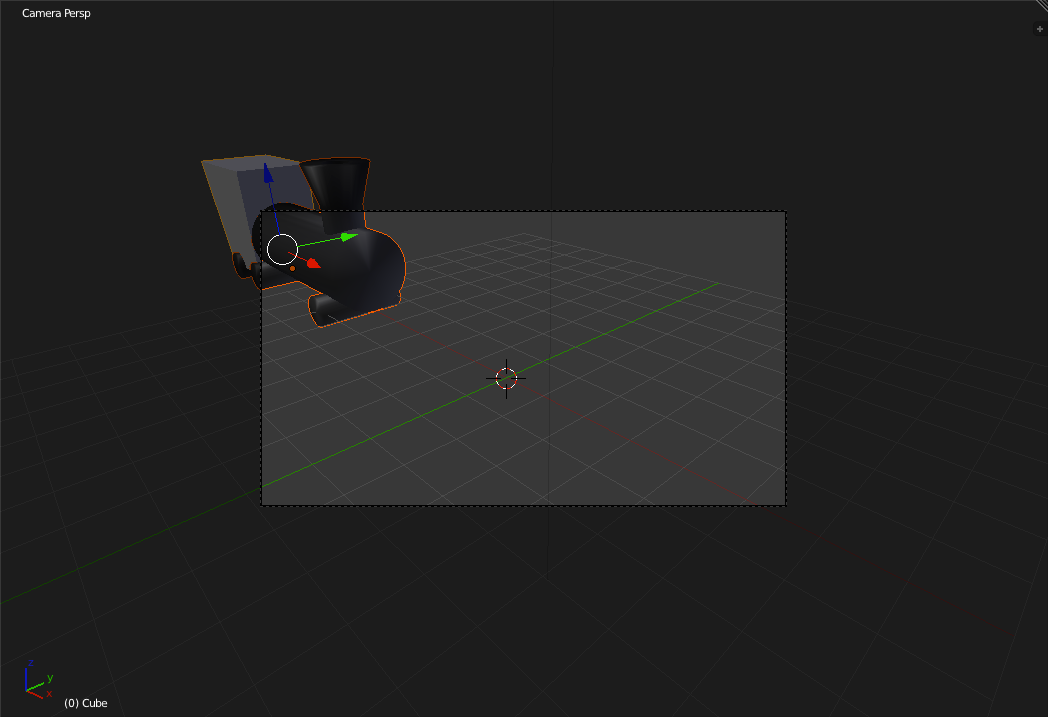
Now as you may have noticed the train is pretty close to the top of the camera field of view rectangle. To correct this, go back out to the Front view by pressing 'Numpad-1', select the camera using 'b' and move it up a couple of grid squares. 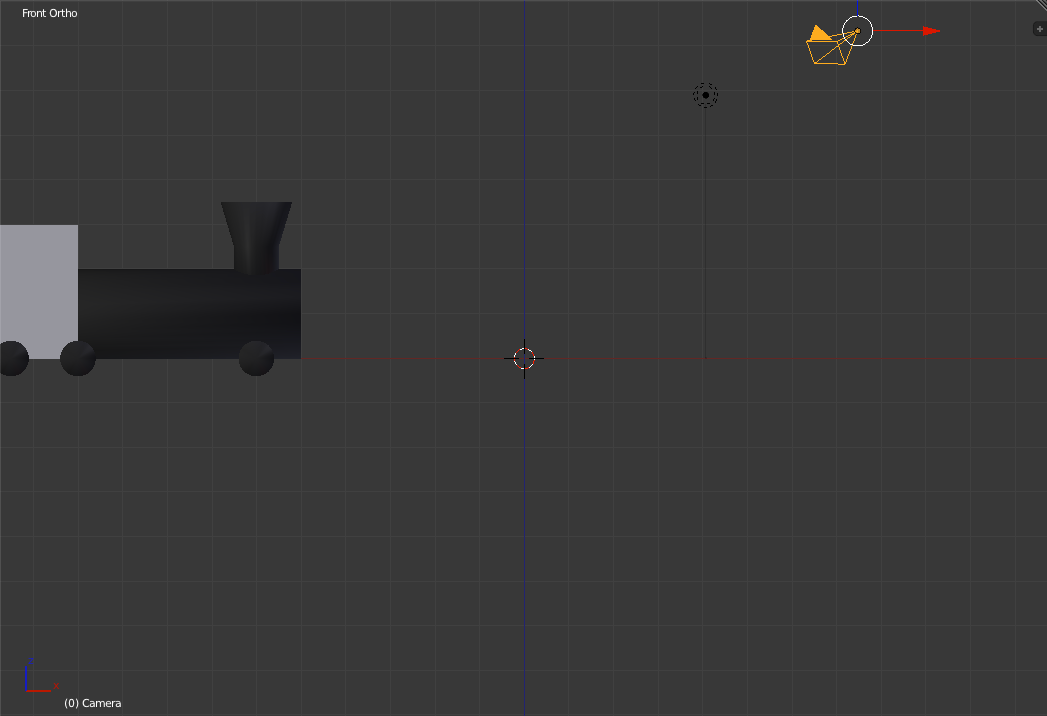
Now return to the Camera view by pressing 'Numpad-0' and playback the animation using 'Alt-a' ('Esc' to stop it). 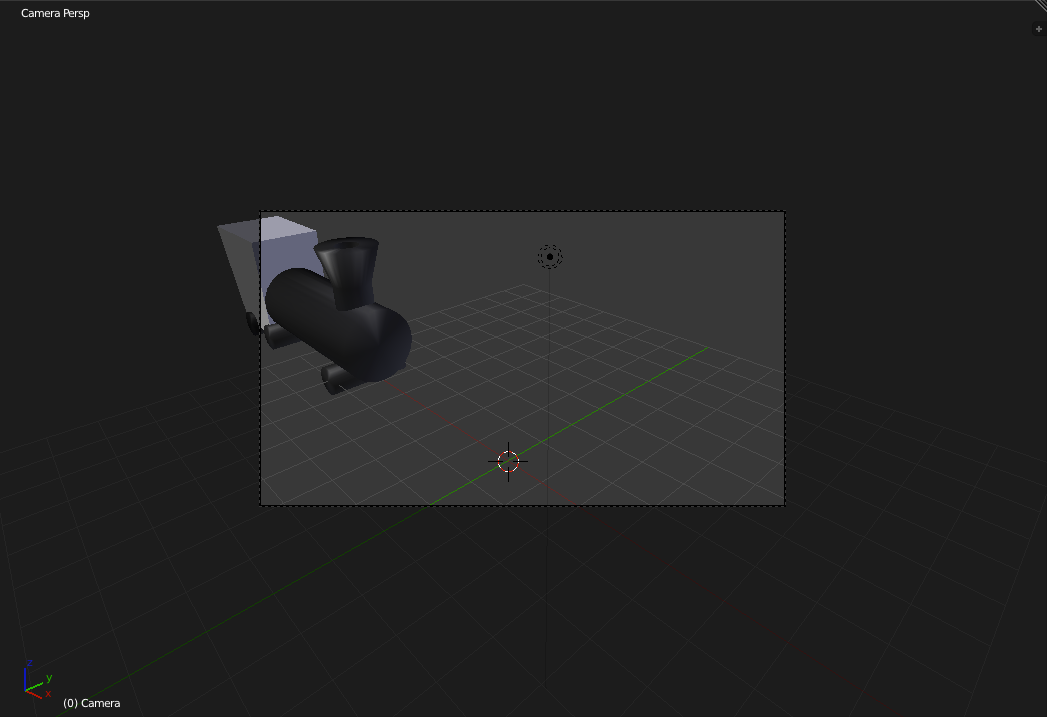
Rendering to an AVITo render the video to an AVI, go to the "Render Panel" (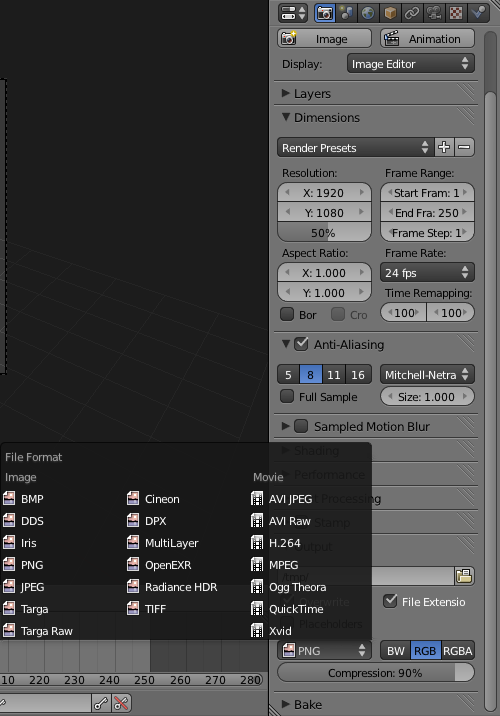
Then you can select the output directory (the text field just below
the title for the "Output" Section). To render to that file, just
scroll back up in the "Render Panel" and click the "Render
Animation" ( By now you have rendered a simple animation of a simple train engine as it goes around a short curve. If you want to make a more complex path, simply add more key frames. Also, don't forget to save. Continue Learning: |