 Blender Tutorials
Blender Tutorials
Blender Tutorials
Navigation: |
Moderate Animation for the Simple Train EngineThis Tutorial is meant to be an introduction to more advanced animation techniques in Blender (2.5 and up) namely IPO Curve editing and Path based animation. You should already have completed the Simple Animation for the Simple Train Engine. Table of Contents
To begin this tutorial open Blender and load the Simple Train Engine (Animated) blender file from: Simple Animation for the Simple Train Engine. 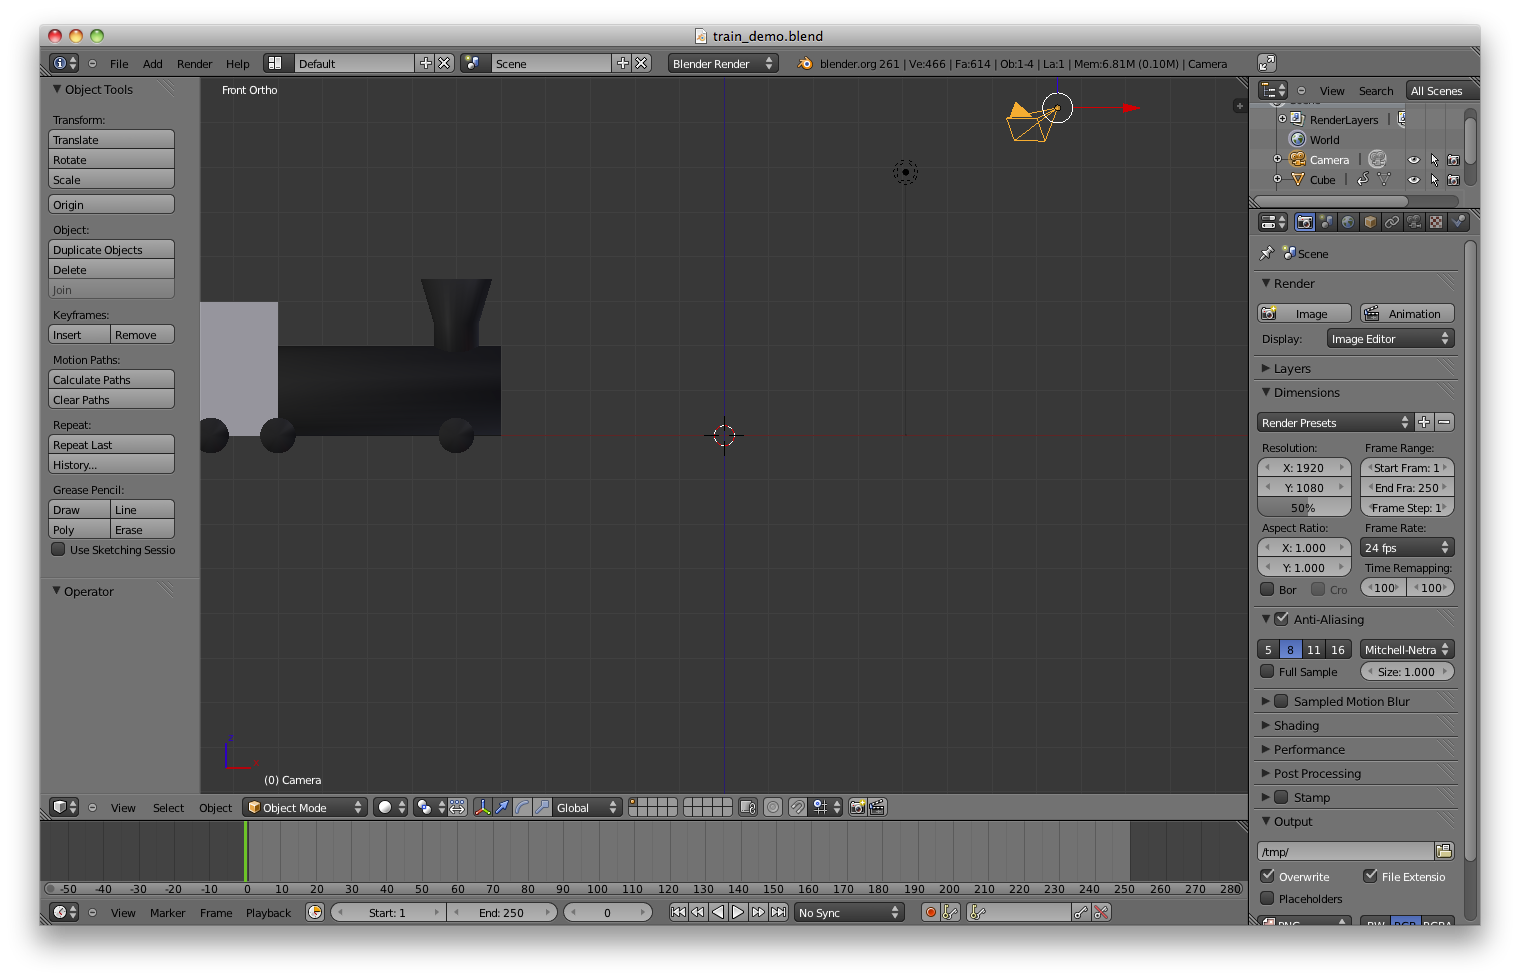
Making a New Screen LayoutBefore we begin to do any new animation we need to clear the old animation from the train engine. To do so begin by selecting the boiler part of the train engine by Right-Clicking on it. 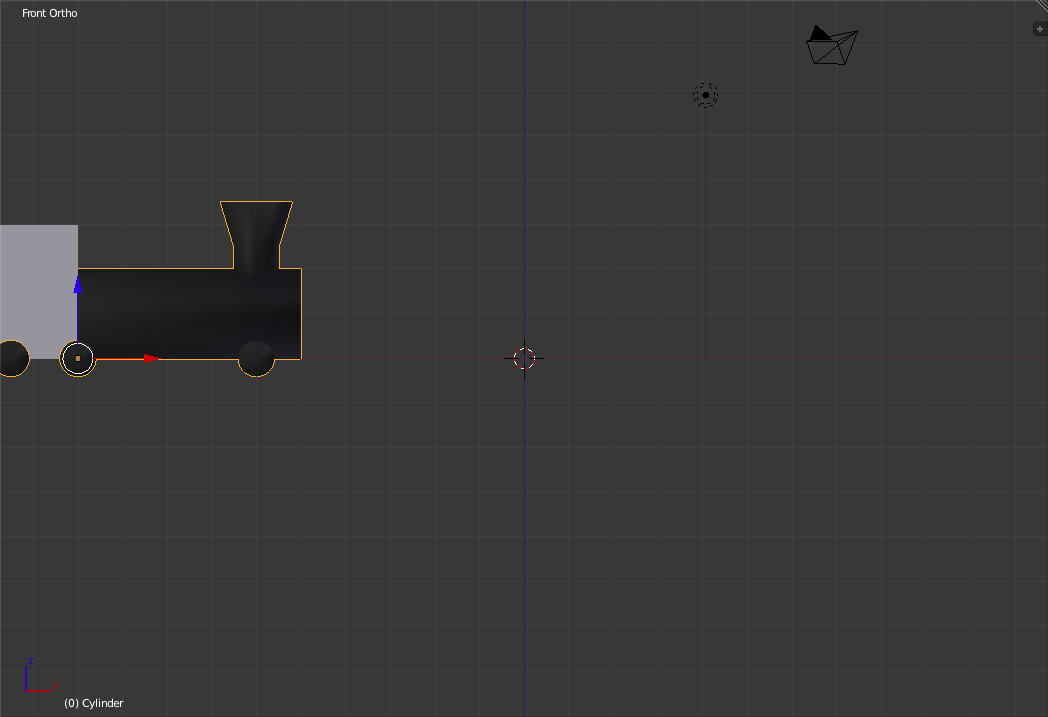
To actually clear the animation we need to get access to the IPO
Graph editor so now we are going to build a new window layout for
this tutorial. Do begin, go to the top bar and press the "+" button
in the "Screen Layout Selector" ( 
Now change the name of the new Screen Layout to: My Animation. 
In the upper right corner of the "3d View" window there are a few
little slanted bars ( 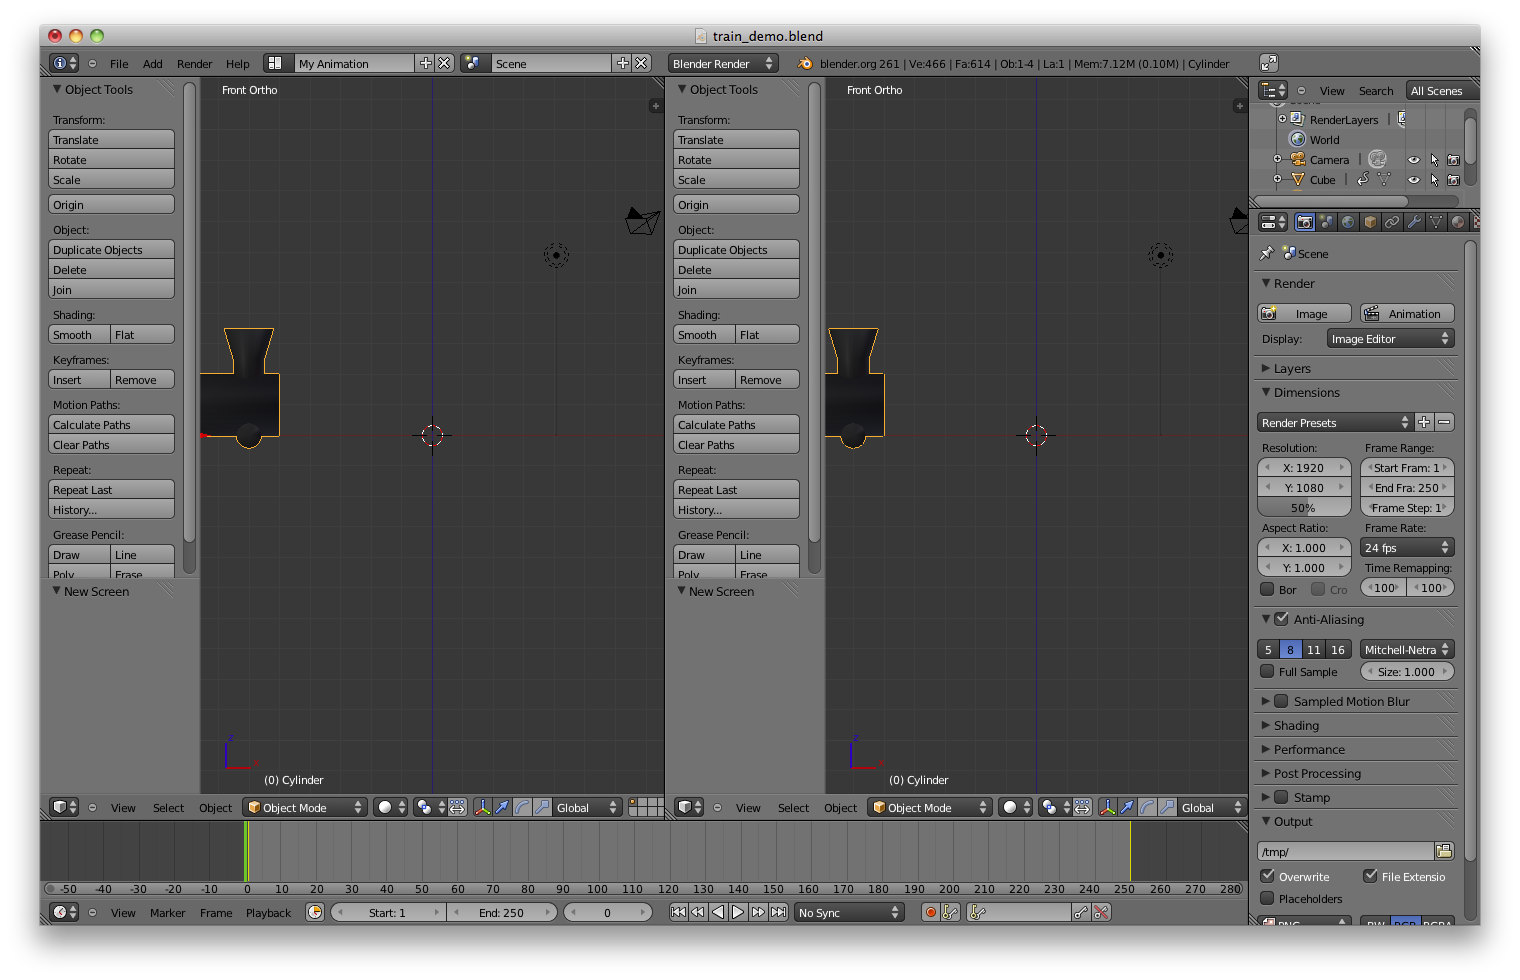
Now go to the bottom of the new "3d View" window and click on the "Editor Type
Selector" ( 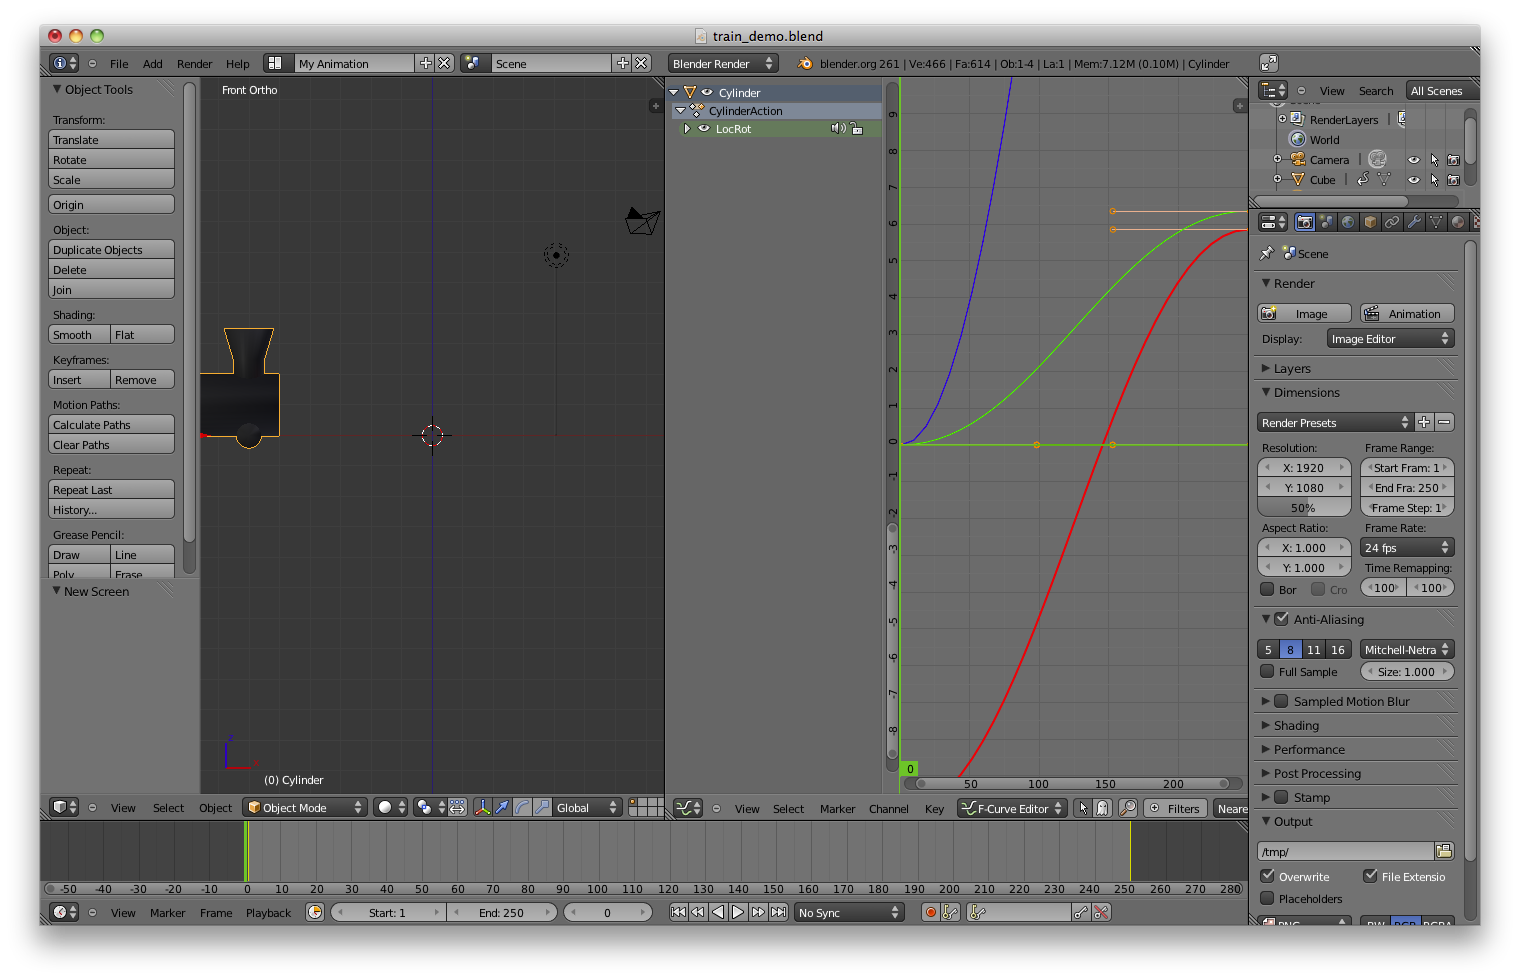
Now what you have is a new window that has on the left hand side of it the list of items to have their graphs edited and the types of animation keys they have been given and on the right hand side, a 2d representation of the changes taking place in the animation. Click on the bar between the two sections and drag it to the left a bit to make it thinner. 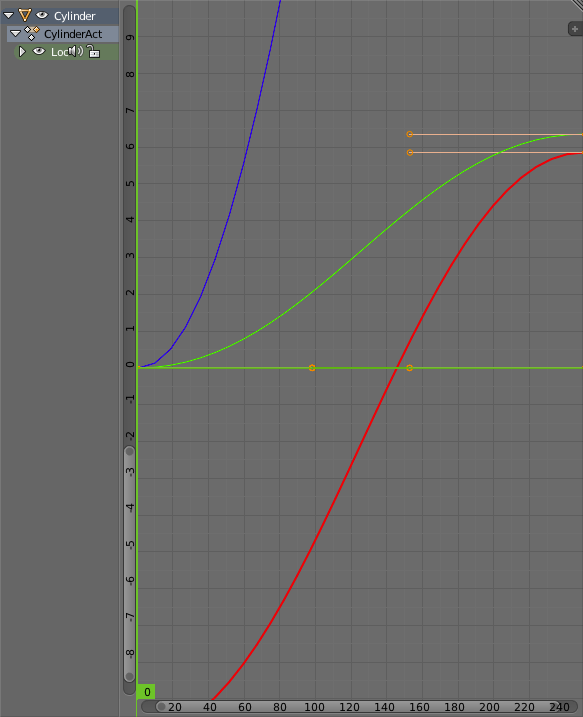
Now move your mouse over the section with the coloured lines and scroll to zoom-out until you see something like this: 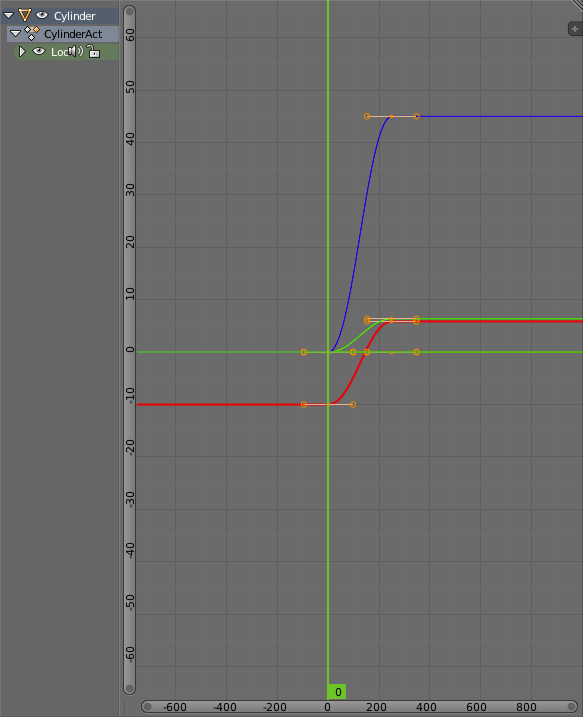
Clearing the Previous AnimationNow that we have a new screen layout we can get to the step of deleting the old animation. To do this hover your mouse over the "Graph Editor" window and press the 'x' key. Select "Delete Keyframes" to confirm. 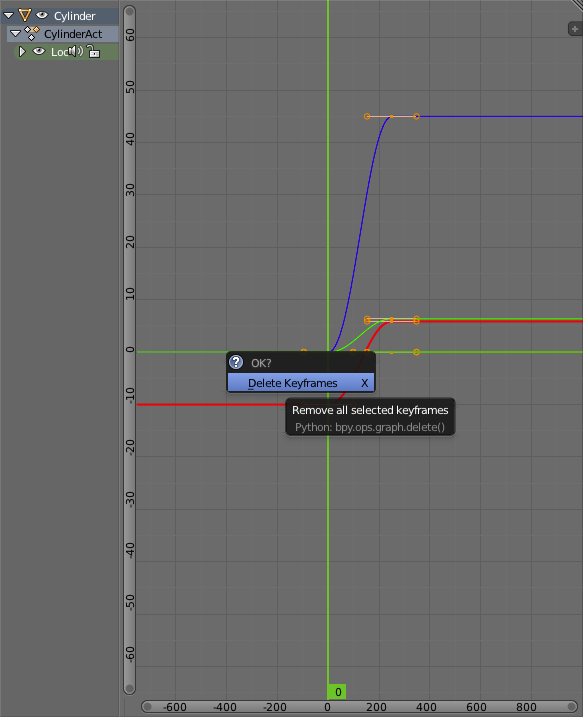
Now hover your mouse over the "3d View" window, enter Camera View ('Numpad-0') and press 'Alt+a' to playback the animation. As you can see the cab of the train engine is still moving while the boiler portion remains still. Press 'Esc' to exit the animation playback. 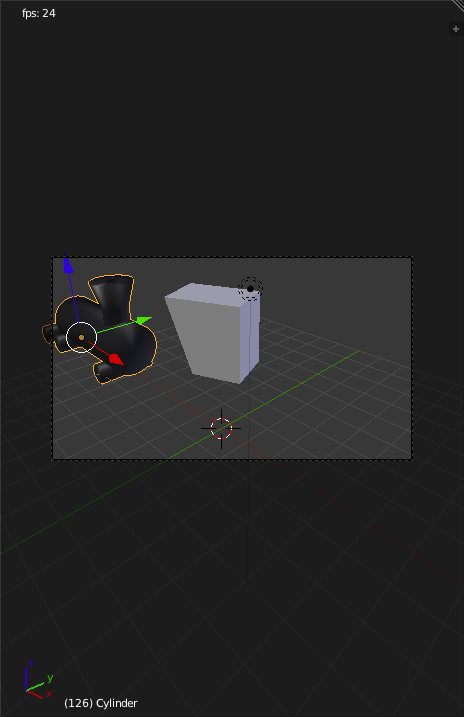
Now Right-Click on the Cab to select it and delete its Keyframes (Hover over graph editor, press 'x' and confirm). 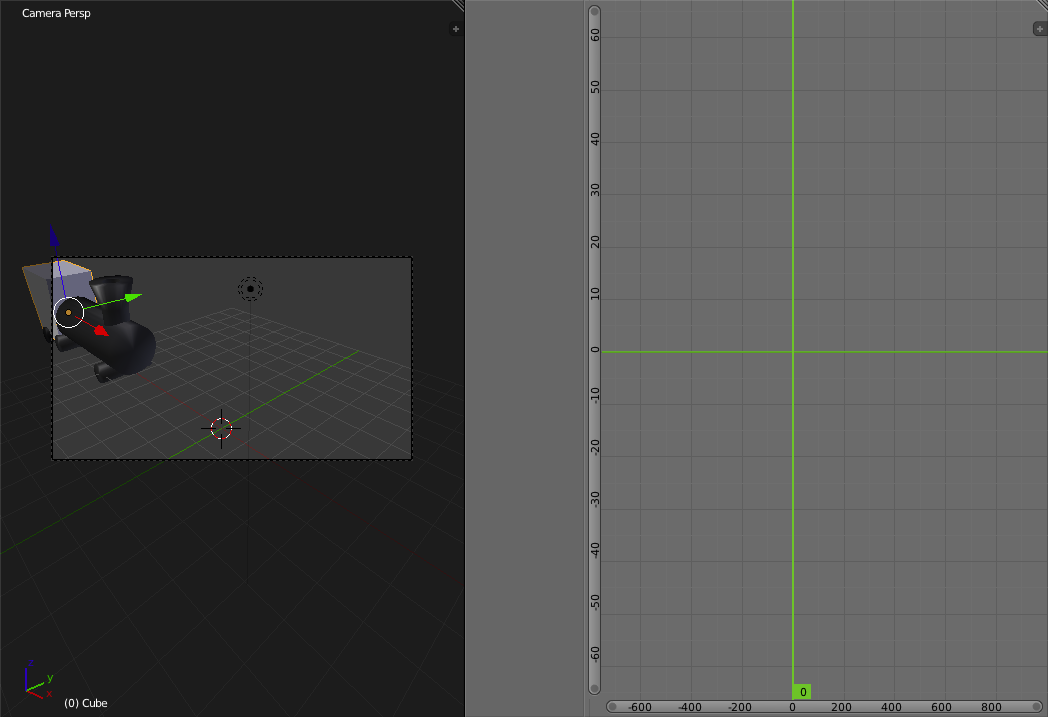
Building a Path for the Train to Follow
Now go to the "Screen Layout Selector" ( 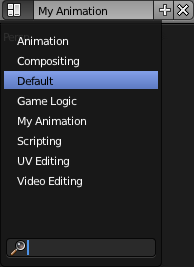
Now create a Path by pressing 'Shift+a' and selecting "Curve->Path". 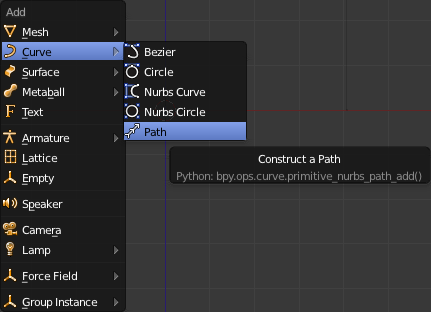
Now switch to the top view ('Numpad-7') and enter "Edit Mode" ('Tab'). 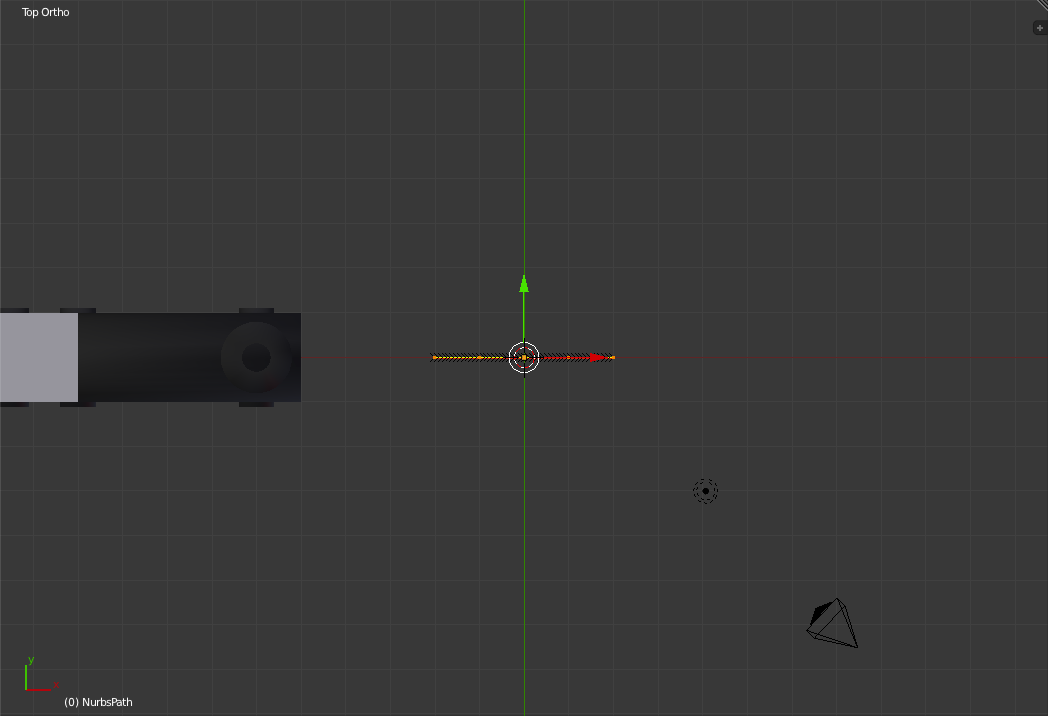
Now select ('b') the left-most vertex of the path and move it to the right edge of the Cab ('g' to move and hold 'Ctrl' to snap). 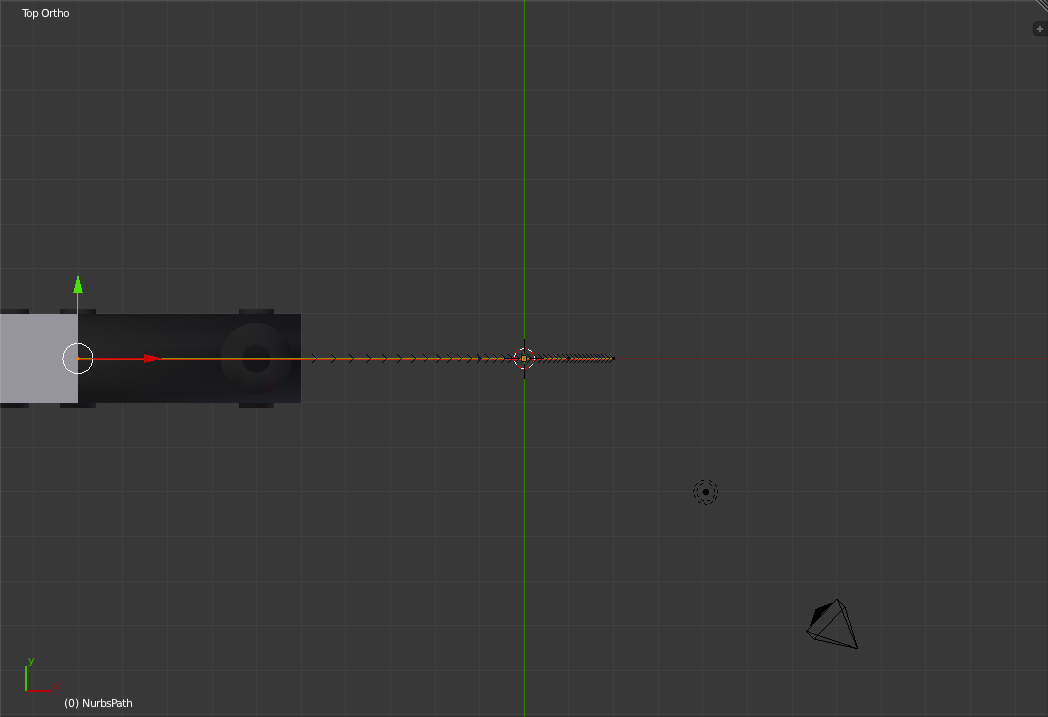
Now select the next vertex ('a' to deselect) (Second from the left) and move it 3 grid units to the left. 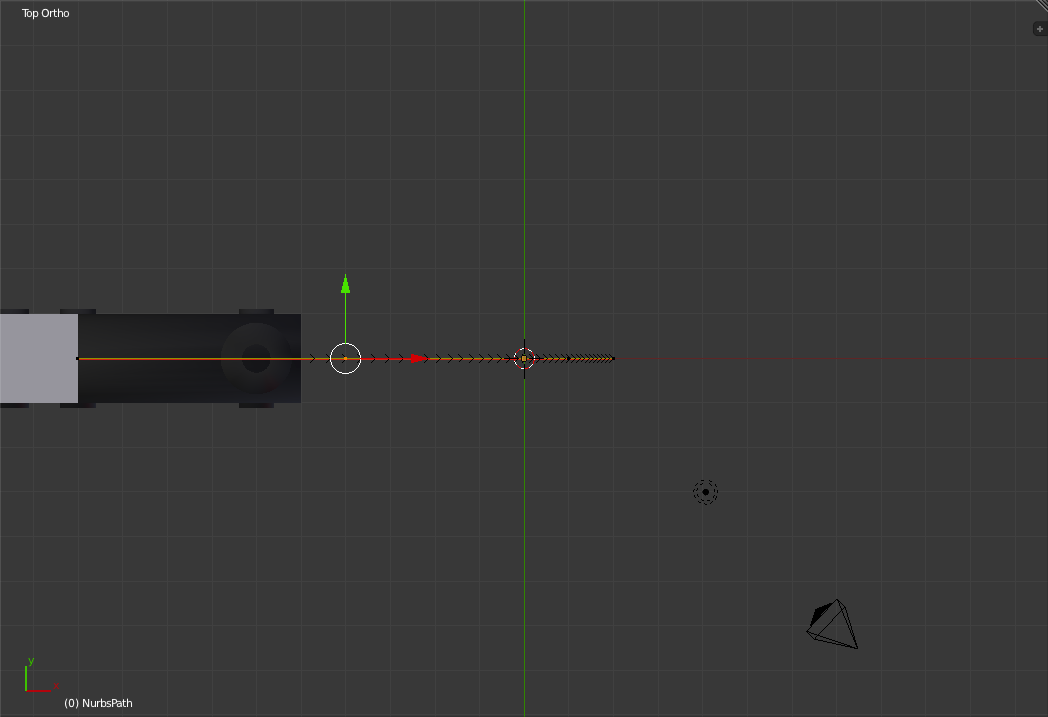
Now select the right-most two vertices and move them to the right 3 and up 3 grid units. 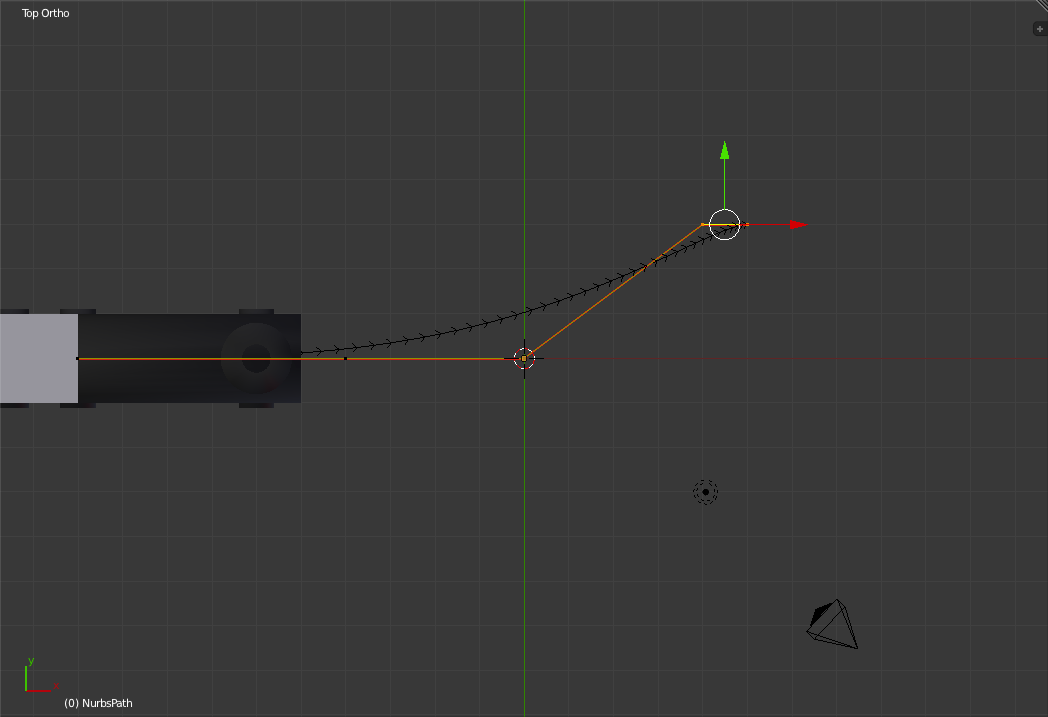
Select the right-most vertex and move it to the right 3 and up 3 grid units. 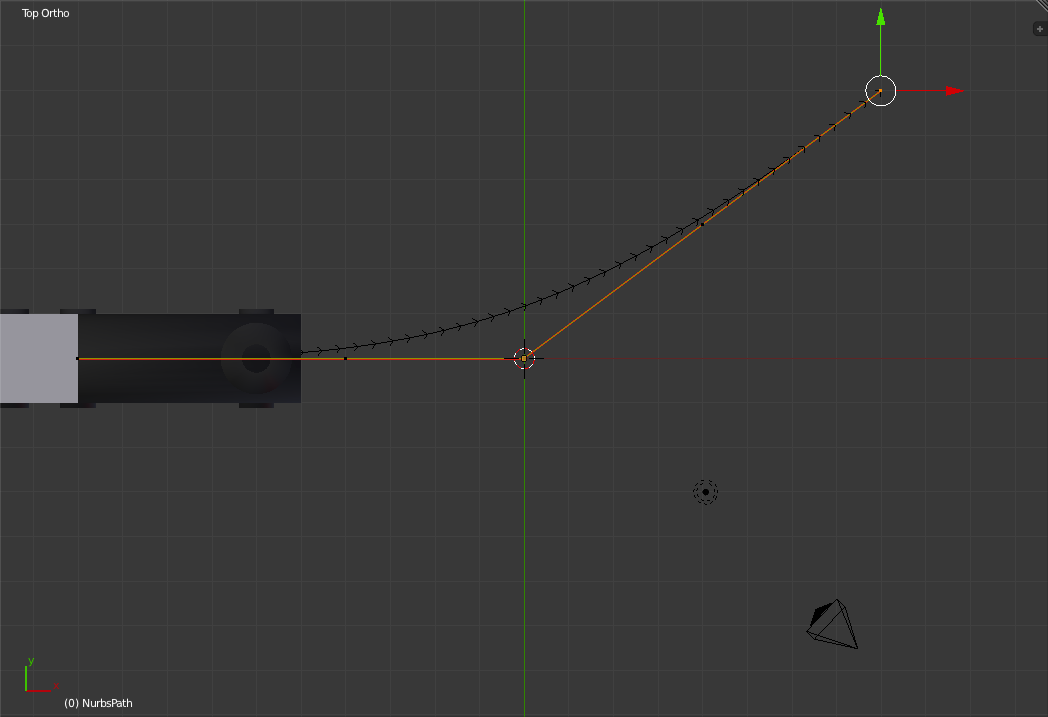
Press 'e' to extrude the vertex and drag it 3 grid units to the right. 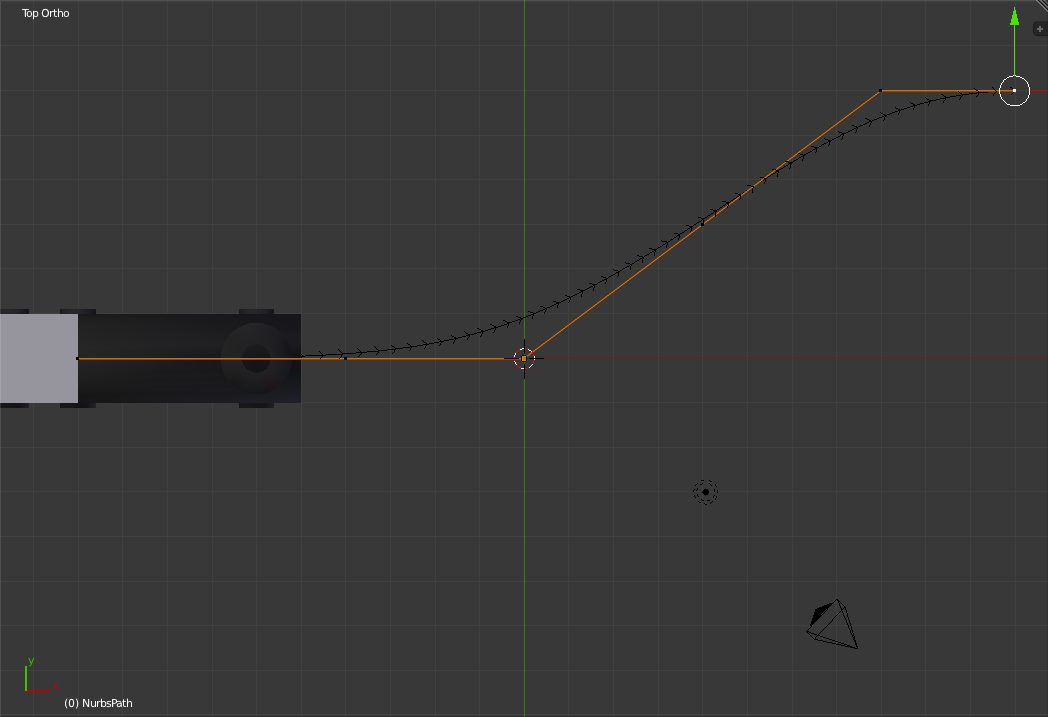
Press 'Tab' to exit "Edit Mode". 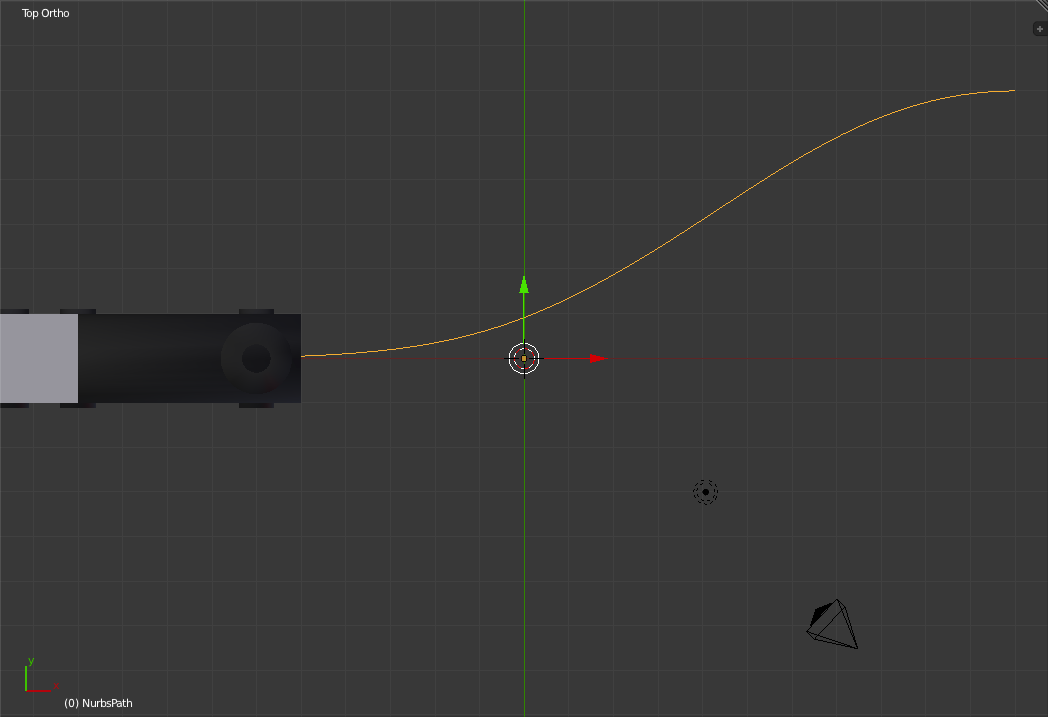
Having the Train Follow the PathThe next step is to get the train to follow the path. To begin we first need to tie the cab to the boiler. Start by selecting the boiler (Right-click) and then selecting the cab ('b'). 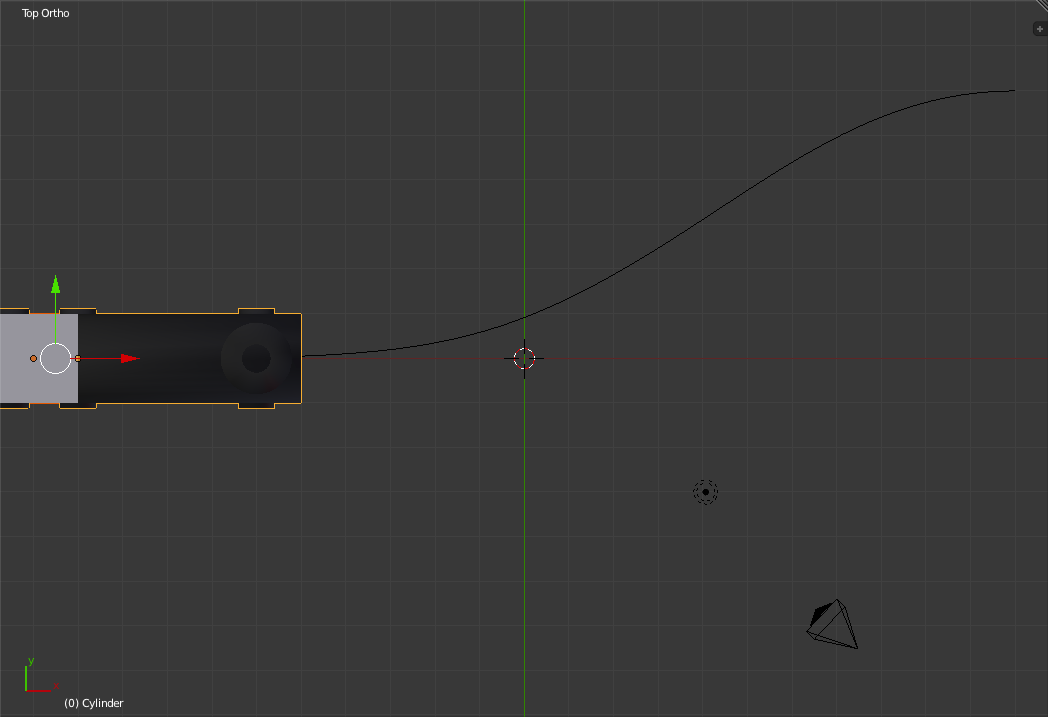
Now press 'Ctrl+p' to parent the Cab to the Boiler (Select "Object" from the pop-up "Set Parent" window). By doing this the Cab will now be fixed to the boiler. If the boiler moves, turns or resizes then the cab will do the same. Note: An object can only have one direct parent but can be the parent of many objects. 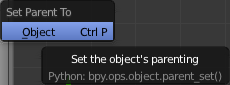
Now select the Path (Right-click) and then select the Boiler ('b'). 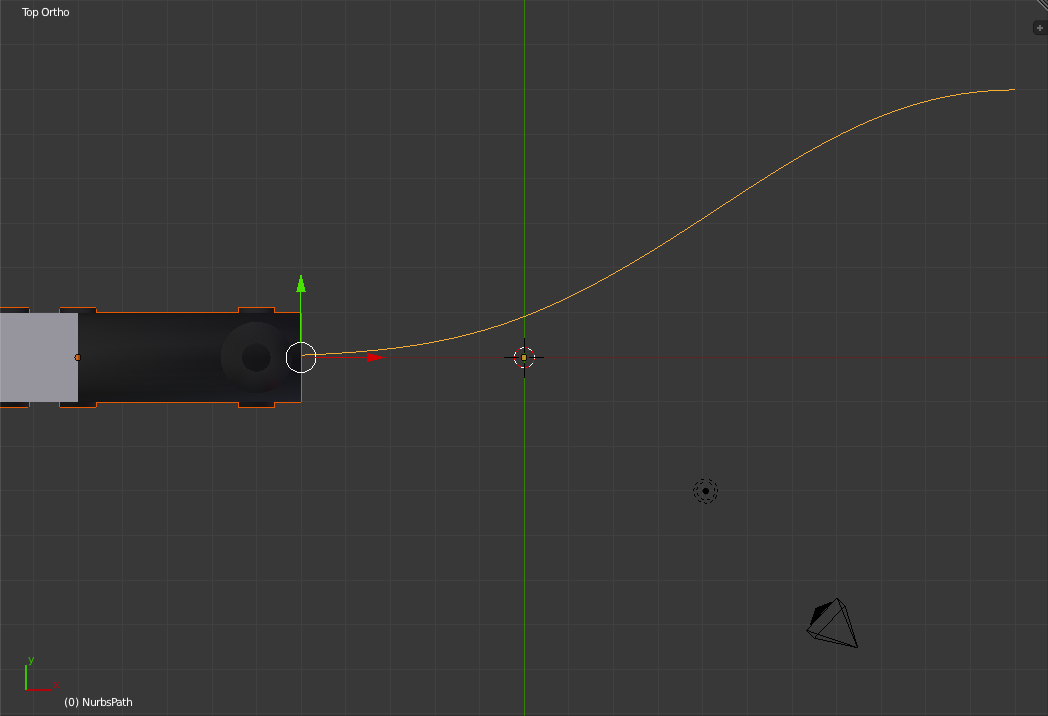
Again press 'Ctrl+p' but this time choose "Follow Path" to have the engine follow the path. 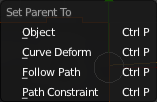
Now go to the Camera View ('Numpad-0') and press 'alt-a' to playback the animation ('Esc' to stop it). As you can see the train engine now follows the path and even turns when the path curves. 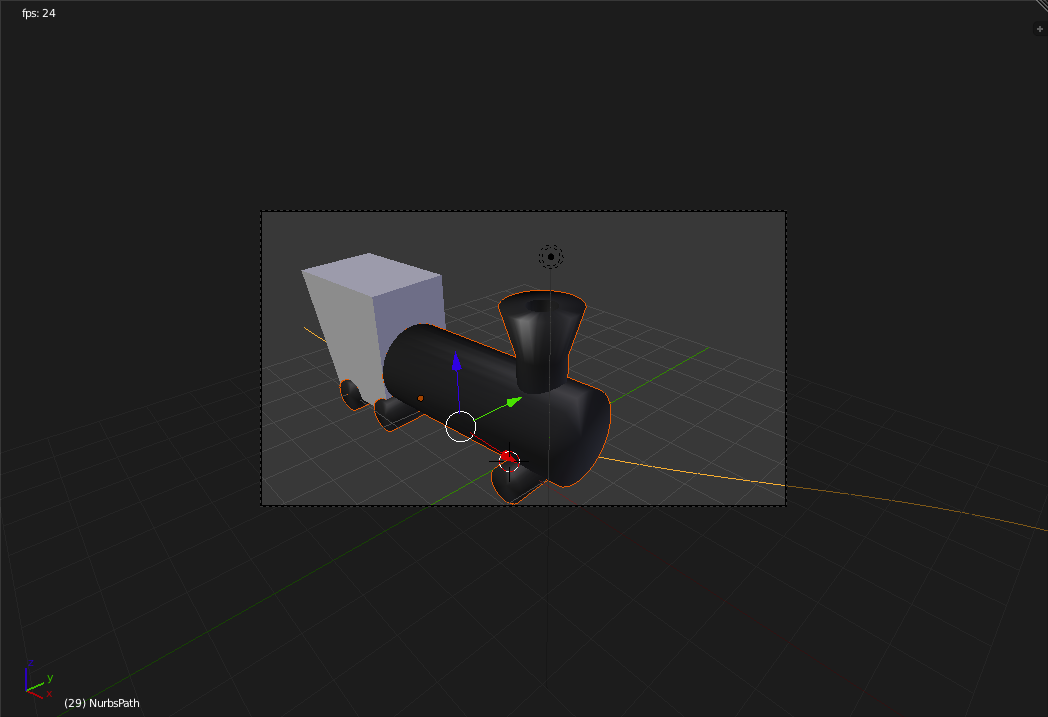
Go to Top View ('Numpad-7'). More IPO Graph EditingNow we need a new object to do some more curve editing with so create a new Cube by pressing 'Shift+a' and selecting "Mesh->Cube". 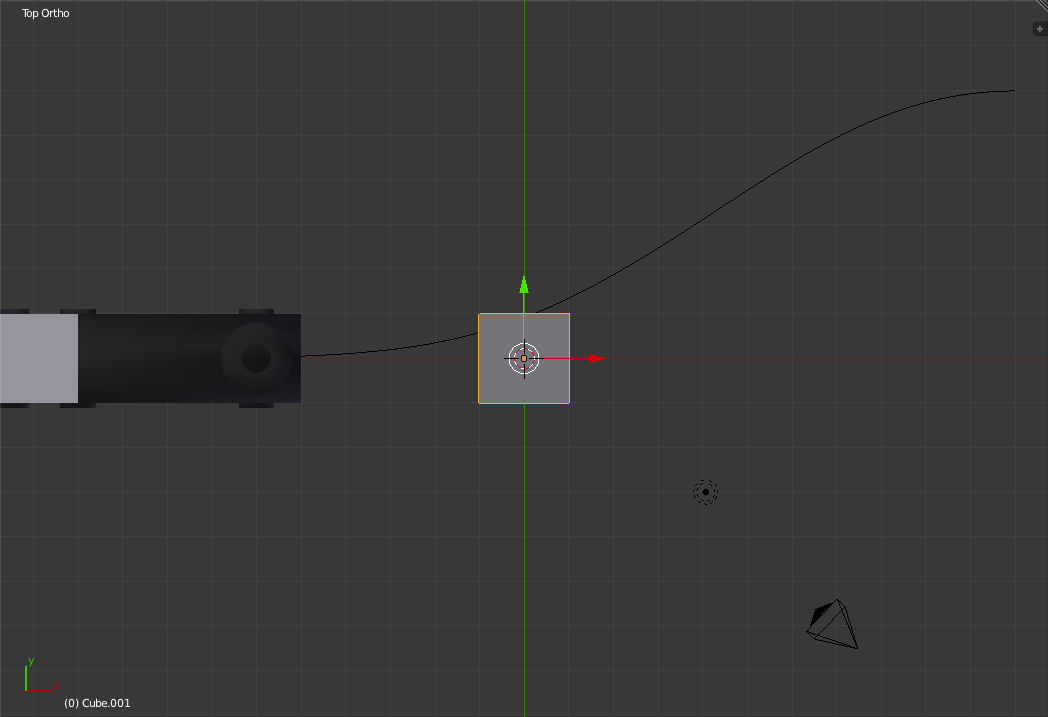
Go into "Edit Mode" ('Tab') and "Wireframe Mode" ('z'). Now select ('b') and move the right face of the cube 5 grid units to the right and exit "Edit Mode" ('Tab'). 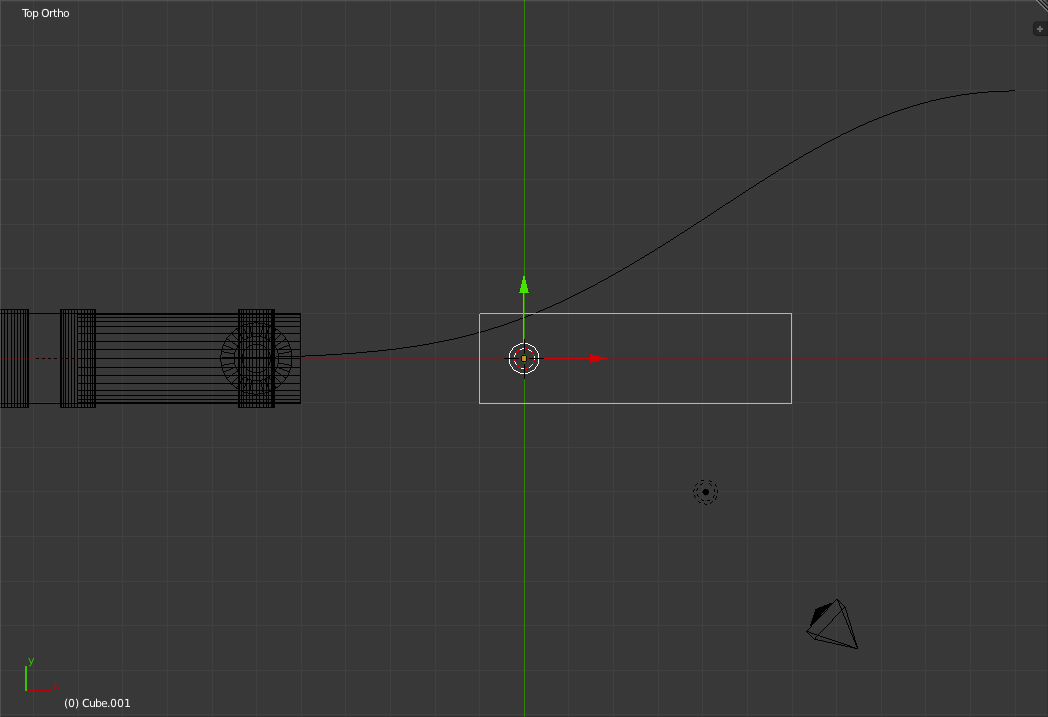
Now press 's' and scale down the box until it is thinner than the Train's wheels. 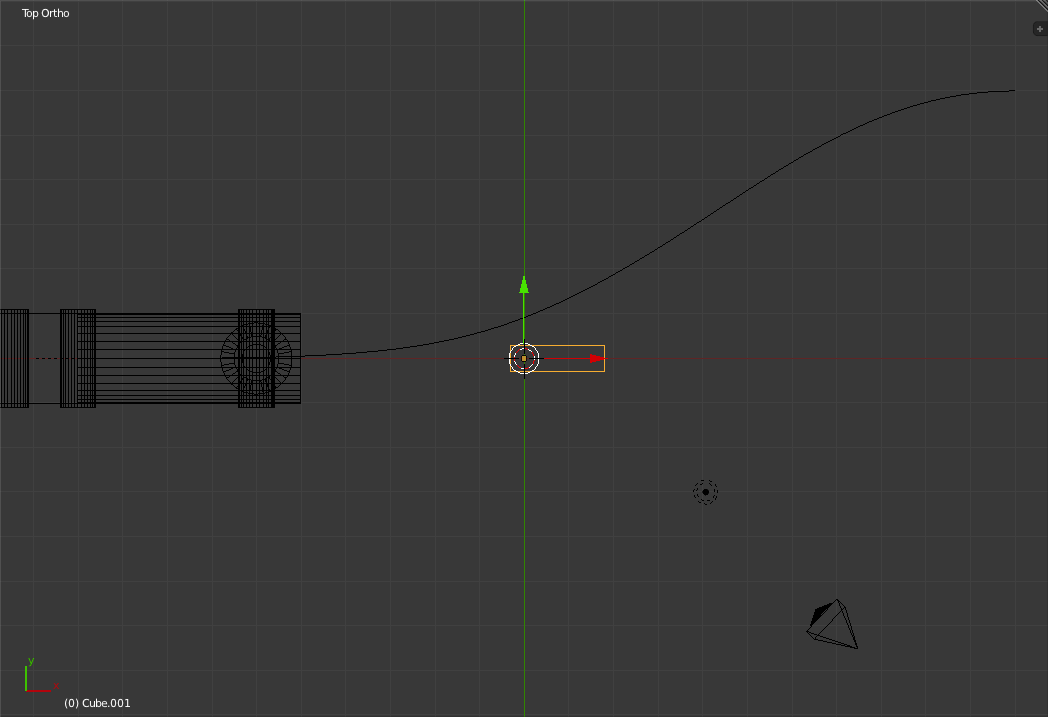
Switch to the Front View ('Numpad-1') and move the box up 2 grid units. Switch now to Top View ('Numpad-7') and move the box down 2 grid units. 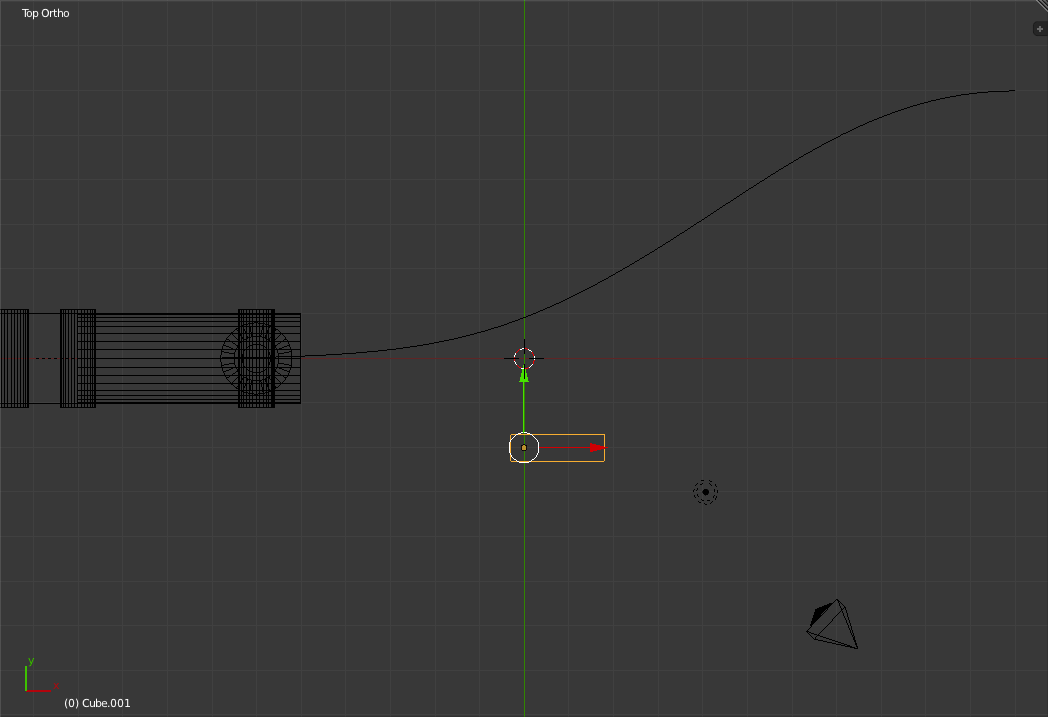
Now insert a new Rotation keyframe by pressing 'i' and selecting "Rotation". 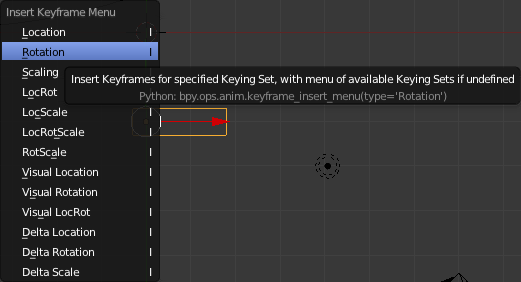
Now go to the Timeline Editor (At the bottom of the Screen) and change to frame 10. 
Now rotate the Box 90 degrees counterclockwise. 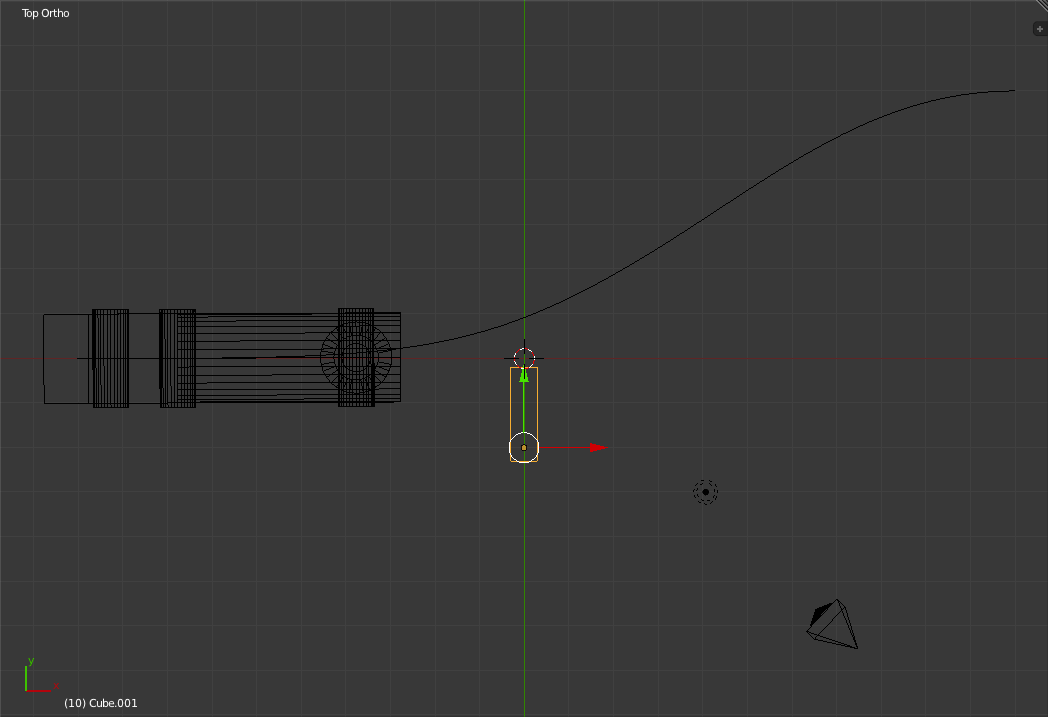
Insert another Rotation Keyframe ('i' and select "Rotation"). Go to the Camera View ('Numpad-0') and playback the animation ('Alt-a' with 'Esc' to stop it). 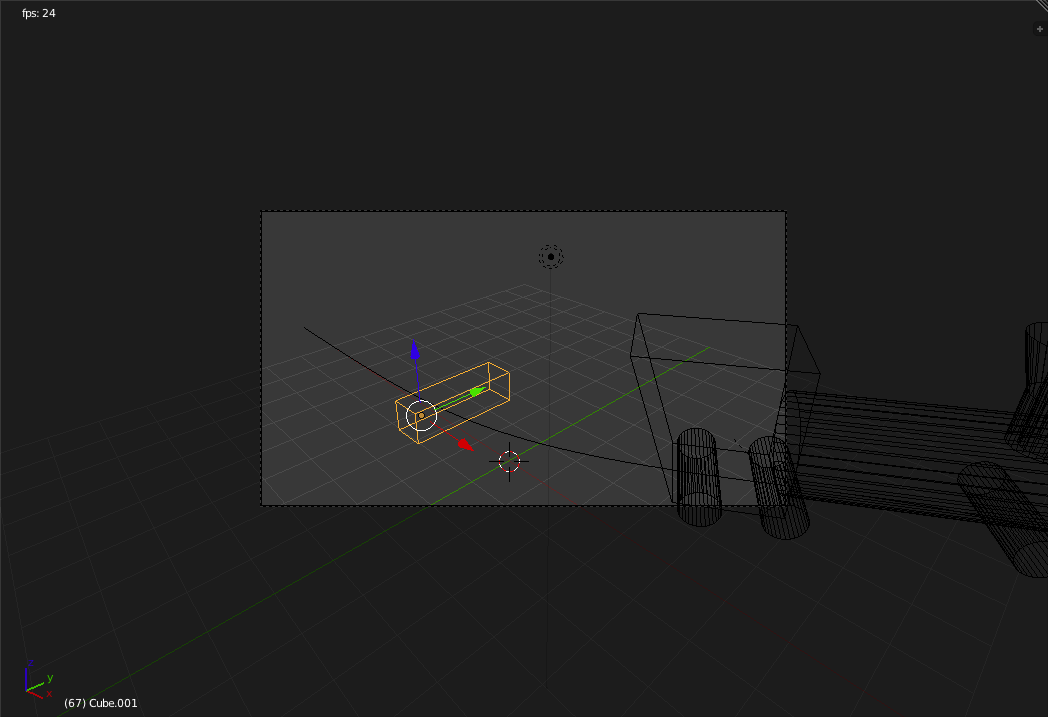
Now go to the "Screen Layout Selector" ( 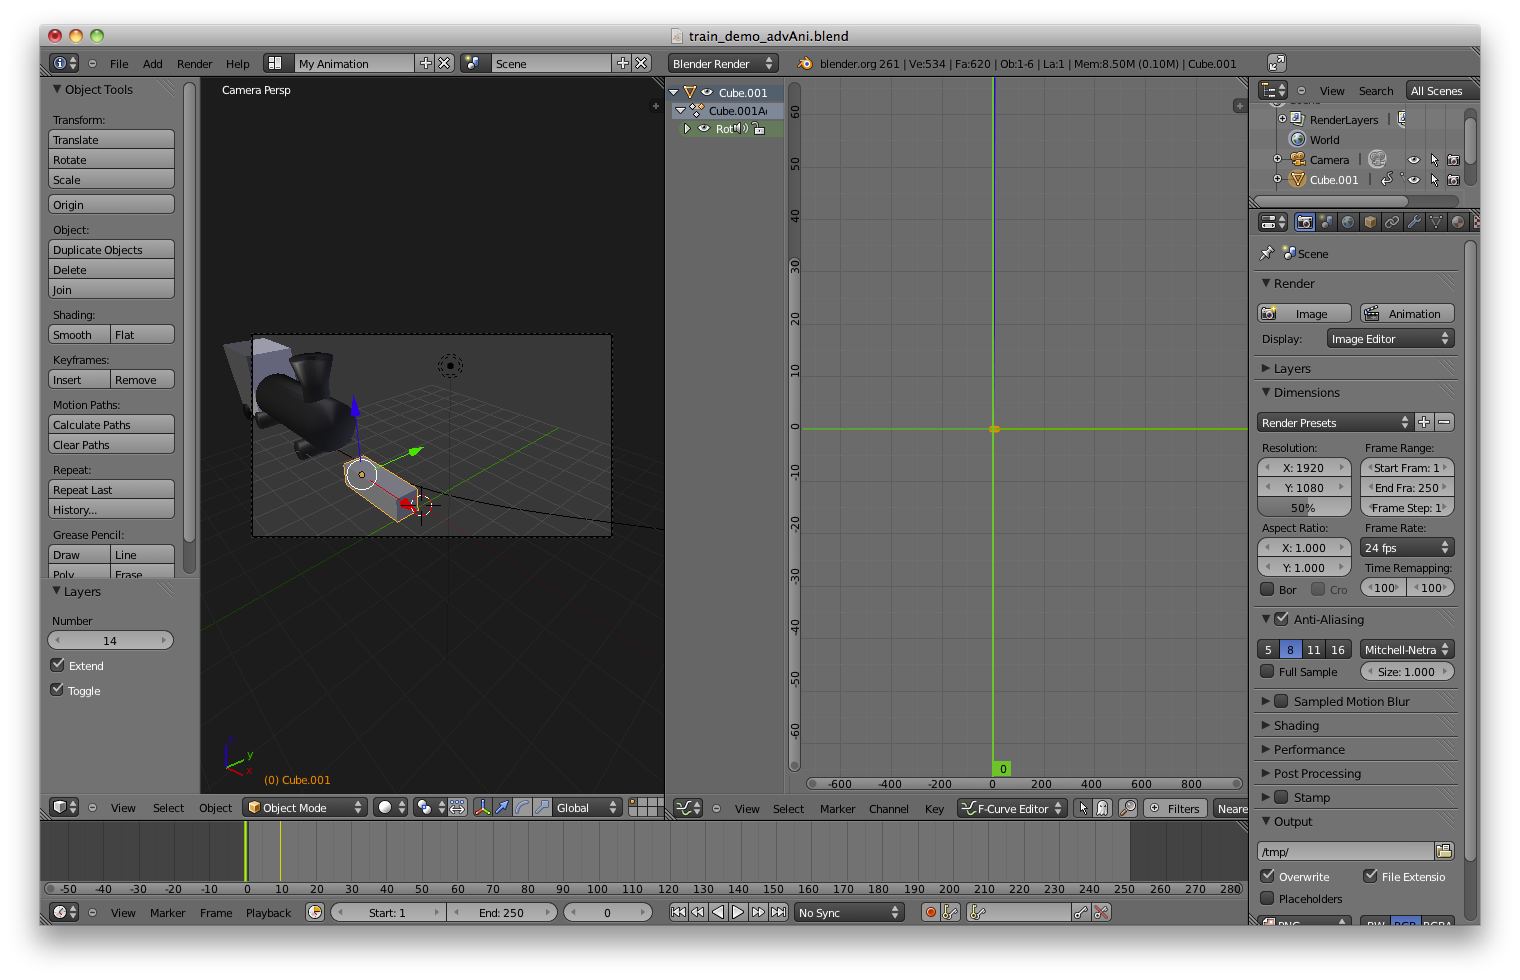
In the "Graph Editor" zoom out until you see something like this: 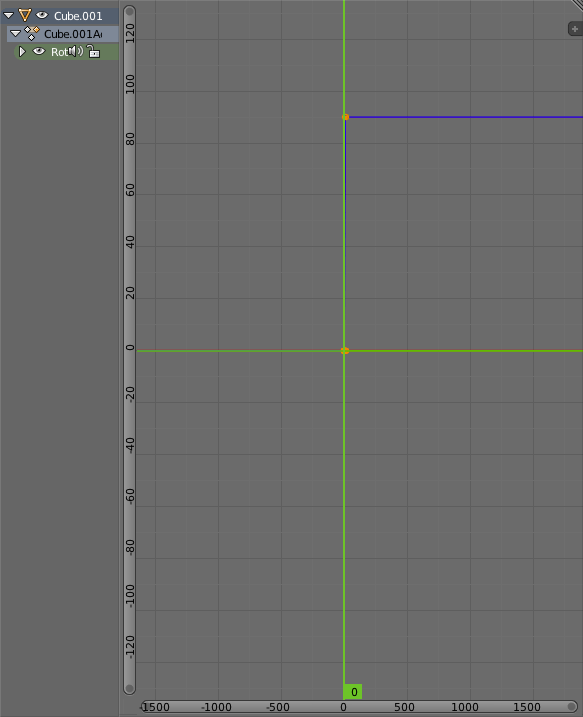
From this point on, unless otherwise stated, all actions must take place with the mouse over the graphs editor. Press 'a' to deselect all the keyframes. 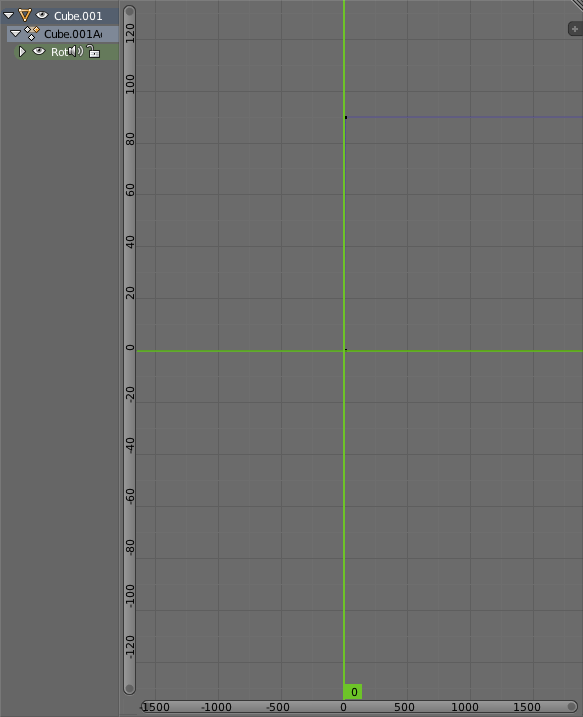
Use 'b' to box select the upper keyframe. 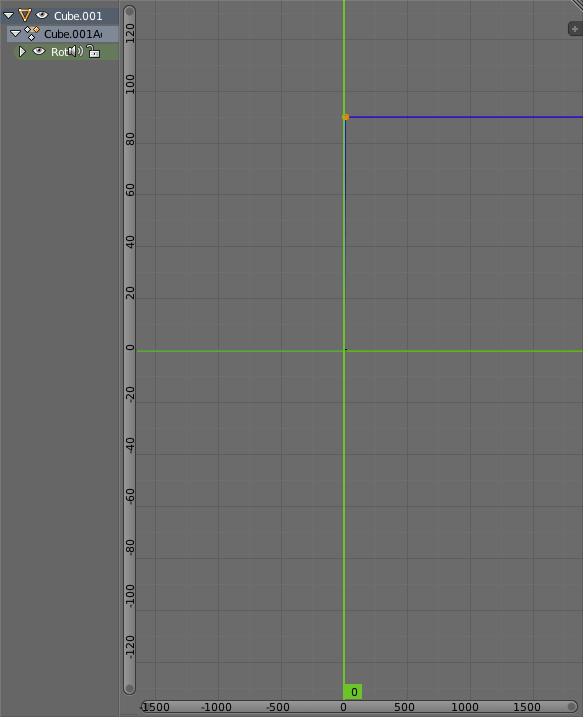
Use 'g' to grab and move the upper keyframe to the right until it is at about frame 60 ('Ctrl' can be used for snapping and you can see what frame it is at based upon the moving yellow line in the "Timeline Editor" at the bottom). 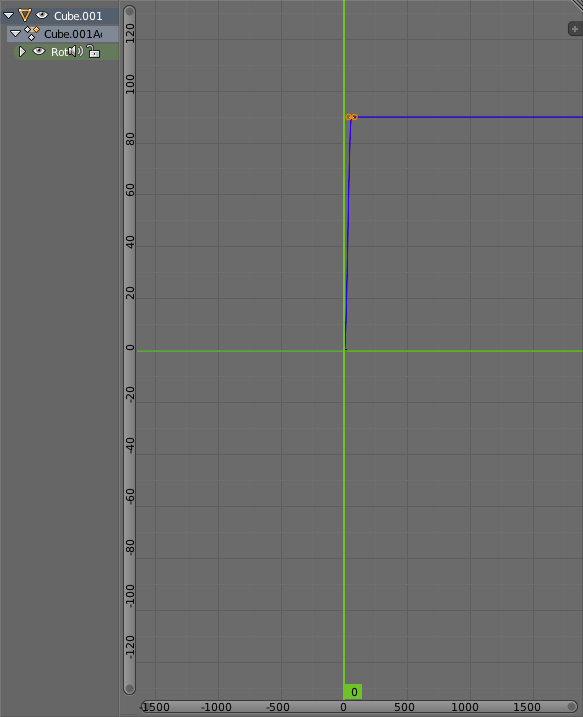
Hover the mouse over the "3d View" and press 'alt+a' to playback the animation ('Esc' to stop the animation). 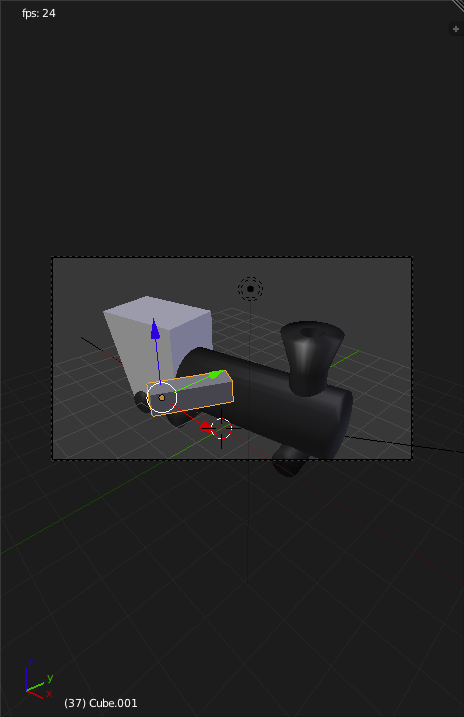
Press 'a' to deselect the keyframe and press it again to select all the keyframes. (You may have noticed that many editing techniques are the same in the Graph Editor as in the "3d View". You can even use 'Tab' to toggle into and out of "Curve Edit Mode" though don't do this quite yet). 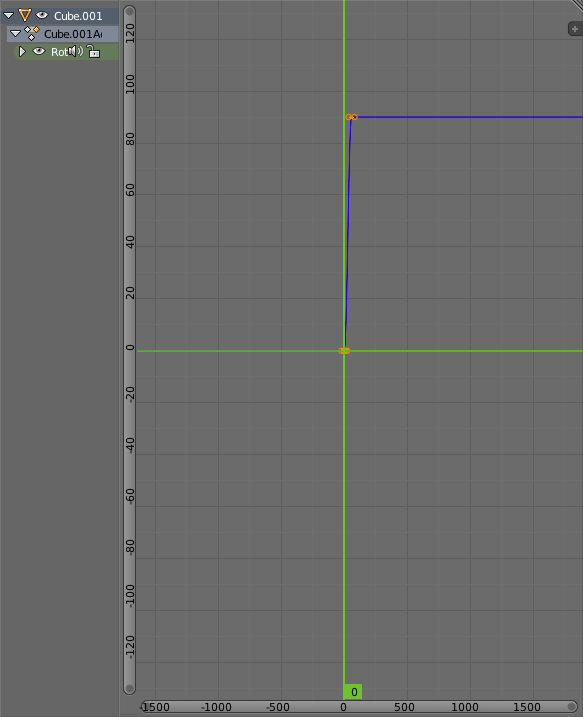
At the bottom of the "Graph Editor" Window there is a menu called "Channel". Open the "Channel" menu now. Inside the Channel menu there is an "Extrapolation Mode" Sub-menu that lets you choose how to extrapolate the curve (how to extend it before and after the first and last keyframes respectively). Open the "Extrapolation Mode" Sub-menu now. The Extrapolation mode defaults to "Constant" which has the curve remain at whatever the last (or first) keyframe had it set at. 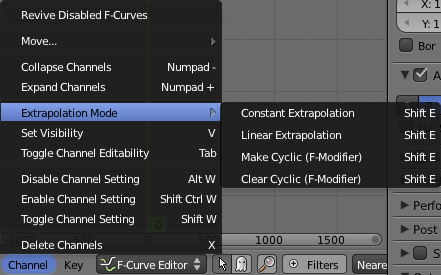
Select "Make Cyclic" to switch the curve to that mode. (In the "3d View", press 'Alt+a' to playback the animation). 
Now to clear the "Cyclic" Mode, go to "Channel->Extrapolation Mode->Clear Cyclic". The next mode to try is Linear extrapolation mode. To enable this go to "Channel->Extrapolation Mode->Linear". (In the "3d View", press 'Alt+a' to playback the animation). 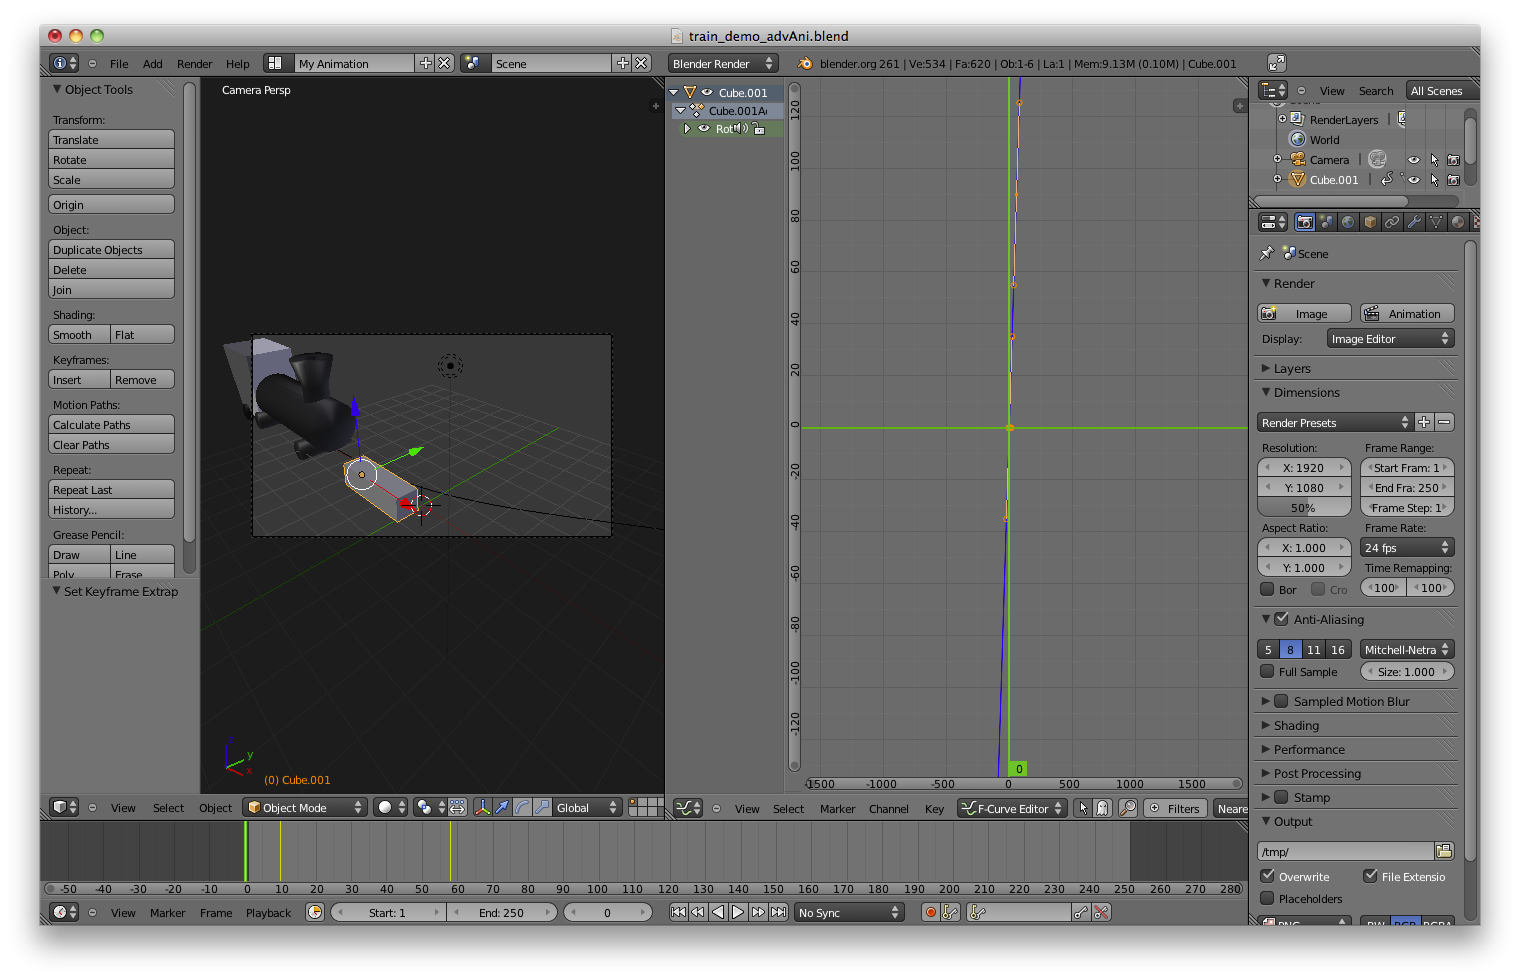
Now change the current frame to frame 90 (In the "Timeline Editor" at the bottom). You will also notice that the green line in the "Graph Editor" has moved. In fact you can drag it by Left-clicking and dragging on it is the "Graph Editor". 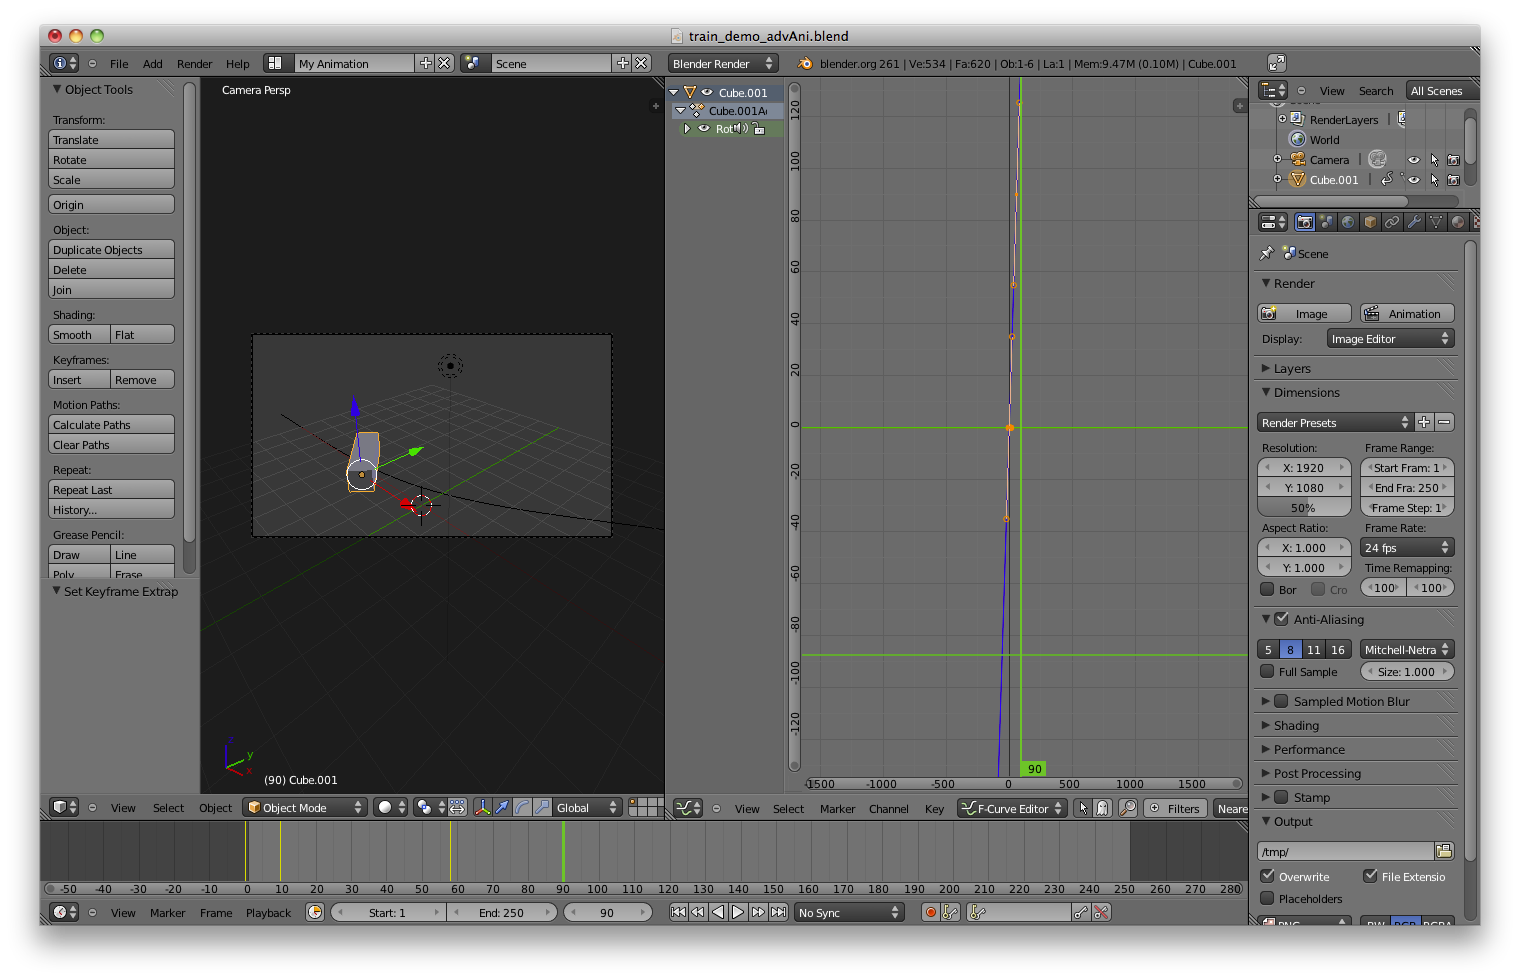
In the "3d view" insert a new Rotation Keyframe ('i'). 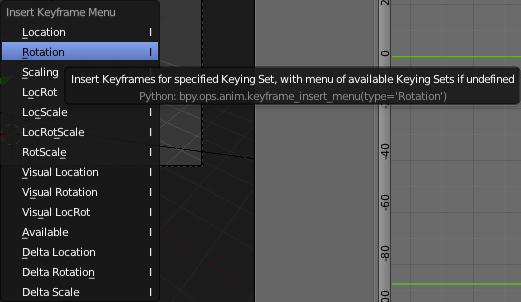
Now change the Extrapolation Mode to Constant by Selecting "Channel->Extrapolation Mode->Constant" and zoom out in the "Graph Editor" by scolling the mouse wheel. 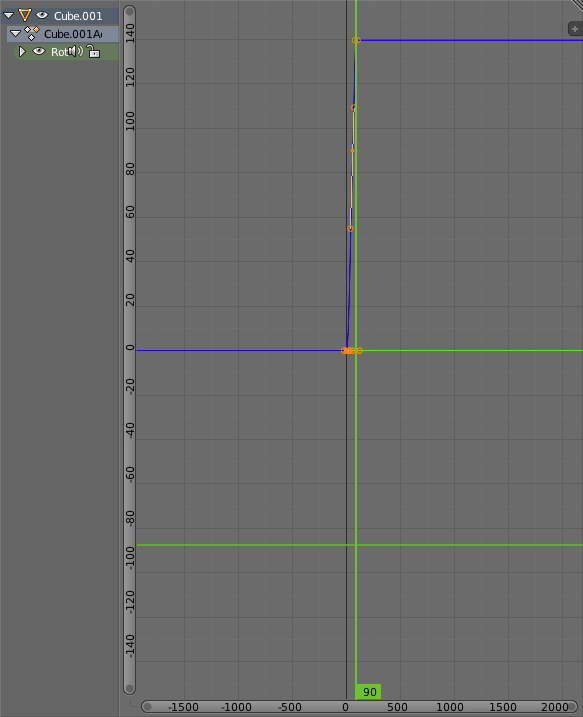
What we have just done is extended the rotation of the box for a number of extra frames. Now Deselect all the keyframes ('a') and select only the new one ('b'). Grab and move it down and to the right. Now select all the keyframes by pressing 'a' twice. 
We will now look at Interpolation modes that are available. These are used to determine how the animation progresses from each keyfram until the next. The Interpolation modes can be found under "Key->Interpolation Mode". 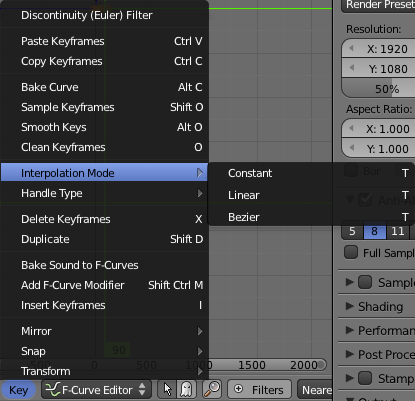
The Interpolation mode for a curve defaults to Bezier to have nice smooth changes in motion (or whatever is being animated). 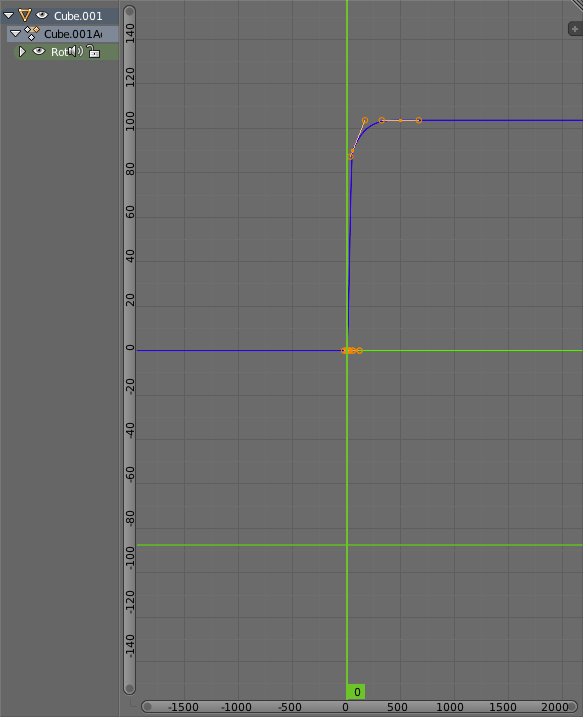
Now the next Type to look at is linear which has the curve be a straight line between the keyframes. This can result in nice constant speeds but the changes in actions can be a bit sudden. Select "Linear" from "Key->Interpolation Mode" now and playback the animation (Hover over "3d View" and press 'Alt+a'). 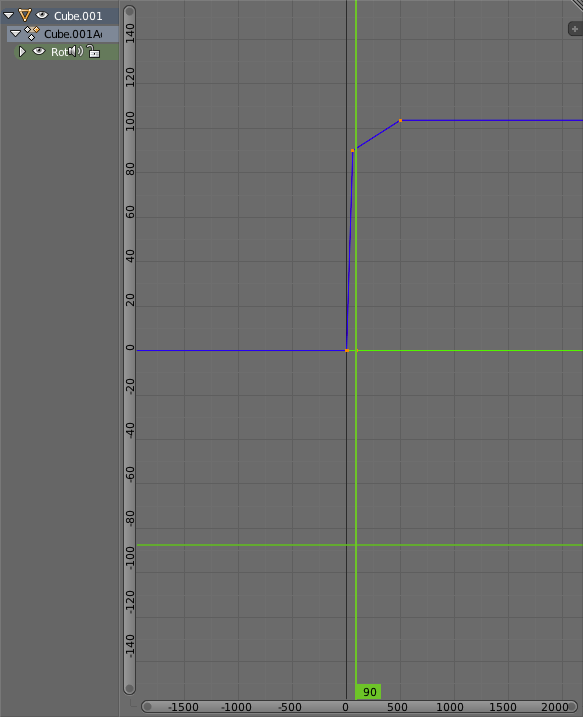
The final Type is Constant which has the curve stay at the last keyframe's value until it reaches the new keyframe and jumping to the new value. This results in very still but suddenly jumping motion. Select "Constant" from "Key->Interpolation Mode" now and playback the animation (Hover over "3d View" and press 'Alt+a'). 
Now return to "Bezier" mode by selecting "Key->Interpolation Mode->Bezier".
Now select the upper-most keyframe ('a' to deselect and 'b' to select) and delete it ('x'). 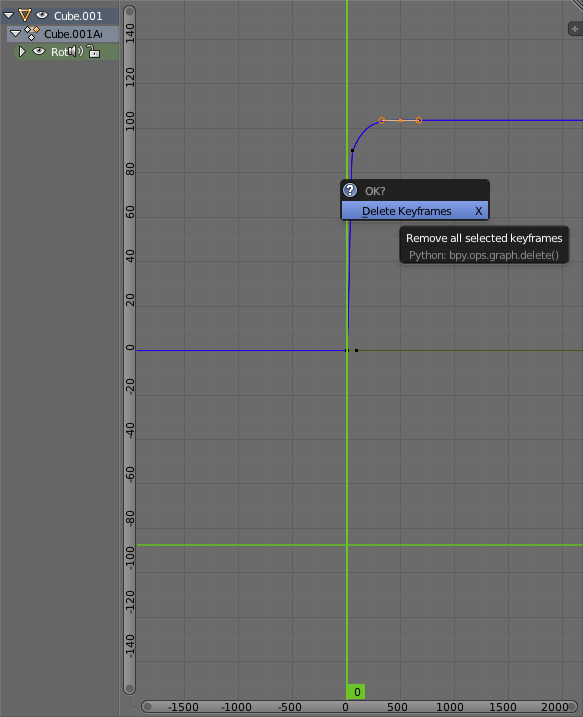
Now select all the keyframes (double tap 'a') and select "Channel->Extrapolation Mode->Linear". 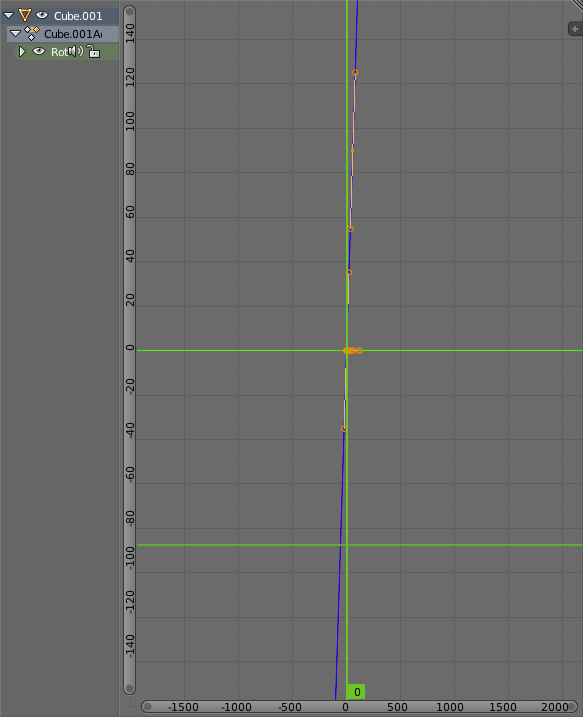
Don't Forget to Save. Continue Learning: |