 Blender Tutorials
Blender Tutorials
Blender Tutorials
Navigation: |
The Blender 2.5+ User InterfaceThis Tutorial is meant as an introduction to Blender (2.5 and up). It should be doable by anyone interested in learning how to use Blender. No previous knowledge about Blender should be required. Table of ContentsTo begin this tutorial, open Blender. Navigating the User InterfaceUpon opening Blender for the first time Your view should be somewhat similar to the following: 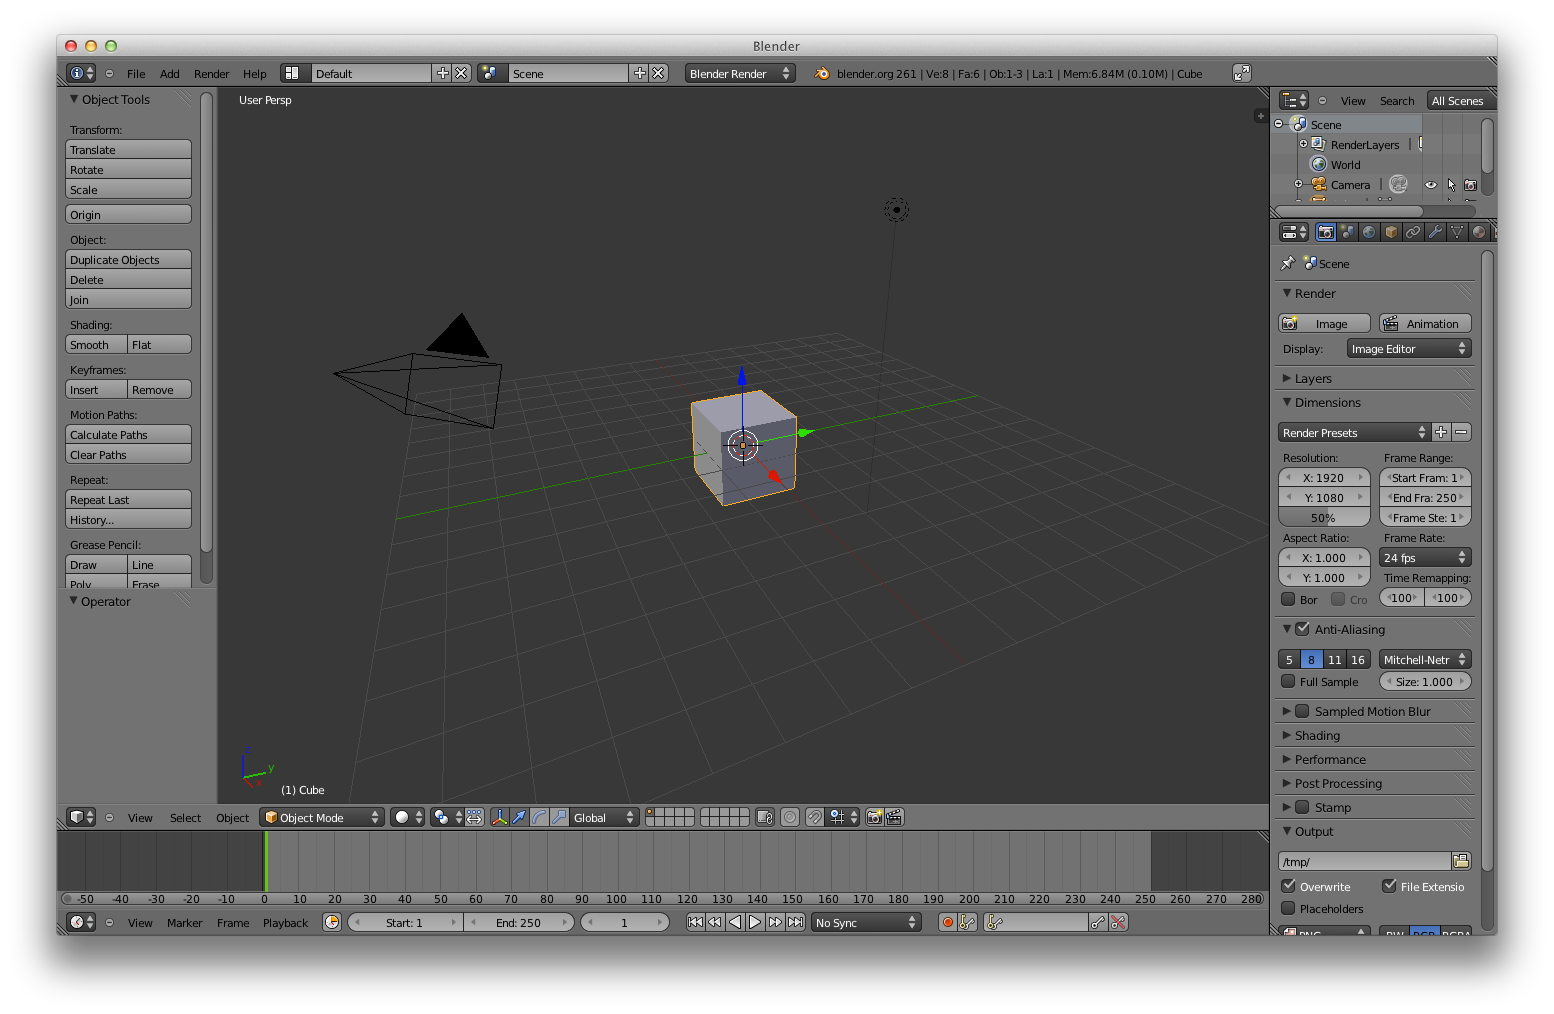
Menu BarAlong the top of the screen is the menu bar. At the Top Left there is a selector for what that part of the screen will display. Beside it is a minimizer for the four drop down menus. These Drop down menus are: File, Add, Render and Help.
Next up is the "Screen Layout Selector" (
Next is the "Scene Selector" ( 3d viewAlong the left hand side of the screen there is the "Toolbar". The different actions available here change depending on what mode you are in and what you have selected. 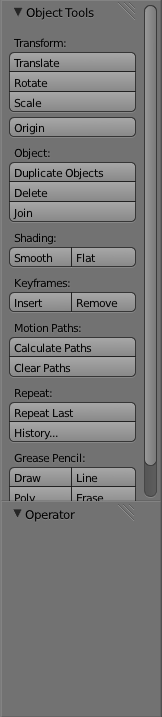
Beside the toolbar is the main portion of the 3d view. This is where you will be building your objects and animating them. What you see in the view right now is the default starting cube in the middle, centered on the origin point (0,0,0). Also at the origin is the 3d cursor. The 3d cursor marks where the center of new objects will be and can even be used as a reference point for several other operations. To the left of the cube is the camera with the triangle showing which way is up for the camera. To the right of the cube is the lamp. The lamp itself is the black dot surrounded with two dashed line circles. 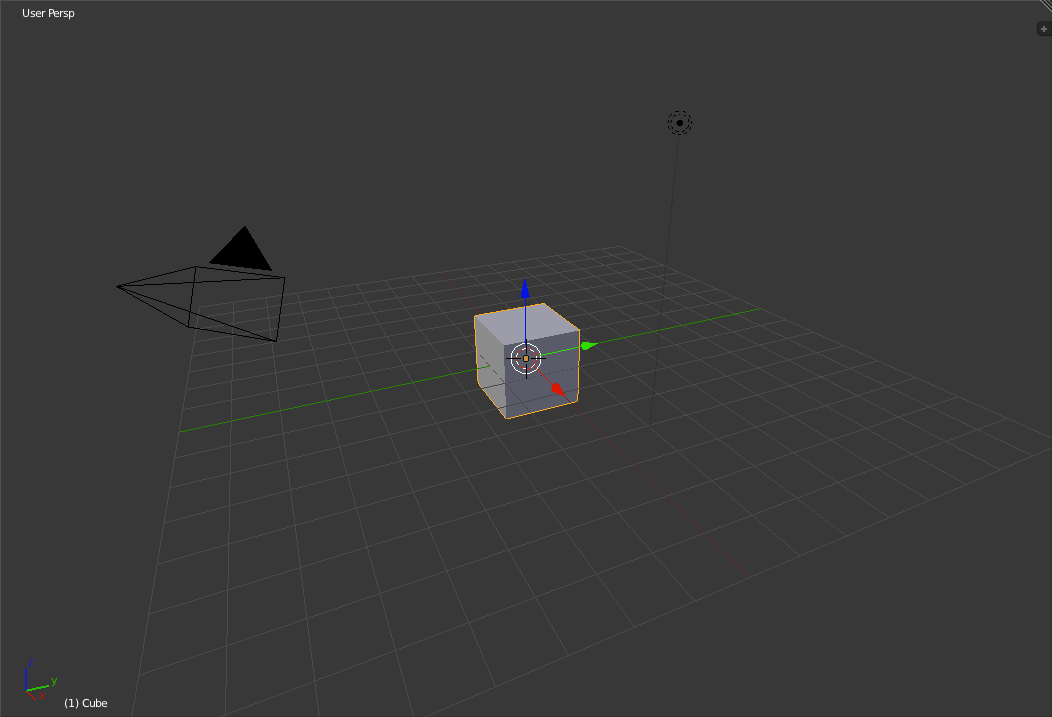
The current view being shown in the 3d view is a perspective view coming in from an angle. To rotate the view up and down use 'Numpad-8' and 'Numpad-2' respectively. For left and right rotations use 'Numpad-4' and 'Numpad-6' respectively. To move up, down, left or right, hold down the 'Ctrl' key while pressing the numpad keys. There are naturally several standard views available. The first of these is the camera view. To switch to the camera view press 'Numpad-0'. 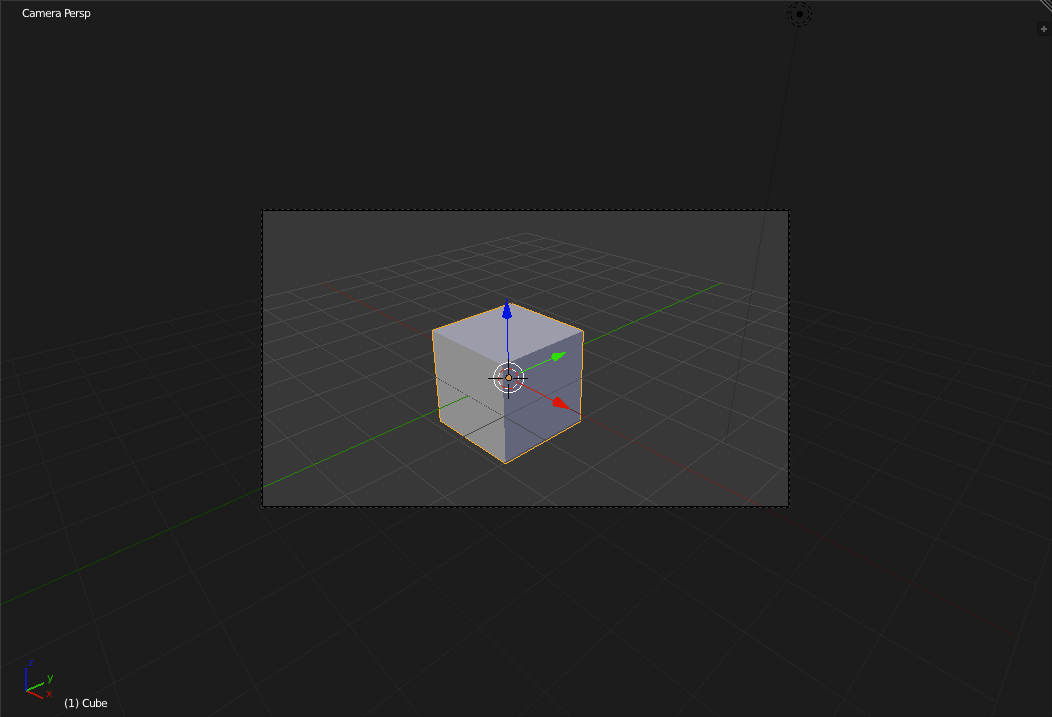
The next view is the Front view. To switch to Front view, press 'Numpad-1'. So far we have always been in perspective mode. To toggle between perspective mode and orthographic mode, press 'Numpad-5'. 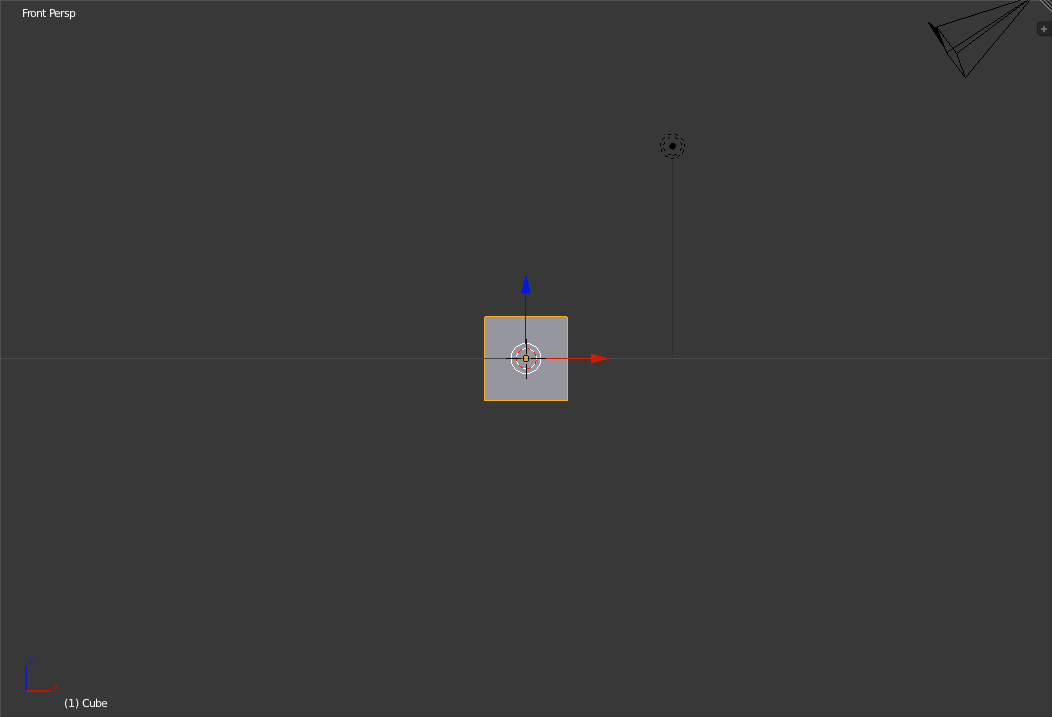
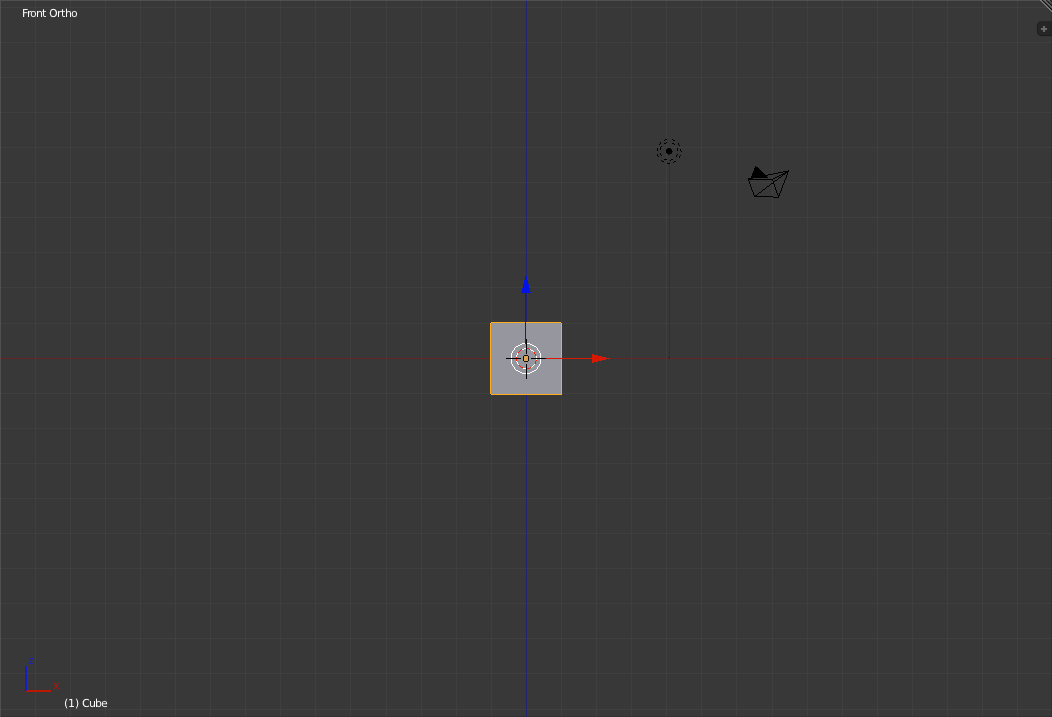 Front view in perspective view (left) and orthographic view (right) Next up is the Right view. To switch to the right view, press 'Numpad-3'. 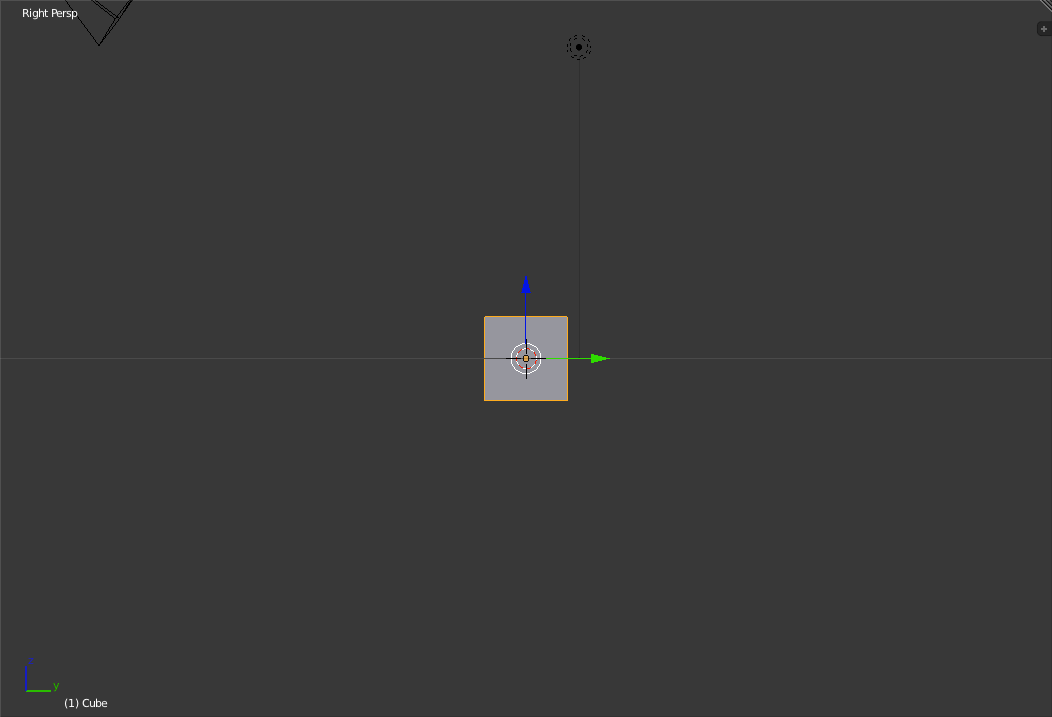
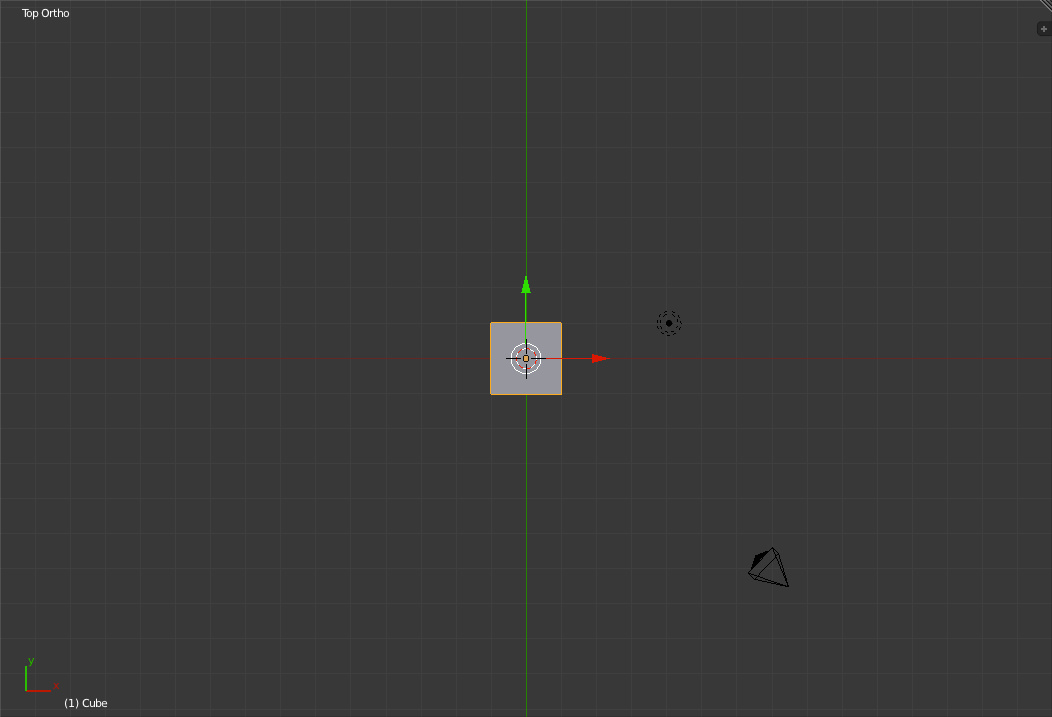
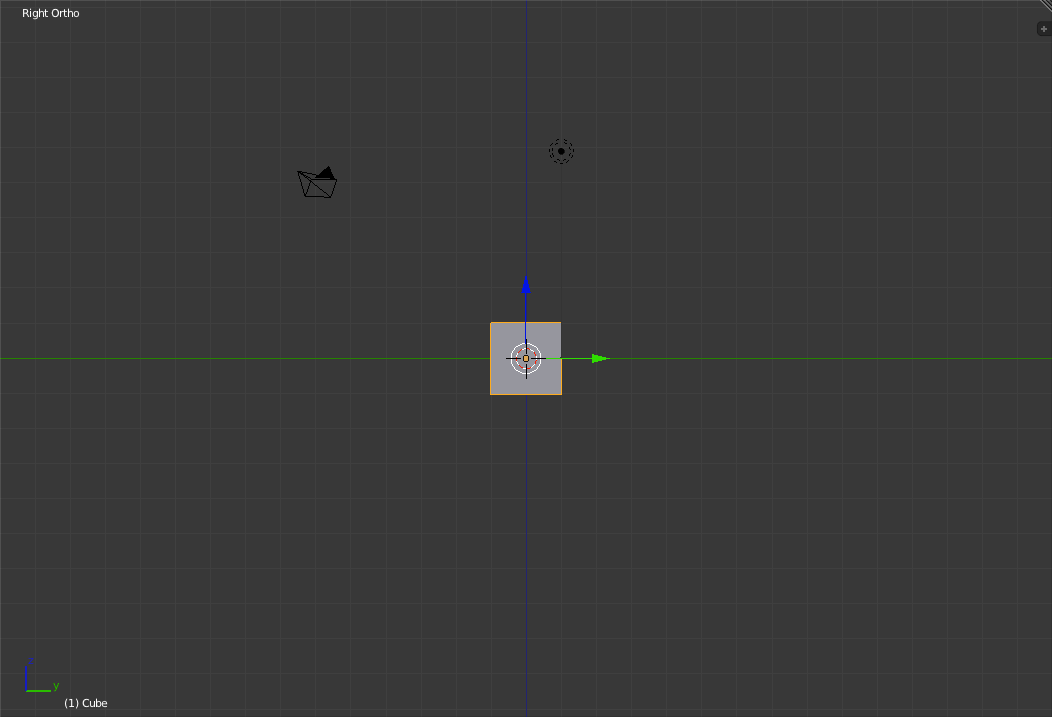 Right view in perspective view (left) and orthographic view (right) Finally we have the Top view. To switch to the top view, press 'Numpad-7'. 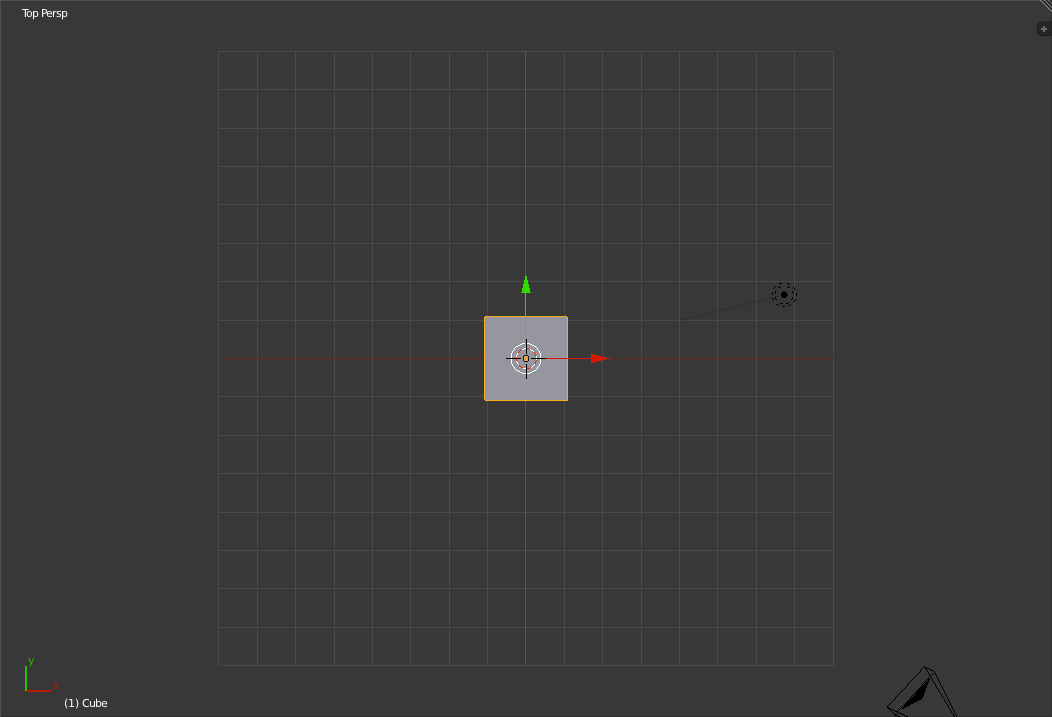
 Top view in perspective view (left) and orthographic view (right) You can also access the Back ('Ctrl+Numpad-1'), Left ('Ctrl+Numpad-3') and Bottom ('Ctrl+Numpad-7') views as well. Below the "Toolbar" and the main 3d portion of the 3d view is the control bar for the 3d view. This lets you change between the different editing modes, display modes, the pivot location, whether or not to show the 3d-object manipulator (The blue, green and red arrows coming from the center of the cube.) and which type to show. Beside this is the layer selector and a number of other 3d world/view controls. 
Timeline EditorBelow the 3d view is the timeline editor. Here there is a display of the timeline of the current scene with a green line marking the current frame. Below you have a few pop-up menus, the playback rendering range a field to set the current frame, playback controls, etc. 
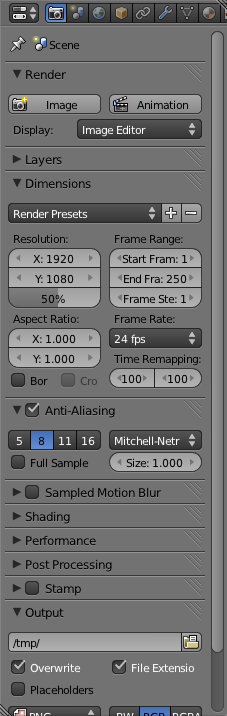
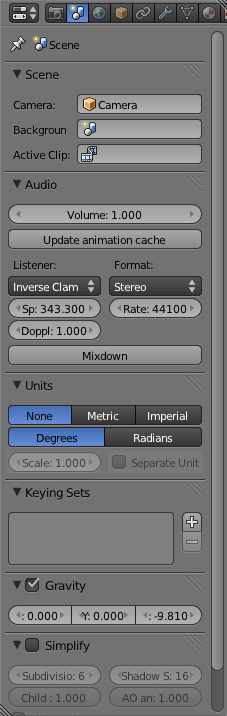
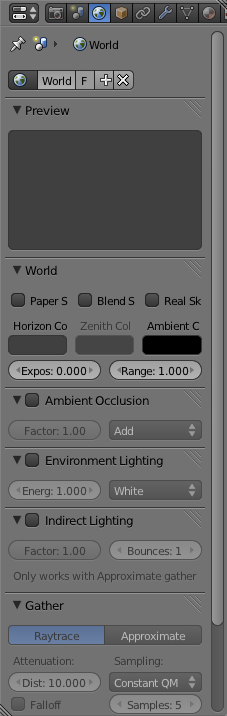
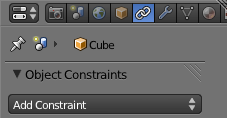
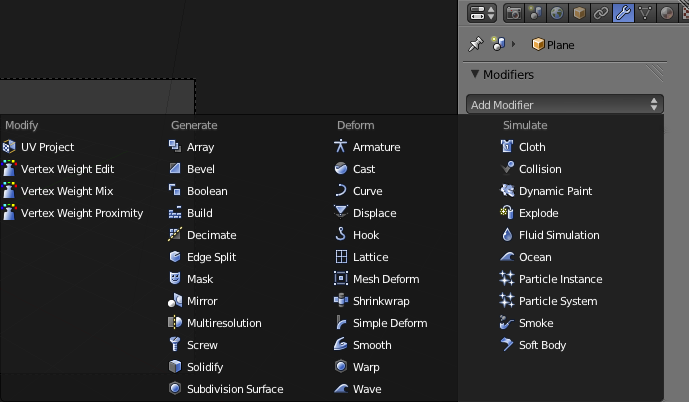
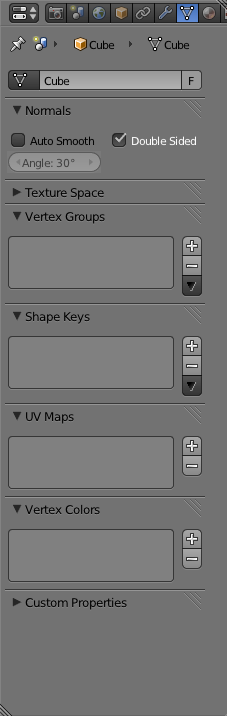
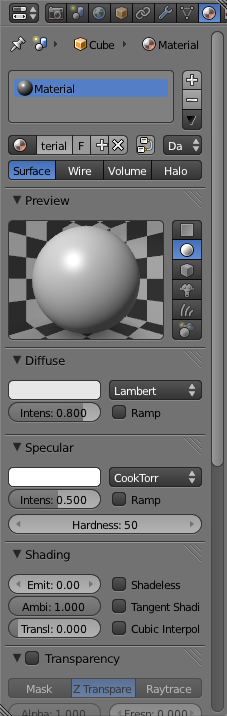
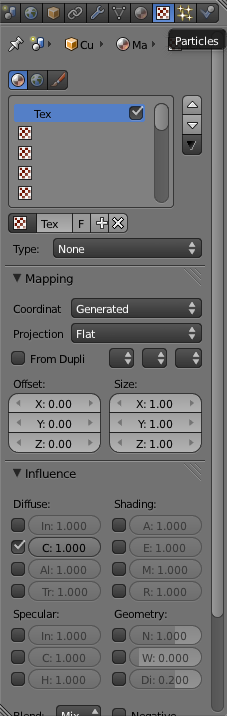
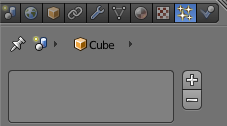
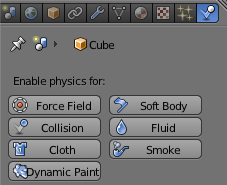
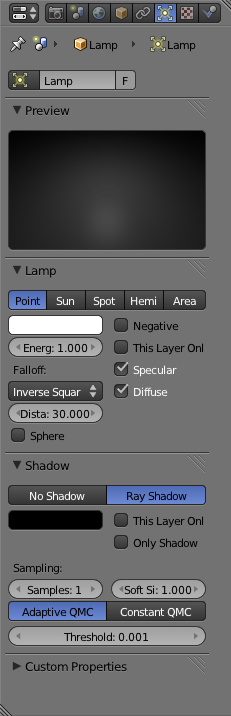
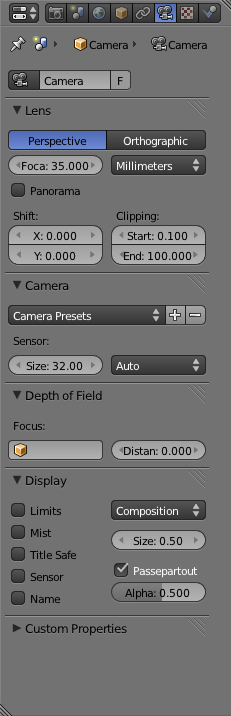
Main Toolbar PanelAt the right edge of the window is the Main Toolbar Panel. This contains a number of different sub-panels that can be used to perform different actions. Depending on what type of object is selected, the subpanels that are available may vary. These Sub Panels are:
Continue Learning: |